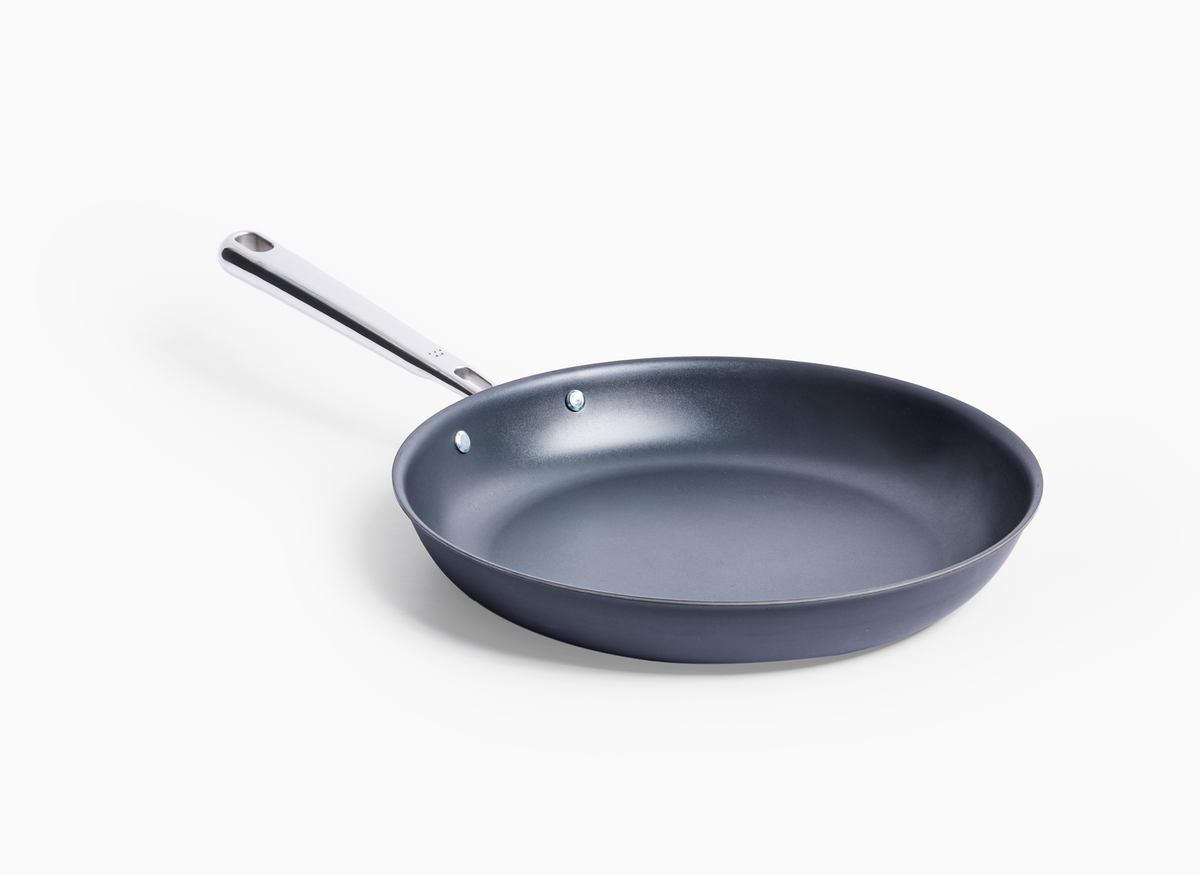
Note: Traditional nonstick coatings can break down at high temperatures (typically over 500°F), releasing fumes and damaging the pan. Also steer clear of lightweight, thin pans, which can overheat quickly and scorch your food before it has a chance to properly brown.
How to Actually Crisp, Brown, and Char
Knowing the science and having the right pan is a great start—but what does crisping, browning, or charring actually look like when you’re standing at the stove?
While the exact technique varies depending on what you’re cooking, there are a few universal tips that can help you get it right.
For Browning and Crisping
1. Start with the right pan and preheat it properly.
Heat your stainless steel, carbon steel, or enameled cast iron pan over medium or medium-high heat until it reaches about 300°F. You can use an infrared thermometer for precision—or just hover your hand an inch above the pan. If you can’t keep it there for more than a couple of seconds, it’s ready.
If you see smoke before you’ve added oil, it’s too hot—lower the heat and wait a minute.
2. Add a thin layer of high smoke point oil.
Swirl the oil to coat the bottom of the pan. It should shimmer and move like water—not thick and sluggish. That’s how you know it’s hot enough for food.
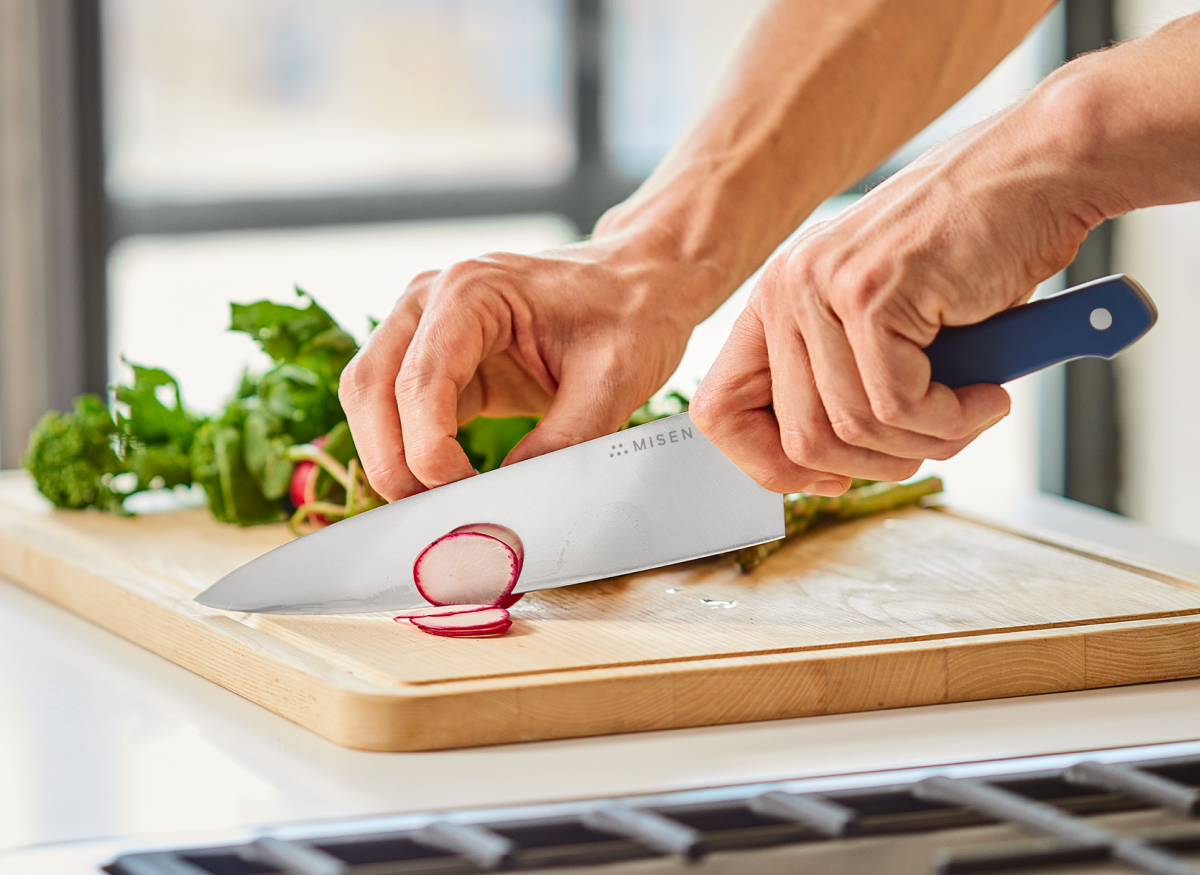
3. Dry your food thoroughly.
Surface moisture is the enemy of browning. Always pat your ingredients dry with paper towels, even freshly washed vegetables. For proteins, an extra step can help: pat dry, place in the fridge uncovered for an hour or two, then pat dry again before cooking. The fridge helps draw out excess surface moisture.
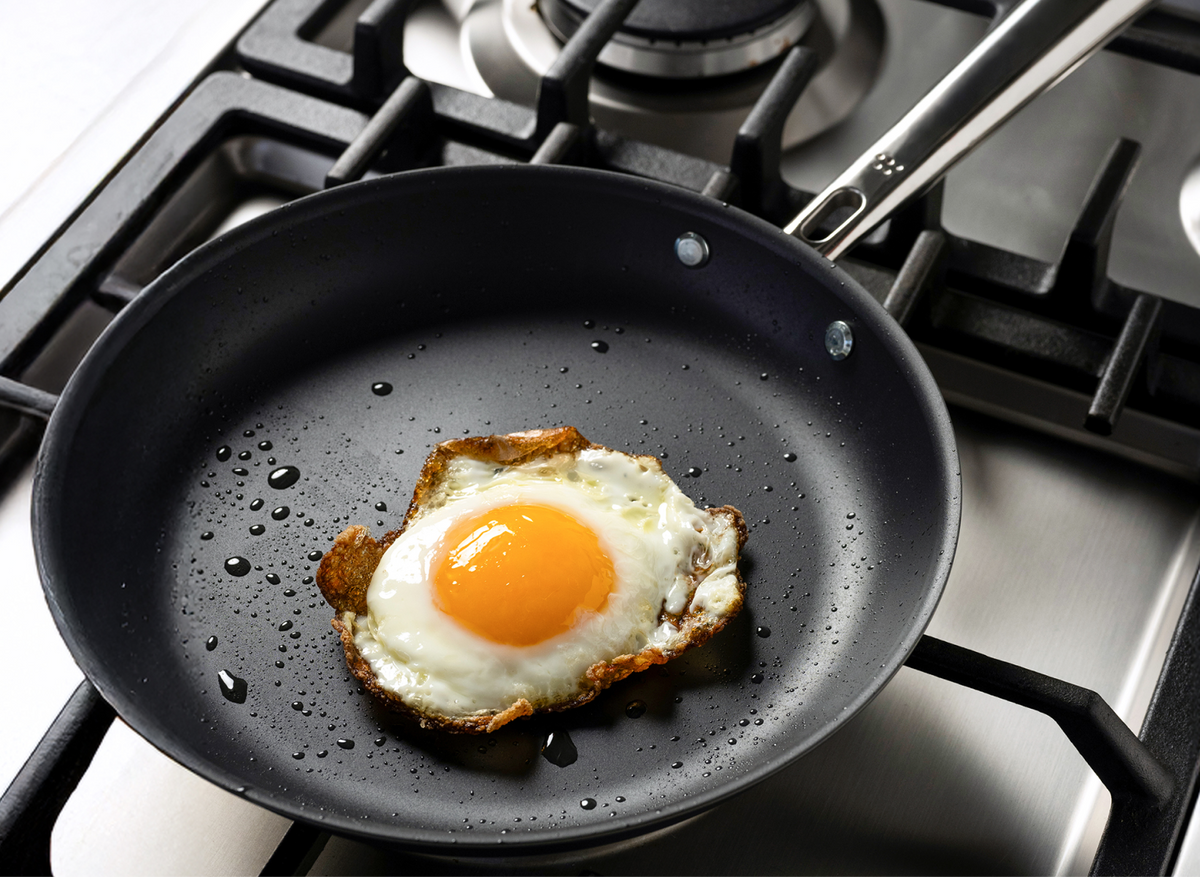
4. Press your food into the pan—and leave it alone.
When you add food, press it down lightly so it makes full contact with the pan. Then resist the urge to move it around. Let it stay put until a crust or golden surface forms. Only flip once it releases easily and has the color or crispiness you’re looking for.
For Charring
Charring is a slightly different beast. It requires higher heat and more direct contact.
1. Crank up the heat—you’re aiming for closer to 400–500°F.
2. Skip the oil in the pan.
Instead, lightly oil your food, especially if you’re charring something like bell peppers, halved onions, or bread. This helps promote even blistering and prevents sticking.
3. Watch closely.
Charring happens fast. You’ll see smoke and blackening within seconds. That’s okay—as long as it’s intentional. Keep an eye on the food, rotate as needed, and remove it as soon as it has the level of char you want.
Whether you’re crisping potatoes, browning scallops, or charring a piece of sourdough, the secret is consistent heat, dry food, and a little patience. Trust the process—and don’t flip too soon.
Gas vs. Electric vs. Induction Burners
Not all stovetops heat the same way. Here’s how to adjust for yours:
Gas Burners
• Start with a medium-low flame to heat the pan gradually.
• Heat radiates outward from the center, so rotate larger pans occasionally for even heating.
• Quick temperature adjustments are possible—one of the perks of gas!
Electric Coil Burners
• Start with a slightly higher setting, then turn it down once the pan is hot.
• Be patient: it can take 3–5 minutes to properly preheat a pan.
• Always place your pan on a cold coil before turning it on (to avoid thermal shock and potential warping).
• Keep in mind: coils retain heat after shutting off, so food may continue cooking even after you lower the temperature.
Induction Cooktops
• Use lower settings than you think—induction is extremely efficient.
• Heats the pan almost instantly (no long preheating needed).
• Only the bottom of the pan heats directly; the sides will warm secondarily, so monitor food carefully.
No matter what type of burner you have, the goal is the same: to bring your pan to the right temperature gradually, so you hit that perfect crisping, browning, or charring window without overshooting into burnt territory.
Help! I Burned My Food: Common Mistakes (and How to Avoid Them)
Even pros burn food sometimes. Here are a few key tips to help you stay on the “delicious” side of the heat spectrum:
• Use the right oil. Choose oils with high smoke points like avocado, grapeseed, peanut, or high-quality olive oil. Lower-quality or blended oils can smoke and burn much faster, making it harder to control your cooking.
• Use the right size pan. A too-small pan will crowd your food, causing it to steam rather than brown. A too-large pan can create spots where oil pools and overheats. Ideally, you want enough space for each piece of food to have room around it.
• Add dry food to the pan. Moisture is the enemy of crisping and browning. Always pat your ingredients dry with a paper towel before adding them to a hot pan. Wet food will steam instead of sear—and can cause oil to splatter dangerously.
• Control your heat. Heat your pan gradually and stay attentive. If you see wisps of smoke coming from your oil, it’s a sign to add your food ASAP—or lower the heat if you’re not ready yet.
Remember: crisping, browning, and charring are all about controlled high heat. Take your time, watch your pan, and don’t be afraid to adjust as you go. Master these techniques, and you’ll open up a whole new world of texture and flavor in your cooking—without getting burned.