
A braiser--essentially a wide, low-walled, tight-lidded cast-iron pot--turns cheap, tough cuts and everyday vegetables into fork-tender, restaurant-quality meals by combining a quick, high-temperature sear with a long, gentle oven simmer in just enough liquid to create dual cooking zones that concentrate flavor while collagen melts into silky gelatin. The article demystifies this two-step "dry-then-moist" science, explains why 350 degreesF is the magic oven temperature, shows how to choose between seasoned or enamel-coated cast iron, and details the ergonomic features--broad loop handles, domed lids, thick bottoms--that make a quality braiser safe and easy to maneuver from stovetop to oven to table. Readers learn versatile, hands-off recipes spanning Filipino adobo, Korean jjim, and Moroccan tagines; discover that beans, mushrooms, and sturdy greens braise beautifully for plant-based meals; and pick up budget-smart tricks like doubling batches for next-day sandwiches or freezer portions. Practical guidance continues with selection criteria (chip-resistant enamel, 4-inch handles, weight vs. usability), care rules (hand-wash only, no metal tools, cool-before-cleaning), and storage tips to prevent chips and rust, ensuring the pot becomes a lifetime kitchen workhorse. Ultimately, the piece argues that mastering this single piece of cookware unlocks global flavors, stretches food dollars, and frees home cooks from constant monitoring while delivering rich, deeply satisfying dishes that taste even better the second day.
Defining a Braiser: What Is a Braiser and Why It Matters
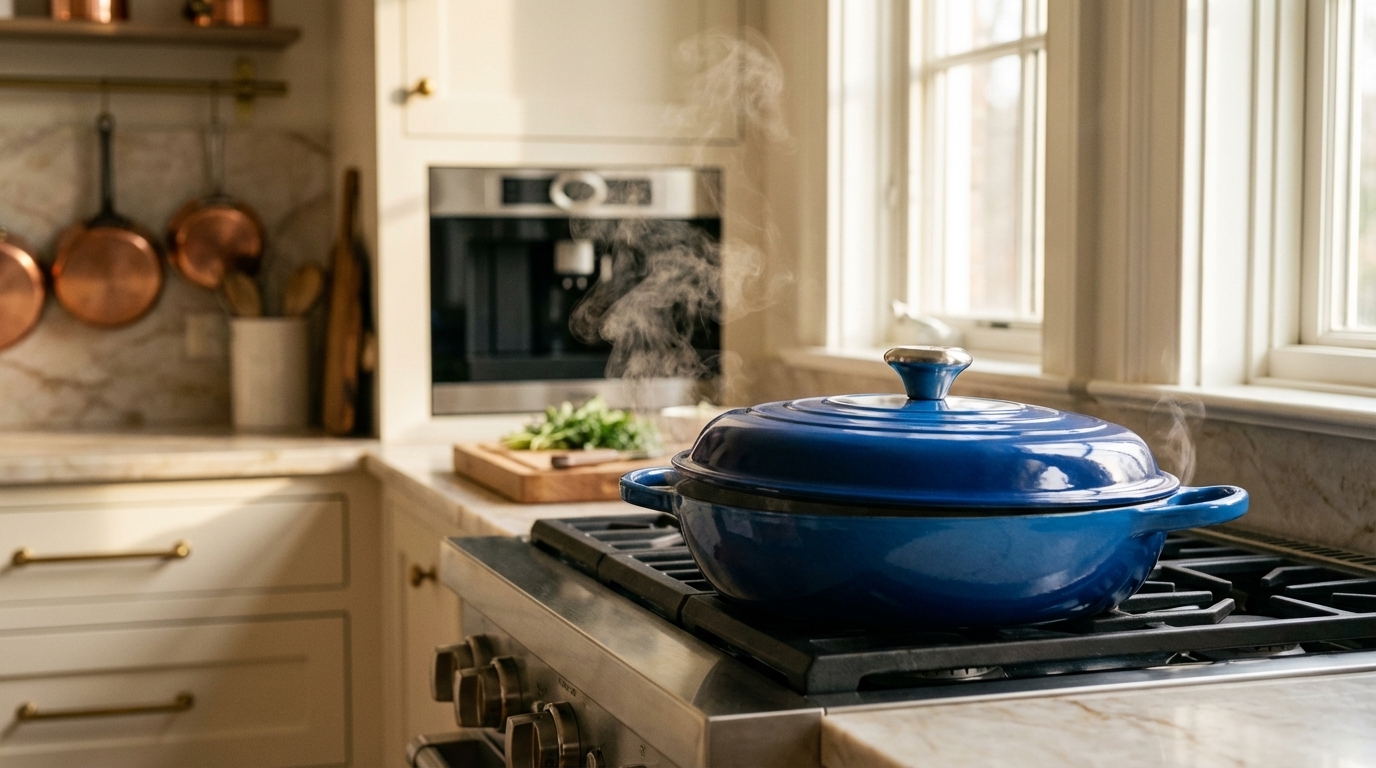
A wide, low cast-iron braiser with its domed lid turns tough cuts fork-tender by searing evenly, trapping steam, and going straight from stovetop to table--no seasoning needed if you choose enameled.
Key design elements that set a braiser apart
A braiser's defining design starts with its wide, shallow shape - featuring a broad base and low sides about 2-2.5 inches high [1]. This shallow profile contrasts with a Dutch oven's taller 4.5-5 inch walls [2]. The wide cooking surface maximizes contact with heat sources, making braisers ideal for searing and browning before slow cooking [3].
Another distinctive element is the domed lid, which creates extra headroom for larger cuts of meat and promotes moisture circulation [1]. As food simmers, this rounded lid captures rising steam and redirects it back down, keeping dishes perfectly moist during long cooking sessions [1]. Braisers typically feature two roomy handles positioned on opposite sides for balanced carrying from stovetop to oven to table [3].
These handles are often wider and more ergonomic than those on Dutch ovens, compensating for the braiser's broader, more awkward shape when full [3]. The heavy, thick bottom ensures excellent heat retention and even distribution - crucial for the initial searing phase of braising [3].
Materials that deliver lasting performance and everyday value
When it comes to materials, cast iron delivers the performance you need for successful braising. Its exceptional heat retention creates the steady, consistent temperatures that transform tough cuts into tender meals [4]. You'll find two main types: traditional seasoned cast iron and enameled cast iron.
Traditional cast iron needs seasoning--that protective layer of polymerized oil that prevents rust and creates a natural non-stick surface [4]. If you prefer lower maintenance, enameled cast iron offers a glass-like coating that protects the iron without any seasoning required [4]. This enamel barrier lets you cook acidic ingredients like tomatoes and wine without worrying about metallic flavors or damage to your cookware [4].
While enameled versions cost more upfront, they pay for themselves through easier care and the ability to handle any recipe you throw at them [4]. Quality enameled braisers feature thoughtful design elements like ergonomic handles, heat-resistant knobs, and secure-fitting lids [5]. When you invest in a well-made braiser, like the Misen Braiser, you're getting a versatile tool that transforms affordable ingredients into restaurant-quality meals--making it a smart addition to any kitchen [5].

How Braising Works: The Science of Moist‑Heat Cooking
Sear first at 300 degreesF+ to spark the Maillard reaction, then drop to 350 degreesF with a tight lid so collagen melts into gelatin and turns tough cuts fork-tender without drying out.
Moist‑heat vs. dry‑heat and the role of a tight‑fitting lid
Braising works its magic through a simple two-step process: first dry heat, then moist heat. You'll start by searing your food at high temperatures (300 degreesF or more), which triggers the Maillard reaction - that's when amino acids and sugars in your food create those rich, brown flavors we all crave [6]. Despite what you might have heard, this browning doesn't actually seal in juices. Instead, it builds a flavor foundation that makes the final dish irresistible [6]. Once you've got that beautiful sear, you'll switch to moist heat cooking, letting everything simmer gently in liquid at 180-190 degreesF [6].
This sweet spot matters - it's hot enough to keep things safe but gentle enough to prevent your meat from turning tough [6]. Here's where that tight-fitting lid becomes your best friend. It traps steam and sends it right back into your cooking liquid instead of letting it escape [6]. When choosing cookware, the right fit makes all the difference - too much space between your food and the lid means steam will condense and water down your carefully developed flavors [6]. Inside this steamy environment, something special happens to tough cuts of meat.
The collagen (that's the stuff that makes cheap cuts chewy) melts into silky gelatin, letting meat fibers relax and soak up moisture [6]. The payoff? Fork-tender results with concentrated flavors you simply can't get from just searing or just simmering [7].
Temperature control, liquid choices, and flavor development
Getting the temperature right is what separates good braising from great braising. Stick to 350 degreesF for best results - this keeps your liquid at a gentle bubble while encouraging that gorgeous browning, without letting your cooking liquid disappear too quickly [8]. At this temperature, you're giving the Maillard reaction time to work its magic, building layer upon layer of flavor compounds that make braised dishes so crave-worthy [9]. Push past 355 degreesF though, and you'll cross into burning territory, which brings bitterness and isn't great for your health either [9]. Your choice of braising liquid can take a dish from simple to spectacular.
Plain water actually works great for meats since they'll create their own rich stock while cooking [8]. But why stop there? Try bone broth for extra depth, wine for brightness and complexity, or even milk for gentle sweetness that helps proteins stay tender. When braising vegetables (which won't make their own stock), reach for something with more personality like cashew milk to build complexity from the start [8]. Here's the key to liquid levels: use just enough to come halfway up your ingredients.
This creates two cooking zones - the bottom half bubbles away in liquid while the top develops those deep, roasted flavors [8]. It's what sets braising apart from stewing (where everything swims in sauce) and roasting (which uses no liquid at all) [8]. Pro tip: braising in the oven beats stovetop every time. Your
Everyday Braising: Practical Recipes for Home Cooks
Walk away after a 15-minute prep and return to budget-friendly, globally inspired meals--tough cuts turned fork-tender, vegetables caramelized to sweetness, and leftovers that taste even better tomorrow.
One‑pot meals that go from sear to simmer in minutes
Here's what makes braising such a game-changer for home cooks: after a quick sear, you add liquid, cover your pot, and walk away. That's it. The braiser handles the rest while you tackle other tasks or simply relax [10]. This hands-off approach works perfectly whether you're rushing through weeknight dinners or leisurely cooking on weekends. You'll find braising adapts beautifully to any timeline. Need something fast?
Braised White Beans and Greens come together in just 30 minutes [11]. Want deeper flavors? Let heartier dishes simmer longer--they'll only get better. The technique crosses cultural boundaries too. Try coconut milk chicken adobo for Filipino comfort food, German-inspired eintopf with short ribs and root vegetables, or Korean soy-braised vegetable jjim [11]. A quality braiser makes these global flavors accessible right in your kitchen.
Budget-conscious cooks especially love this method. As we explored in the science section, tough, inexpensive cuts become incredibly tender through braising. Pork shoulder, lamb shanks, and beef chuck--these affordable proteins transform into restaurant-quality meals [12]. Even better, braised dishes often taste better the next day, making them perfect for meal prep. Smart cooks double their recipes and freeze portions for instant weeknight dinners [12]. Just 15 minutes of prep can yield braised pork that's versatile enough for sandwiches, tacos, or noodle bowls throughout the week [12].
Versatile dishes: vegetables, grains, and proteins that benefit from braising
Your braiser isn't limited to meat--it's equally brilliant with vegetables and plant-based proteins. Sturdy vegetables shine with this technique. Brussels sprouts, cabbage, and rutabagas develop incredible sweetness, while onions, shallots, and leeks turn silky and mild [14]. Root vegetables like potatoes, turnips, winter squash, and carrots absorb flavors while maintaining their shape [15]. Even typically tough vegetables--think kale stems, celery, and green beans--become tender and delicious [15].
For Asian-inspired dishes, try dried shiitakes, taro root, or daikon, which soak up braising liquids like sponges [15]. When choosing proteins, remember the principle we covered earlier: collagen equals flavor. Beef short ribs, chuck roast, and brisket deliver the most dramatic transformations [13]. For poultry, stick with dark meat--chicken thighs and turkey legs stay moist, while breast meat tends to dry out [15]. Pork shoulder, country-style ribs, and lamb shanks practically melt after their braising bath [15].
Don't overlook plant-based options. Beans and legumes are braising superstars, absorbing flavors while keeping their satisfying texture [15]. Mushrooms work beautifully too--they'll soak up wine and aromatics in vegetarian versions of classics like beef bourguignon, creating surprisingly meaty depth [13]. This versatility lets you explore global traditions in one pot: French coq au vin, Korean galbi jjim, Moroccan lamb tagines with apricots and almonds--all become accessible weeknight possibilities [13].


Choosing, Caring for, and Getting the Most from Your Braiser
Choose a thick-bottomed, enamel-coated cast-iron braiser with 4-inch handles and a 2-inch lid knob, let it cool before hand-washing with mild soap, and skip the dishwasher to keep its surface pristine for years of stovetop-to-oven braising.
What to look for: durability, even heat, and ergonomic design
When choosing a quality braiser, start by examining the enamel coating's durability. Well-made braisers resist chipping and staining even after years of regular use [16]. In durability tests, premium options significantly outperformed budget models that chipped when subjected to metal utensils [16]. For optimal cooking performance, choose braisers with thick, heavy bottoms that provide superior heat retention and distribution--crucial for the initial searing phase of braising [17].
As we covered earlier, cast iron's exceptional heat retention makes it the ideal braising material [18]. When evaluating ergonomics, look for handles at least 4 inches long and 2 inches wide--these dimensions allow secure gripping even with bulky oven mitts [16]. Upward-angled handles provide extra maneuverability, especially helpful when moving a full braiser [16]. The lid's knob matters significantly--models with knobs smaller than 2 inches prove difficult to grasp when hot [16].
While heavier braisers (some weighing up to 18 pounds) offer exceptional heat retention, they can be challenging to maneuver [16]. Consider balancing your need for performance with practical usability, especially when considering the braiser's primary function of moving between stovetop and oven [17].
Cleaning, storage, and maintenance tips to extend lifespan
Proper care starts with patience--always let your braiser cool completely before washing to prevent thermal shock that can crack the enamel [19]. Stick to hand washing with mild soap and warm water. While technically dishwasher safe, machine washing gradually dulls the enamel's finish [20]. For stubborn food residue, soak in hot water for 15-20 minutes before cleaning with a non-abrasive pad or brush [21]. Never use metal scrubbers or harsh cleaners that can scratch the enamel coating [21].
Dry thoroughly immediately after washing to prevent rust forming on exposed edges [20]. Light stains? A bit of warm vinegar works wonders without affecting performance [19]. During cooking, protect your investment by using wood, silicone, or nylon utensils--metal tools can chip the enamel [20]. Always cook with some form of fat or liquid--dry cooking damages the surface [20].
Keep heat moderate--cast iron's excellent heat retention means medium settings work perfectly for most recipes, and high heat can damage the enamel [20]. Store your braiser in a dry spot with the lid slightly ajar for airflow, preventing moisture buildup [21]. Avoid stacking other cookware directly on the enameled surface without protective pads between pieces to prevent chipping [21]. Notice rust on the exposed rim? No worries--gently scour with steel wool, rinse, dry completely, and rub with a bit of vegetable oil [19].
- Braisers are wide, shallow pans with domed lids for searing then slow-cooking.
- Braising: sear at 300 degreesF+, then simmer at 180-190 degreesF to melt collagen into gelatin.
- Use liquid halfway up food; oven at 350 degreesF prevents drying and burning.
- Tough, cheap cuts like chuck or lamb shank turn fork-tender and flavorful.
- Choose enameled cast iron for low upkeep and acidic ingredients; hand-wash only.
- https://unocasa.com/blogs/tips/braiser-vs-dutch-oven
- https://www.tastingtable.com/1235273/what-is-a-braiser-and-how-does-it-differ-from-a-dutch-oven/
- https://www.seriouseats.com/dutch-ovens-vs-braisers-8407997
- https://www.siaocastiron.com/resources/10-pros-and-cons-of-enameled-cast-iron.html
- https://www.everythingkitchens.com/le-creuset-5qt-signature-enameled-cast-iron-braiser-ss-knob-marseille-blue-ls2532-3259ss.html?srsltid=AfmBOorsU1qlRJK-jB51iAr5KhU7SUpJdwgL-iB4TN0SbGmVGf4Cy1d1
- https://annex.exploratorium.edu/cooking/icooks/2-1-03article.html
- https://www.webstaurantstore.com/article/454/types-of-cooking-methods.html?srsltid=AfmBOooSK_vdNIhbBqWmjspZk1hZ_osyLA_4mj7kNmMeiw_abIeGu4lF
- https://food52.com/story/26005-how-to-braise
- https://modernistcuisine.com/mc/the-maillard-reaction/
- https://www.epicurious.com/recipes-menus/braising-recipes
- https://cooking.nytimes.com/article/braising-recipes
- https://www.bonappetit.com/gallery/braise-recipes-cold-weekend?srsltid=AfmBOootwBIkcJ9GBHT_O36mi-nOuJVXm5aq0CdRdakQWzFBhrUABs-C
- https://www.dioro.com/blogs/news/braising-recipes?srsltid=AfmBOoomN3h3WkrKqpTTelwjZJUgyfn-y_b-LAuchbC3R1tNCHmaL64g
- https://www.spokesman.com/stories/2021/jan/12/how-to-braise-vegetables-and-bring-out-their-best-/
- https://saladmaster.com/~savourwayhs/fr-ca/cuisinez-plus/blog/how-to-braise-meats-and-vegetables
- https://www.seriouseats.com/best-braisers-6753394
- https://www.lecreuset.ca/en_CA/blog/6-braiser-features-and-5-braiser-recipes.html?srsltid=AfmBOoqb1zlXTJDECA0TJgwwoBMlTUZipyuH7fectMnjjxtU9Y_Rmfz6
- https://medium.com/@latashadar79/best-braiser-pans-22e848116ecf
- https://blog.pamperedchef.com/kitchen-tips-tools/how-to-clean-and-maintain-enameled-cast-iron-cookware/
- https://www.meganfranceslloyd.com/how-to-care-for-clean-and-season-your-enameled-cast-iron
- https://www.hearthstonecookware.com/care-use