Every November, we turn into amateur turkey scientists – brining, basting, and probing our birds with surgical precision like we’re about to go on some high-stakes cooking show. You spend days thawing, hours cooking, and endless minutes checking for that 165°F sweet spot. But then, it only takes a few wrong moves of the knife for the whole thing to fall apart. Literally. Here are a few carving techniques that’ll help keep your bird from turning into “turkey confetti.”
The Quick Essentials
Short on time? We get it. The family’s coming, the holiday sales are starting to flood your inbox, and you’ve still got a million things to do. Here are our quick tips to remember:
1. Cutting Direction Matters:
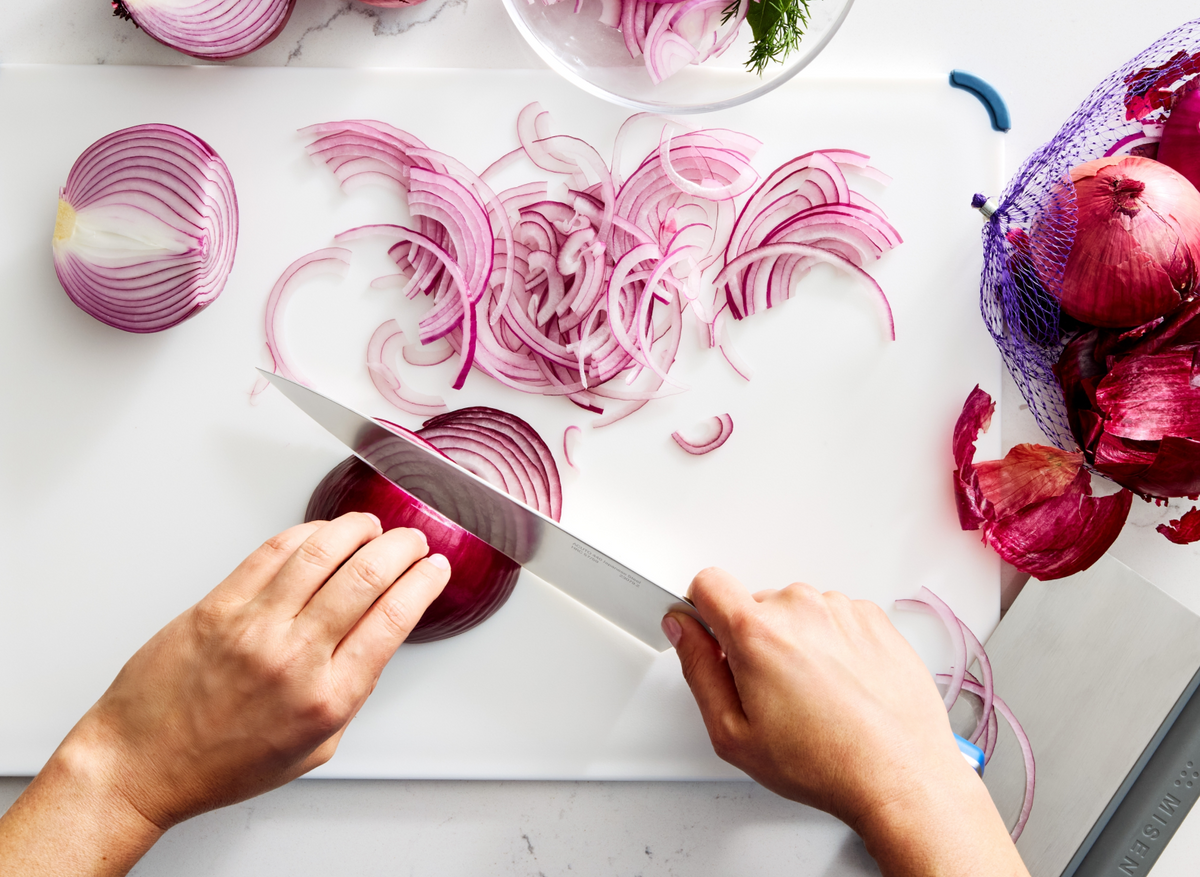
Use long, smooth strokes, starting with the heel (back) of the knife, and drawing it towards you. This will help keep your cuts clean and prevent shredding.
2. Use Minimal Pressure:
Let your sharp carving knife do the heavy lifting. Pressing too hard just leads to mess and possible accidents.
3. Hold the Knife at 45°:
When cutting through joints, this angle helps you see better and cut more precisely.
Make A Carving Plan
Before you even grab your carving knife and fork, it’s a good idea to have a game plan. And if you need a refresher, a quick tutorials (like this one) never hurts!
Here’s the basic sequence:
• Remove legs and thighs - Slice through the skin at the joint
• Take off the wings - Wiggle the joint, then slice through
• Slice the breast meat - Cut it parallel to the breastbone
• Cut across the grain - This makes the meat more tender and easier to eat.
Tools That Make The Cut
A few key tools will make this job faster, safer, and a whole lot messy. (Plus, you’ll get back to your guests sooner.)
1. Large cutting board with grooves:
You’ll want plenty of room to move the bird around, and grooves to catch the juices as you slice.
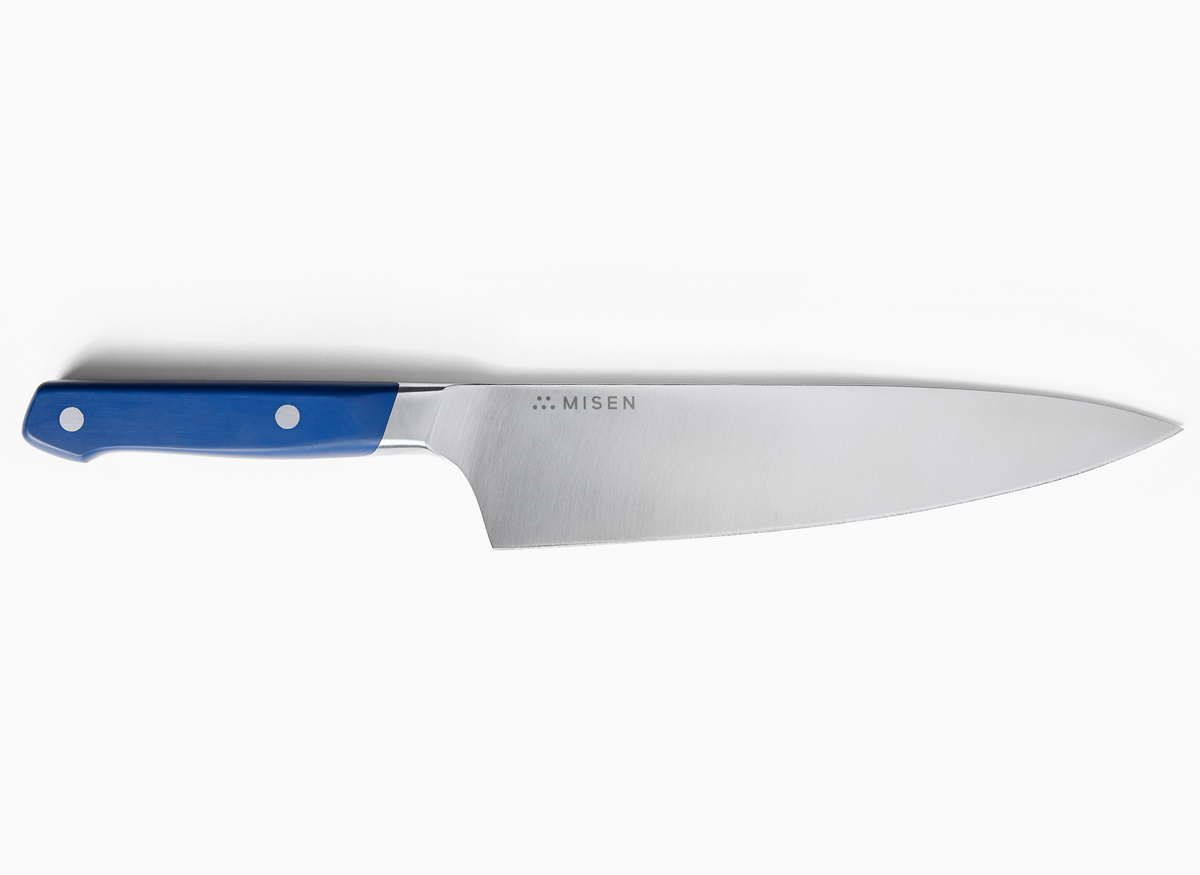
2. Freshly sharpened Carving Knife:
An 8 inch knife is ideal for smooth, long strokes while still being easy to handle.
3. Towels:
Keep your board, hands, and knife handle dry to avoid slipping and keep things safe.
Mastering Your Carving Knife And Form
1. Grip Like a Pro:
• Hold the knife handle with your dominant hand
• Keep a firm but relaxed grip – don’t white-knuckle it!
• Pinch the blade near the handle with your thumb and forefinger (this is called the “pinch grip”)
• Let your other fingers wrap comfortably around the handle
2. Cutting Motion:
• Use long, smooth strokes rather than sawing back and forth
• Let weight of the knife do the work
• Draw the blade back a little as you slice forward
• Don’t press down too hard – this can cause the knife to slip
3. Safety First:
• Keep your guiding hand's fingers curled inward (this is called the "claw grip")
• Always move the blade parallel to your knuckles –not toward them
• Keep space between the blade and your guiding hand to avoid accidents
• If you need to adjust your position, put the knife down first
4. Control the Blade, Control the Carve:
• Start slicing from the heel (back) of the blade
• Guide with the tip for precision cuts
• Keep the knife at about a 45° angle when separating joints
• Use the middle of the blade for those long, clean slices
Fix The Most Common Carving Mistakes
1. Don't saw back and forth.
A smooth, steady stroke is key
2. Don't force through bones.
Let the knife do the work.
3. Don't cut toward yourself.
Watch your fingers!
4. Don't rush.
Take your time. Especially when the knife starts to catch.
Slow and steady wins the carve!
