How to Master the Batonnet Cut for Ingredients of Any Shape
 When it comes to different knife cuts, the batonnet is one of the most useful to master.
- The batonnet is a stick-shaped cut.
- This uniform cut leads to more evenly cooked ingredients, and in turn, more pleasingly textured ingredients.
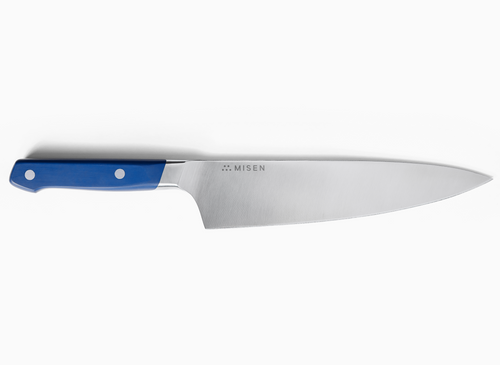
- To master the batonnet, you need a sharp chef’s knife and a large, sturdy cutting board.
Why have a thick cut french fry when you can have a batonnet cut pomme frite? Or eat a veggie stick when you can crunch on a fresh carrot batonnet?
While both are similar in general appearance, size, and shape, the difference is in the execution — and subsequent eating experience.
When you first start cooking, chopping is done in a rough, informal manner, usually in the quickest way possible. With the proper training, however, cutting is deliberate and detailed, resulting in impeccably precise slices. One is fast food. The other is fine dining.
Batonnet cuts are one of the basic knife cuts taught in cooking schools, and used to make many appetizers and side dishes. We’ll explain what a batonnet cut is, everything you need to properly execute one, and why it’s a great addition to any home cook’s basic knife skills.
What Is a Batonnet Cut?
Like many culinary terms, batonnet (pronounced bah-toe-NAY) is French. It translates to “small stick,” and is one of the most popular stick-type cuts used in food preparation.
A batonnet is long and straight with a measure of ¼-inch by ¼-inch by 2-2 ½ inches (although some measure it at a larger ½ inch by ½ inch by 2 ½-3 inches). It’s slightly thicker than the more common julienne cut (also known as the matchstick cut or allumette), which gives it many more possibilities beyond garnishing or topping.
Batonnet cuts are perfect for carrot sticks, crudités, roasted vegetables, french fries, and stir-fries. They're also a good jumping off point for smaller cuts, like the fine julienne, the mince, or the medium-to-small dice.
Why Batonnet?
Batonnet cuts, like all other basic cuts, are done to divide the ingredient into equal and uniform size. This makes for more even cooking, better presentation and mouthfeel (imagine getting into a forkful of zucchini that comes in large chunks as well as thin strips), and just better technique overall.
Plus, thanks to the batonnet’s handy dimensions, it can effectively cut large or oddly shaped ingredients down to convenient finger food, hence this cut is used in a lot of raw appetizers and snacks.
Batonnet is also a gateway to many other knife cuts. Once you know how to batonnet, you can get ready for a lot of fun knife cutting ahead — the julienne, the fine brunoise, the medium dice. The batonnet removes any skin, rough edges, and lopsided curves, and leaves you with a sizeable stick, and the perfect starting point for a number of knife cutting possibilities.
The Tools You Need to Make a Batonnet Cut
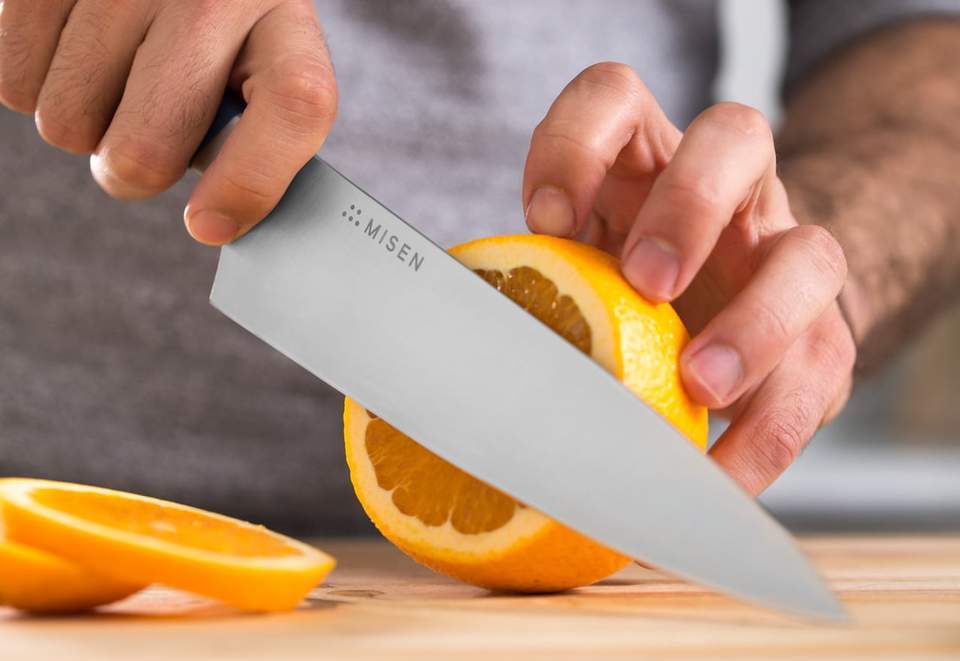 A sharp knife and sturdy cutting board are the two essential tools for any type of food preparation.
When preparing for any kind of cutting, it’s essential to have a good, sharp knife and a stable cutting board. Attempting to use a dull knife will only leave you with irregular, ragged pieces. A dull knife has to be forced to go through raw food, which takes more time and effort, and can potentially lead to accidents.
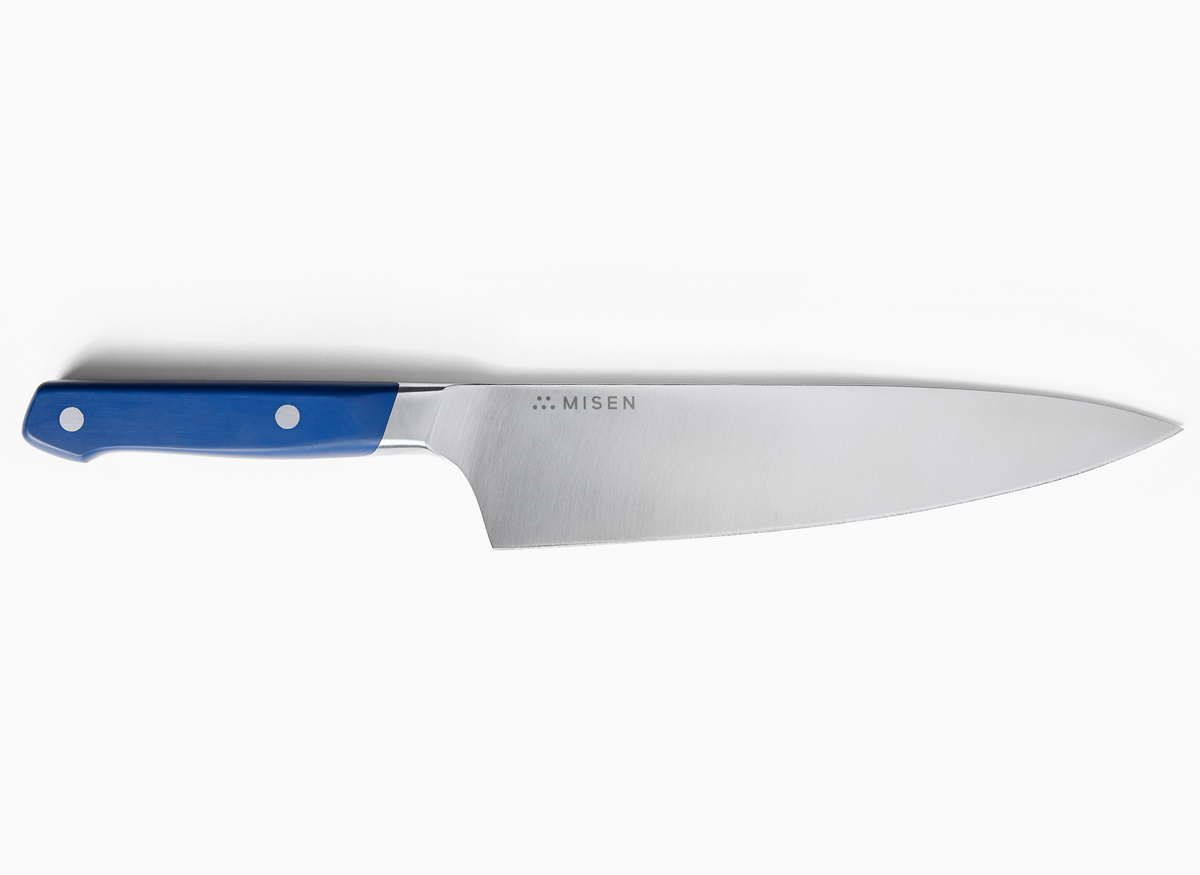
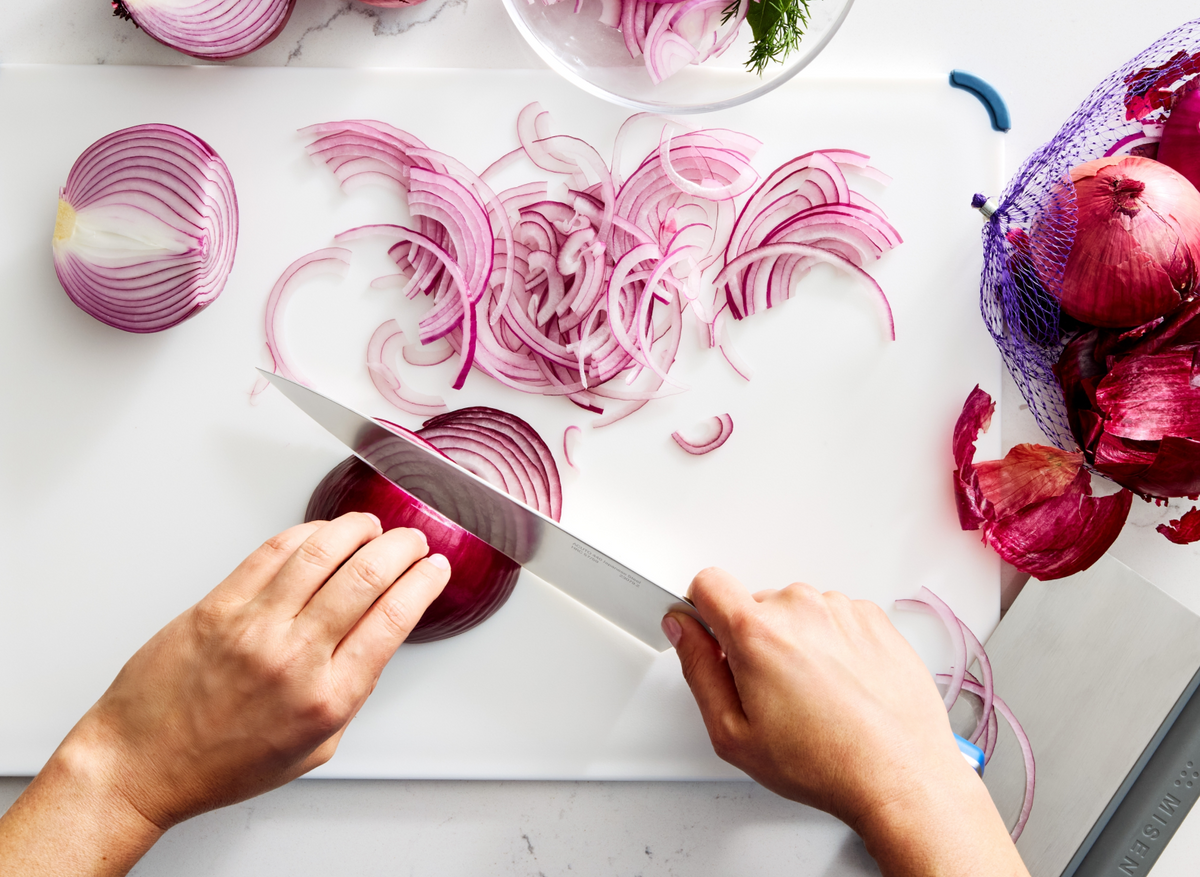
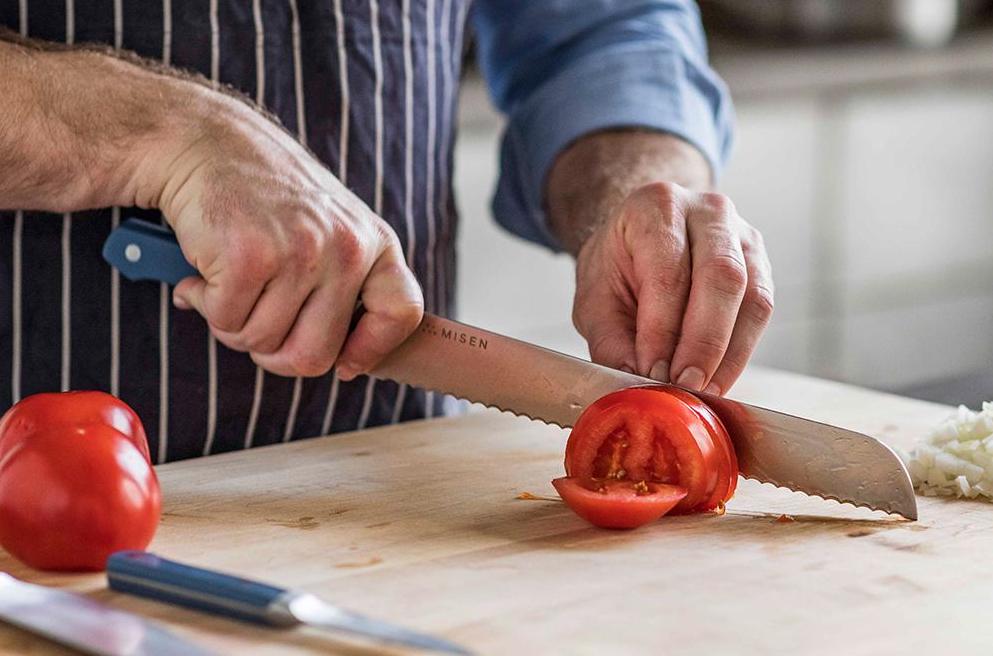
On the other hand, a sharp quality knife (a chef's knife provides the perfect size) can help you slice and dice with ease. Hold your knife comfortably with your thumb and pointer finger on opposite sides of the blade (at the top), and the other three fingers wrapped securely under the handle. Use your other hand to anchor the ingredient in place as you cut, always keeping your fingertips curved under your knuckles, almost as if you’re gently clawing your nails into the flesh.
And of course, always make sure that you work on a secure surface. Your cutting board should lay flat on the counter or table without rocking or slipping as you slice. (If it doesn’t, placing a damp cloth or paper towel under the board should help secure it in place.)
It’s also a good idea to have a bowl nearby for all the scraps and maybe even a ruler or tape measure to serve as a guide.
How to Batonnet
Before you make your first slice, start by making sure all the ingredients have been thoroughly washed. Peel the ingredient if needed, and slice off any ends (i.e., the top of a carrot or the flower end of a zucchini). This step is also referred to as “topping and tailing.”
Next, cut off all sides of the ingredient to create a square or rectangular shape. Take the squared off piece and cut it crosswise into 2-2 ½ inch pieces. Then take each piece and cut it lengthwise at every ¼ inch, leaving you with a stack of tiny rectangles. Stack these rectangles, and again, cut them lengthwise at every ¼ inch. (You can also opt to cut each rectangle individually, especially if you’re just starting.) Once you’re done, you should have a good amount of batonnet cut ingredients, ready for cooking or eating.
And all the scraps left after cutting can be used to make a nutritious soup, stock, or smoothie.
How to Batonnet a Carrot
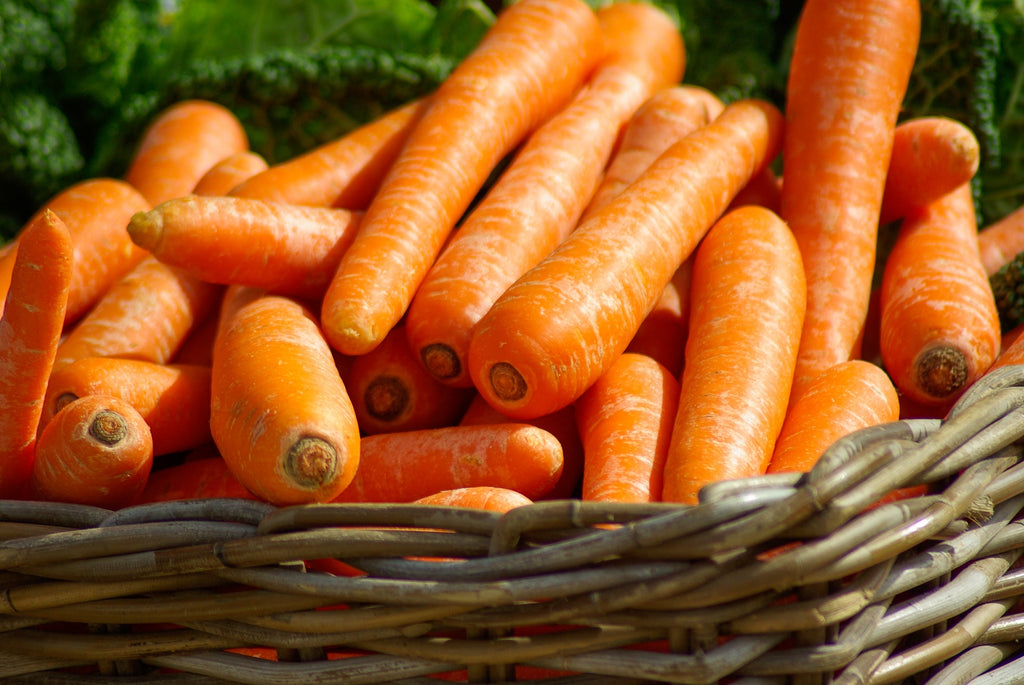 Carrots are a great vegetable to batonnet, as their long, straight shape makes them easy to cut into sticks.
Carrots lend themselves well to batonnets, as they’re typically already long and straight. Choose carrots that are long and at least a few inches thick to make the most of your batonnet.
Start by washing and peeling the carrot. Slice off the carrot top and tip, removing any scraggly or bruised parts, and cut the carrot crosswise at every 2-2 ½ inches. (In this case, it’s best to divide the carrot before squaring it off, as the top parts are wider and can usually yield more pieces. Squaring off the entire carrot can lead to more waste.)
Take each piece and square it off, cutting thin slices off each side. This should give you a few neat carrot rectangles. Placing each rectangle on one side, cut it lengthwise at every ¼ inch. Then take each piece and cut it lengthwise again at ¼ inch. After your final cut, you should have a nice pile of well-cut carrot batonnets.
How to Batonnet a Potato
Potatoes are another ingredient that are often prepared using the batonnet cut. After properly washing your potato (and peeling if the recipe calls for it), cut off both ends on the long side and square off each side to form a large rectangle. This time, start by slicing the rectangle lengthwise into ¼-inch planks. (Potatoes and other rounder produce generally have an equal width throughout the entire piece. Therefore, they can be squared off first before being sliced into segments.)
Pile the planks together, and slice them lengthwise again into ¼-inch sticks. Finally, take all the potato sticks and cut them crosswise down to 2–2-½-inches, leaving you with uniform small pieces and the makings of some delicious french fries.
Batonnet All Day
Although you may not have heard of it, odds are you’ve already seen and eaten batonnet cut food many times before. Batonnet is one of the most popular knife cuts, used in many snacks and side dishes, and used as the starting point for a number of other cuts.
Mastering the batonnet cut is a good way to get started on the basics of food preparation, as well as to sharpen your overall knife skills. Practice your batonnet on a few carrots or potatoes, and you’ll see how the simple new cut will work wonders on your future side dishes.
