How to Cook Steel Cut Oats in the Microwave: Quick and Easy Tips

Cooking steel cut oats in the microwave is a quick and convenient way to enjoy this nutritious breakfast. This guide covers the benefits of steel cut oats, how they differ from rolled oats, and provides step-by-step instructions for perfect microwave preparation.
Understanding Steel Cut Oats
Nutritional benefits of steel cut oats
Steel cut oats pack a powerful nutritional punch while ranking low on the glycemic index. A 40g serving provides 4g of fiber, including beta-glucan, which helps lower cholesterol and reduce heart disease risk. The high fiber content aids digestion, helps manage weight, and stabilizes blood sugar levels. Steel cut oats also deliver 5g of plant-based protein per serving, essential iron, and antioxidants called phenols that reduce inflammation[1].
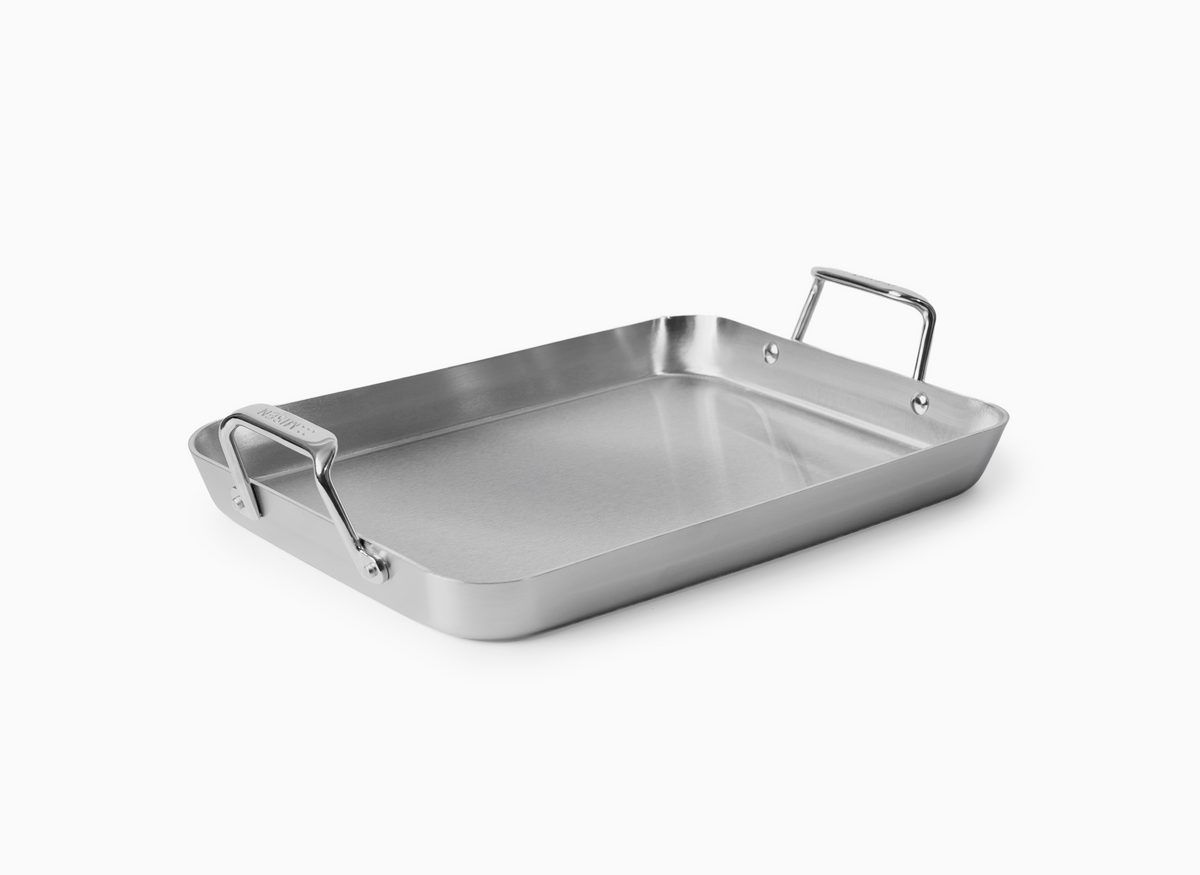
A high-quality carbon steel pan can be used for toasting steel cut oats before cooking, enhancing their nutty flavor.
Differences between steel cut and rolled oats
Steel cut oats are whole oat groats chopped into 2-3 pieces, preserving their dense, chewy texture and nutty flavor. Rolled oats undergo more processing - the groats are steamed and flattened, creating a softer texture that cooks faster. This processing difference affects digestion: steel cut oats have a lower glycemic index and digest more slowly, providing sustained energy. While both varieties maintain similar nutritional profiles, steel cut oats take 15-30 minutes to cook versus 5 minutes for rolled oats[2].
Why microwave cooking works for steel cut oats
Microwaving steel cut oats works by rapidly heating water molecules, causing them to vibrate and create friction that cooks the oats from the inside out. The electromagnetic waves penetrate the tough outer hull more effectively than traditional stovetop methods. This process takes about 10 minutes total - significantly faster than the 30 minutes needed for stovetop cooking. The key is using a large microwave-safe bowl to prevent overflow, as the rapid heating causes dramatic bubbling and expansion[3].
Preparing Your Ingredients and Equipment
Choosing the right microwave-safe bowl
Use a deep microwave-safe bowl that can hold 8 cups of liquid, even though you'll only add 2 cups for cooking. This extra space prevents overflow since steel cut oats bubble and expand dramatically during cooking due to their high starch content. Glass or ceramic bowls work best since they distribute heat evenly and won't warp. For single servings, a 1.5-2.5 quart bowl provides adequate space, while larger 2.5+ quart bowls accommodate double portions[4].
Proper oats to water ratio for microwaving
For perfect microwaved steel cut oats, use a 1:4 ratio - combine 1/2 cup oats with 2 cups liquid (water or milk). This ratio ensures the oats cook evenly while absorbing enough liquid to achieve an ideal creamy texture. Water creates a lighter consistency, while milk adds richness and protein. For creamier results, use a combination of water and milk. Rinse the oats before cooking to remove excess starch that can make them overly gelatinous[5].
Optional ingredients for flavoring
Steel cut oats can be enhanced with both sweet and savory ingredients added before, during, or after cooking. For natural sweetness, mash a ripe banana into the oats before microwaving or add diced apples with extra cinnamon. Fresh fruits like berries, peaches, or sliced bananas add nutrients and natural sweetness, while dried fruits provide concentrated flavor. For added protein and healthy fats, incorporate chopped nuts, nut butters, or seeds. Warming spices like cinnamon, nutmeg, or pumpkin pie spice complement the oats' natural nuttiness[6].
Step-by-Step Microwave Cooking Process
Initial microwave cooking time and power settings
Start with 1/2 cup steel cut oats and 2 cups water in a deep microwave-safe bowl. Microwave on high power for 5 minutes, then carefully remove and stir thoroughly. Return to microwave for another 5 minutes. The total cooking process takes about 10-15 minutes depending on your microwave's wattage. Let the oats rest for 1-2 minutes after cooking to achieve optimal thickness. For consistent results, cook in 2-3 minute increments while monitoring to prevent overflow, especially during the final minutes when the mixture is most likely to bubble up[7].
Stirring techniques for even cooking
Stir steel cut oats every 2-3 minutes during microwaving to ensure even cooking and prevent overflow. Pay special attention during the final minutes of cooking when the mixture becomes thickest and most likely to bubble over. Use a long-handled spoon and stir from the bottom up, incorporating any oats that stick to the sides of the bowl. This mixing technique helps the oats absorb water uniformly and develop their signature creamy-yet-chewy texture[8].
Final microwave session for desired consistency
After the initial 10 minutes of cooking, assess the oats' consistency. If they're still too liquid, microwave in 1-minute intervals until reaching desired thickness. The oats should be creamy yet maintain distinct, chewy pieces - not completely broken down. Let the cooked oats stand for 1-2 minutes after final heating, as they continue thickening during this rest period. For thicker oatmeal, extend the final cooking time by 1-2 minutes; for looser consistency, stir in additional hot water or milk 2 tablespoons at a time[9].
Troubleshooting Common Issues
Preventing overflow in the microwave
Three key techniques prevent steel cut oats from overflowing in the microwave. First, use a bowl at least 1.5-2.5 quarts in size - the extra headspace accommodates expansion as the oats cook. Second, microwave in 2-3 minute intervals, stirring between each to release trapped steam and redistribute the mixture. Third, reduce the microwave power to 50% or lower, which allows the oats to cook more gradually without violent bubbling. This slower cooking method takes slightly longer but eliminates messy overflows[10].
Adjusting cooking time for different microwave wattages
Microwave wattages significantly impact steel cut oats cooking times, requiring adjustments for optimal results. A 1000-watt microwave typically needs 10 minutes total cooking time, while lower-wattage models may require 12-15 minutes to achieve the same consistency. For 700-watt microwaves, extend the initial 5-minute interval to 7 minutes, maintaining the same stirring frequency. Higher-wattage microwaves (1200+ watts) may only need 8-9 minutes total, but require more frequent stirring to prevent overflow[11].
Fixing undercooked or overcooked oats
For undercooked oats, microwave in 1-minute intervals, stirring between each cycle until reaching desired consistency. Add 2-3 tablespoons of hot water or milk if the mixture becomes too thick during additional cooking. For overcooked, gummy oats, stir in a splash of cold milk to break up the gelatinous texture and thin the consistency. If oats are stuck together in clumps, vigorous stirring with a fork helps separate the grains. The ideal texture should maintain distinct, chewy pieces while being creamy overall - not completely broken down or mushy[12].
Serving and Customizing Your Microwaved Steel Cut Oats
Adding toppings and mix-ins for extra flavor
Transform basic steel cut oats into a nutrient-rich meal by adding strategic toppings and mix-ins. Fresh fruits provide natural sweetness and essential vitamins, while dried fruits offer concentrated flavors and energy. For protein and healthy fats, incorporate chopped nuts, seeds, or nut butters. Warming spices like cinnamon, cardamom, turmeric, or nutmeg complement the oats' natural nuttiness while adding anti-inflammatory benefits. A splash of milk or dollop of Greek yogurt adds creaminess and protein, while a drizzle of maple syrup or honey provides measured sweetness without overwhelming the dish[13].
Storage tips for leftover cooked steel cut oats
Store cooked steel cut oats in airtight containers for up to 5 days in the refrigerator, portioning them into individual servings for easy reheating. The oats continue absorbing liquid during storage, becoming creamier over time. For longer storage, freeze individual portions in freezer-safe containers or muffin tins for up to 3 months. Let frozen portions thaw overnight in the refrigerator before reheating. Keep toppings separate during storage, especially fresh fruits and nuts, to maintain their texture and prevent sogginess[14].
Reheating methods for pre-cooked steel cut oats
Reheat pre-cooked steel cut oats in the microwave using 30-second intervals on high power, stirring between each interval until warmed through. For optimal texture, add 2-3 tablespoons of hot liquid (water or milk) during the first minute of reheating to help break up the thickened oats. When reheating larger portions on the stovetop, warm over medium heat while stirring constantly and gradually incorporate additional liquid to achieve desired consistency. Single servings typically need 1-2 minutes total microwave time, while stovetop reheating takes 3-5 minutes[15].
Conclusion
In conclusion, mastering the art of cooking steel cut oats in the microwave opens up a world of quick, nutritious breakfast options. With the right techniques and a bit of practice, you can enjoy perfectly cooked steel cut oats in a fraction of the time it takes on the stovetop. Ready to elevate your breakfast game? Shop Now for high-quality kitchen tools that will make your cooking experience even better.
- Steel cut oats offer significant nutritional benefits, including fiber and protein.
- Microwaving steel cut oats takes about 10 minutes, much faster than stovetop cooking.
- Use a 1:4 ratio of oats to liquid for ideal microwave cooking.
- Stir the oats every 2-3 minutes during cooking to ensure even heating.
- Let the oats rest for 1-2 minutes after cooking to achieve optimal thickness.
- Medical News Today. (n.d.). Rolled vs. steel cut oats: Nutrition, benefits, and uses.
- Healthline. (n.d.). Steel Cut Oats vs. Rolled Oats: What's the Difference?
- Jessica Gavin. (n.d.). How to Cook Steel Cut Oats.
- The Incredible Bulks. (n.d.). Microwave Steel Cut Oats.
- Daisy Beet. (n.d.). 10 Minute Steel Cut Oats in the Microwave.
- Slender Kitchen. (n.d.). The Best Microwave Oatmeal.
- Daisy Beet. (n.d.). 10 Minute Steel Cut Oats in the Microwave.
- Jessica Gavin. (n.d.). How to Cook Steel Cut Oats.
- Daisy Beet. (n.d.). 10 Minute Steel Cut Oats in the Microwave.
- Lifehacker. (n.d.). An Easy Way to Make Oatmeal in the Microwave Without It Exploding.
- Live Eat Learn. (n.d.). How to Cook Steel Cut Oats.
- The Incredible Bulks. (n.d.). Microwave Steel Cut Oats.
- Sweet Peas and Saffron. (n.d.). Healthy Steel Cut Oats Recipes.
- Slender Kitchen. (n.d.). Make Ahead Stovetop Steel Cut Oats.
- Simply Recipes. (n.d.). How to Make Overnight Oatmeal.
