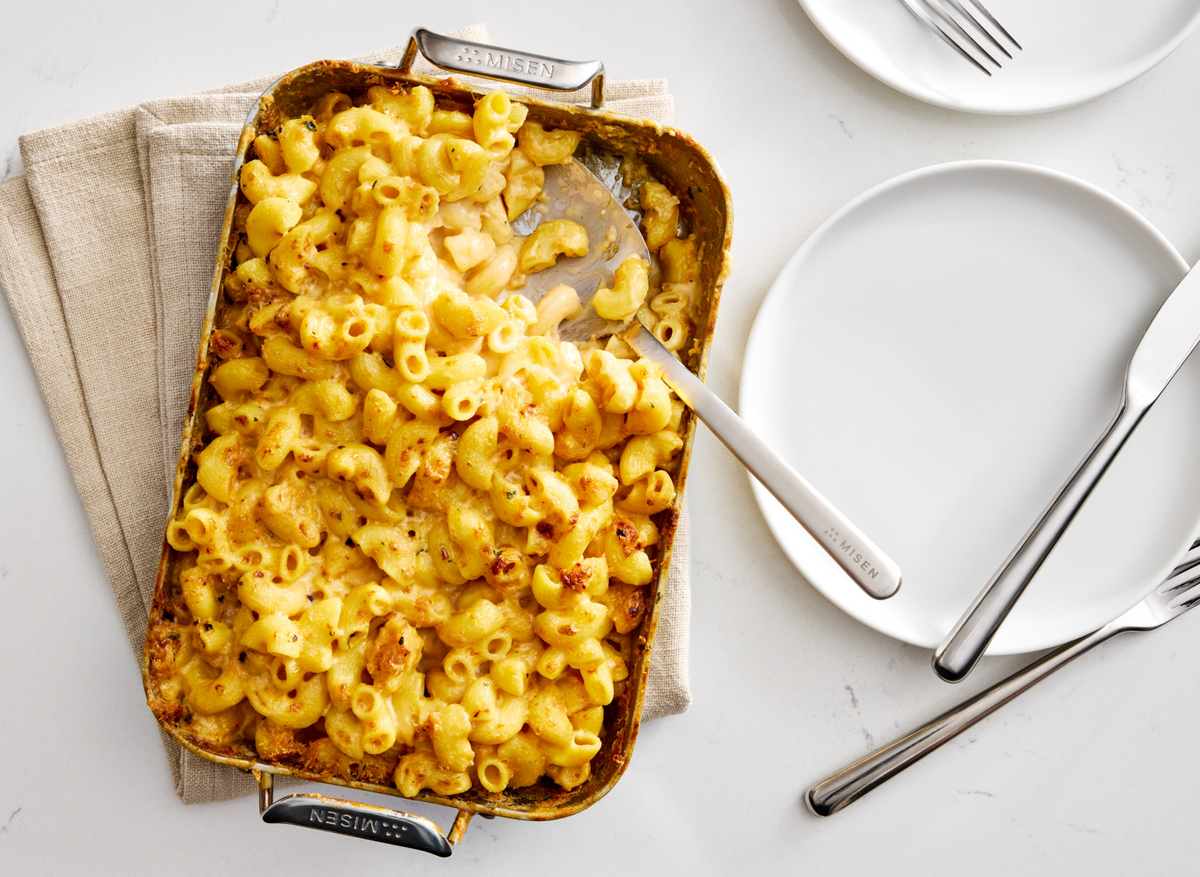
How to Cook with Stainless Steel

Stainless steel cookware offers durability, versatility, and excellent heat distribution when used properly. This guide covers everything you need to know about cooking with stainless steel, from understanding its composition to mastering techniques for perfect results.
- Stainless steel combines iron, chromium, and nickel for a durable, non-reactive cooking surface.
- Proper preheating and oil selection are crucial for preventing food from sticking.
- Tri-ply or multi-ply construction provides optimal heat distribution.
- Seasoning creates a temporary non-stick surface through oil polymerization.
- Mastering heat management and searing techniques elevates your cooking results.
Understanding Stainless Steel Cookware
Composition and benefits of stainless steel
Stainless steel cookware combines iron, carbon, chromium, and nickel to create a durable cooking surface. The most common grade, 18/10 stainless steel, contains 18% chromium and 10% nickel. This composition offers several key advantages:
- Resistance to rust and corrosion
- Non-reactive surface for cooking any type of food
- Durability and scratch resistance
- Ability to handle high-heat cooking methods
While stainless steel alone has relatively low thermal conductivity, quality cookware incorporates aluminum or copper cores to improve heat distribution. With proper care, stainless steel pots and pans can maintain their functionality and appearance for over a decade.[1]
Types of stainless steel cookware
Stainless steel cookware comes in several key configurations that affect performance and durability:
- Tri-ply construction: Sandwiches an aluminum or copper core between stainless steel layers
- Five-ply and seven-ply options: Add additional metal layers for enhanced heat retention
- Fully-clad construction: Multi-layer metal extends up the sides of the pans for more even heating
Essential pieces typically include frying pans, saucepans, stockpots, and sauté pans. Some sets incorporate copper cores for exceptional heat responsiveness, while others use aluminum for excellent conductivity at a lower price point.[2]
Choosing the right stainless steel pans
When selecting stainless steel pans, focus on construction quality and material composition:
- Look for 18/10 or 18/8 grade stainless steel for superior corrosion resistance and durability
- Choose pans with noticeable heft, indicating thicker materials and better heat distribution
- Consider fully-clad construction with aluminum or copper cores for optimal heat distribution
- Examine handle construction - riveted handles offer better durability than spot-welded ones
- Verify the grade marking stamped on the bottom of the pan
For optimal value, consider tri-ply construction which balances cost and performance, though five-ply options provide enhanced heat retention for serious cooks.[3]
Preparing Your Stainless Steel Pan
Proper seasoning techniques
Seasoning stainless steel creates a temporary non-stick surface through polymerization of oil:
- Heat the clean, dry pan over medium heat until water droplets bead and roll across the surface
- Add a thin layer of high smoke-point oil like avocado or grapeseed
- Heat until the oil starts to smoke, then remove from heat and let cool completely
- Wipe away excess oil with paper towels
This process bonds oil molecules to the metal's microscopic pores, forming a protective cooking layer. Unlike cast iron, stainless steel needs re-seasoning before each use.
Preheating your pan
Proper preheating is crucial for preventing food from sticking to stainless steel:
- Start with an empty pan over medium heat
- Let it warm until a water droplet beads and rolls across the surface like mercury (around 200-225°F)
- Test the temperature by flicking a small water droplet onto the dry pan:
- If it sizzles, the pan is at medium heat
- If it rolls around in a ball, you've reached medium-high heat
- Only add oil after the pan reaches proper temperature
For optimal results, let proteins come to room temperature before cooking to prevent the pan from cooling too much when food is added.[4]
Selecting the right cooking oils
Choose oils based on their smoke points to match your cooking temperature and prevent sticking:
- High-heat cooking (searing, stir-frying): Use refined oils with smoke points above 450°F (e.g., avocado, safflower, refined coconut oil)
- Medium-heat cooking (sautéing): Use oils that smoke between 325-400°F (e.g., extra virgin olive oil, grapeseed oil, unrefined avocado oil)
Avoid unrefined oils with low smoke points (below 320°F) for cooking, as they'll break down and create sticky residue. Add oil only after properly preheating the pan to prevent it from seeping into the metal's pores.[5]
Mastering Cooking Techniques with Stainless Steel
Achieving the perfect sear
A perfect sear requires understanding the Leidenfrost effect - the physics behind non-stick cooking on stainless steel:
- Heat your empty pan to 225°F, when water droplets bead and roll across the surface
- Add high smoke-point oil only after reaching proper temperature
- Ensure meat reaches room temperature before cooking
- Once food hits the pan, resist moving it for 3-5 minutes for steaks or 7-8 minutes for skin-on chicken
- The protein will naturally release when properly seared
- Reduce heat slightly after adding food to maintain optimal searing temperature without burning
This technique creates a deeply browned, flavorful crust while preventing sticking - the hallmark of professional-level searing.[6]
Managing heat distribution
Stainless steel cookware requires strategic heat management for optimal results:
- Start with medium heat and let the pan fully preheat (around 225°F)
- Once food is added, reduce heat slightly to prevent burning while maintaining proper cooking temperature
- Adjust burner size to match pan diameter to prevent wasting energy and overheating handles
- For large pans, rotate them occasionally to compensate for hot spots, especially on electric ranges
- When adding multiple ingredients, place them in a circular pattern starting from the outside edge working inward to maintain even cooking temperatures
Professional kitchens often keep pans moving slightly during cooking to prevent hot spots and ensure consistent results.[7]
Preventing food from sticking
Preventing food from sticking to stainless steel requires mastering three key elements: temperature, timing, and technique:
- Heat your pan until water droplets dance across the surface (Leidenfrost point)
- Add oil only after reaching proper temperature
- For proteins, let them reach room temperature and pat them dry before cooking
- Once food hits the pan, resist the urge to move it until a proper crust forms
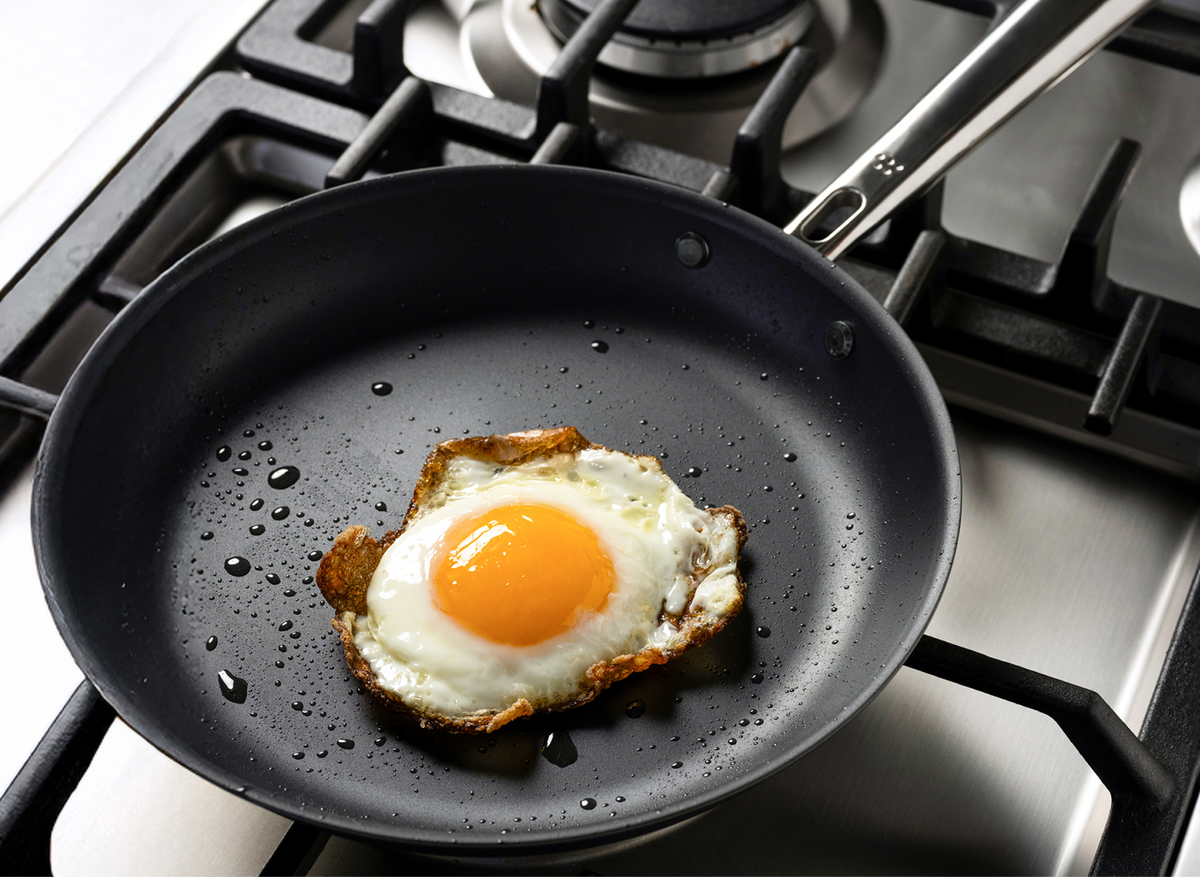
- For delicate items like eggs, maintain medium heat and use enough fat to create a thin barrier between the food and cooking surface
- Reduce temperature once food is added to prevent burning while maintaining proper cooking temperature
This approach works particularly well for traditionally challenging foods like fish fillets or scrambled eggs that often stick to stainless steel.[8]
Cleaning and Maintaining Stainless Steel Cookware
Daily cleaning methods
Proper daily cleaning starts after letting pans cool completely:
- Rinse excess food with warm water
- Soak briefly in warm, soapy water
- Use a non-abrasive sponge to clean the surface, avoiding steel wool or harsh scrubbers
- For routine cleaning, dish soap and warm water are sufficient - scrub in circular motions following the steel's grain pattern
- Dry immediately with a microfiber cloth to prevent water spots and mineral deposits
For stuck-on food, create a paste with baking soda and water, scrub gently, then rinse thoroughly. Never let stainless steel air dry, as this can lead to water spots and potential corrosion over time.[9]
Removing stubborn stains and discoloration
Different cleaning methods target specific types of stains on stainless steel:
- Chalky white residue (hard water): Boil a mixture of one part vinegar to three parts water, then wash normally with soap
- Rainbow discoloration (overheating): Wipe down with vinegar
- Burnt-on food and oil stains: Sprinkle baking soda, add water to cover, bring to a boil, then scrub in circular motions once cooled
Never use steel wool, bleach, or harsh abrasives as these can permanently damage the surface. Address stains promptly and always let pans cool completely before cleaning to prevent warping.[10]
Proper storage to prevent damage
Proper storage starts with thoroughly drying cookware to prevent water spots and potential corrosion:
- Stack pans with protective layers like paper towels or pan protectors between them
- For pans with curved sides, avoid nesting them too tightly
- Store lids separately or place them upside down on pots to prevent moisture accumulation and odors
- If hanging pots, ensure hooks or racks can support their weight without straining handles or rims
- Keep cookware away from areas prone to temperature fluctuations or moisture
When stacking multiple pieces, arrange them by size with the heaviest items at the bottom to prevent unnecessary pressure on lighter pieces.[11]
How to Cook with Stainless Steel: Advanced Tips and Tricks
Deglazing for flavorful sauces
Deglazing transforms browned food particles (fond) stuck to stainless steel pans into rich, flavorful sauces:
- After searing meat or vegetables, add aromatics like shallots or garlic to the hot pan
- Once aromatics soften, pour in a deglazing liquid (wine, stock, or citrus juice)
- Scrape the bottom with a wooden spoon to release the caramelized bits
- Let the liquid reduce by half to concentrate flavors
- Finish with butter or cream to create a silky sauce
The key is matching your deglazing liquid to your protein - dry white wine for poultry and fish, red wine or bourbon for red meats.[12]
Using stainless steel for baking and broiling
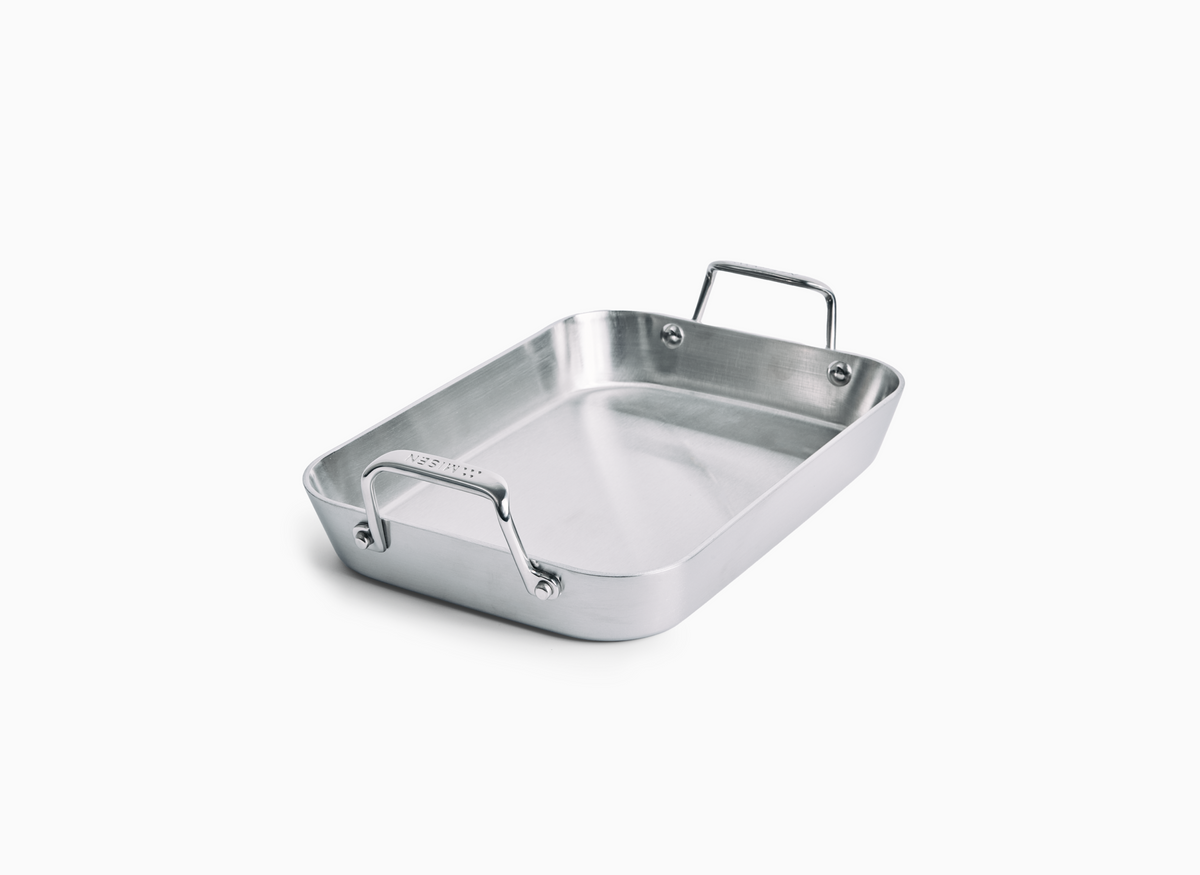
Stainless steel cookware excels in high-temperature oven applications, handling temperatures up to 500°F without warping or degrading:
- For baking, preheat the pan alongside your oven to ensure even heat distribution
- When broiling, position racks 4-6 inches from the heating element and preheat empty pans for 5 minutes
- Avoid using glass lids in the oven as they typically max out at 350°F - opt for metal lids or leave uncovered
- Use dry potholders when transitioning between stovetop and oven, as wet ones conduct heat rapidly through stainless steel handles
The pan's ability to go from stovetop to oven seamlessly makes it perfect for dishes that require both cooking methods, like pan-seared then oven-finished steaks or starting a frittata on the stovetop before finishing under the broiler.
Troubleshooting common cooking issues
Common stainless steel cooking issues have straightforward solutions:
- Food sticking: Ensure proper preheating and temperature control
- White chalky spots: Remove with a vinegar-water solution before regular washing
- Surface pitting: Clean immediately after cooking acidic foods or using salty solutions
- Burning or sticking despite proper preheating: Reduce heat until water droplets slide and bounce rather than instantly evaporating
Temperature management is crucial - both overheating and underheating lead to sticking issues, while adding cold food to a properly heated pan can disrupt the cooking temperature.[13]
Conclusion
In conclusion, mastering the art of cooking with stainless steel opens up a world of culinary possibilities. From achieving the perfect sear to creating flavorful pan sauces, these techniques will elevate your cooking game. Ready to upgrade your kitchen arsenal? Shop our collection of premium stainless steel cookware and experience the difference quality tools can make in your cooking.
- Steel and Pipe Supply. (n.d.). Stainless Steel Cookware Guide.
- Food & Wine. (n.d.). Guide to Stainless Steel Cookware.
- The Cookware Advisor. (n.d.). Buying Stainless Steel Cookware? Read This First!
- The Practical Kitchen. (n.d.). Why Heat Stainless Steel Pans? FAQ.
- Mountain Rose Herbs. (n.d.). How to Choose the Best Culinary Oil (with Oil Smoke Point Chart).
- The Intrepid Gourmet. (2019). How to Cook with Stainless Steel.
- Blackmoor Home. (n.d.). Mastering the Art of Cooking with Stainless Steel Cookware.
- Food Network. (n.d.). How to Make Stainless Steel Nonstick.
- Martha Stewart. (n.d.). How to Care for Stainless Steel Pans to Prevent Burning and Warping.
- Better Homes & Gardens. (n.d.). How to Clean Stainless Steel Pans.
- Sur La Table. (n.d.). How to Make Stainless Steel Cookware Last.
- Savory Simple. (n.d.). How to Make a Pan Sauce.
- Welcome to My Kitchen. (2024). Stainless Steel Cookware: Common Problems and Solutions.
