How to Sharpen a Knife Like a Pro
 A sharp knife makes your kitchen prep easier.
- Dull knives are more dangerous than sharp ones.
- All knives will eventually dull, and require sharpening and regular honing to maintain optimal performance.
- There are three sharpening methods for kitchen knives: kitchen sharpeners, sharpening stones, and professional sharpening services.
In our minds, everyone wants sharp kitchen knives. Picture perfect blades that slice with ease. In reality, most people continue cutting, chopping, and hewing away with worn-out knives, leaving behind a slew of poorly cut ingredients.
There are many reasons for this: Most people don't think it’s worth the extra time and effort, others aren't aware their knives need sharpening, or if they are, they don't know how to sharpen them.
Dull knives, however, are more dangerous than sharp ones. This sounds counterintuitive, as dull things are rarely as effective as their sharper equivalents. But once you actually get cutting, it’s easy to see why keeping a dull knife can be detrimental.
Why Sharpen a Dull Knife?
 There's less risk of your knife slipping when it's sharp.
Let's start with the difference between a sharp blade and a dull blade. Sharp blades have an even cutting edge. All marks have been smoothed out, and the blade is sharpened in one uniform direction. A sharp knife slices through objects with ease, making food prep a pleasant experience.
A dull blade, on the other hand, doesn’t work this way. From a user's perspective, a dull blade makes it hard to cut, slice, or do most of the things we expect a knife to do. According to Popular Science, from a microscopic perspective, a dull blade looks “like a piece of tissue paper that’s been haphazardly torn,” and that can lead to lots of problems.
It Doesn’t Cut Properly
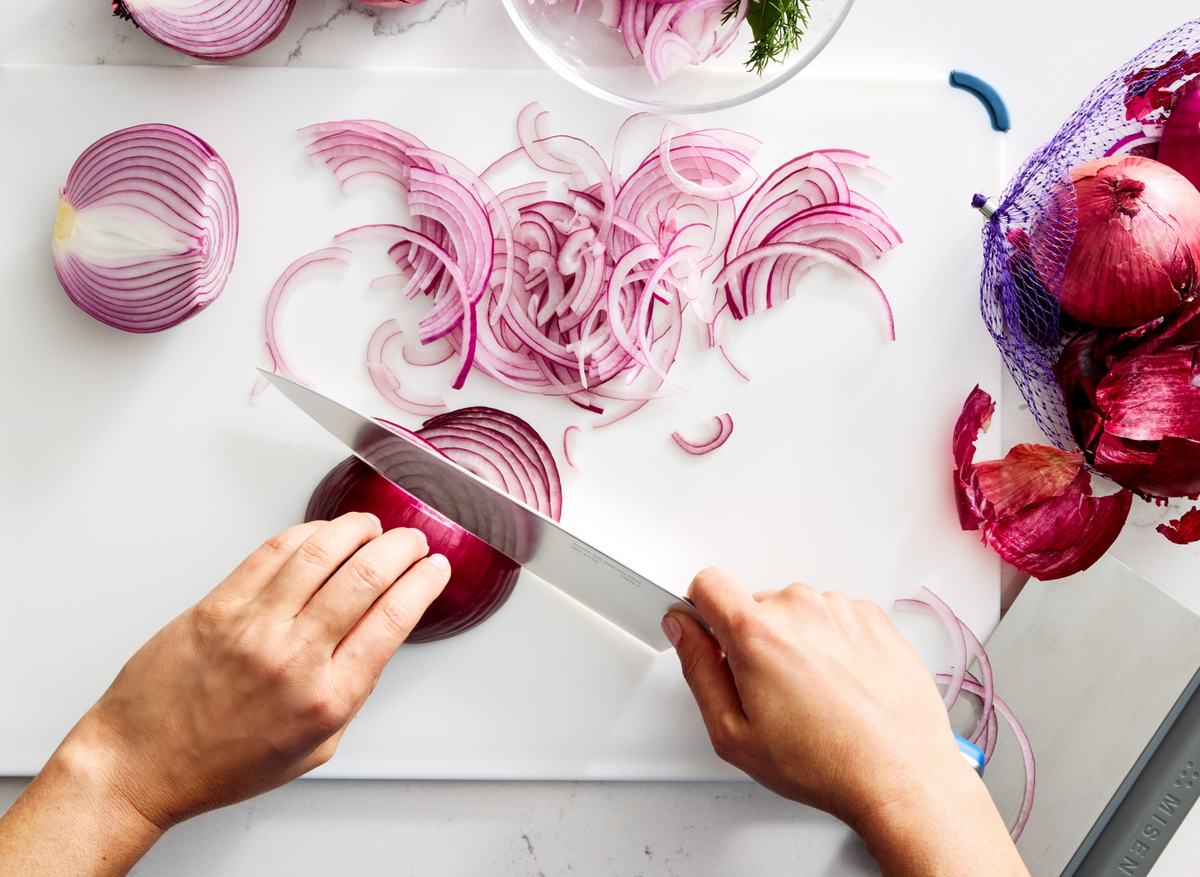
Dull blades have an uneven edge that work in a clumsy, haphazard manner, and continuously snag on food as it makes its way down. The blade crushes and damages the area surrounding the cut, resulting in ragged pieces that don't cook properly.
It Results in Slower Prep Time
Using a dull knife starts your dish off with hacked ingredients and ends with uneven cooking. It also makes your cooking prep work much slower. Halving a chicken breast takes a few swipes. Dicing an onion is an eternity. This is true for every ingredient, every dish, every time you use a dull knife. Your time spent in the kitchen will be needlessly drawn out, which is not something a home cook wants at the end (or beginning) of the day.
It’s More Dangerous
The final — and most compelling — argument against dull blades is that they're dangerous. According to the University of Rochester Medical Center, “a dull blade requires more pressure to cut, increasing the chance that the knife will slip with great force behind it.”
Using a dull knife isn't so much slicing something as it is essentially pushing and forcing a metal edge to go through an object.
To put it bluntly, dull knives aren't in the shape they were designed for, and therefore can't perform the way they were intended to.
When Does a Knife Need Sharpening?
 With a sharpening machine, it can be difficult to sharpen the part of the blade closest to the handle.
But when do we know a knife should be sharpened? At what point do we give our cutlery some care?
New Knives
Out of the box, kitchen knives have what’s referred to as a “factory edge.” This is the specific sharp edge (angle, bevel, and shape) a manufacturer gives its knives before shipping them from the factory.
Many consider the factory edge an ideal standard, while some prefer to further sharpen the blades to their personal satisfaction before the very first use. For home cooking purposes, however, a factory edge will do the job.
Regular Sharpening
A general rule for knife sharpening is to do it after every 300 meals — every 6-12 months for moderate use, or 3-4 months for heavy use.
(Note that sharpening is different from honing, which maintains and realigns the knife’s edge. Honing should be done in between sharpenings, at least once a week.)
Numbers aside, a practical way to check if your knife has grown dull is with an everyday tomato. Place a firm tomato on a cutting board with the stem up. Put the knife blade on the top of the tomato without applying any pressure. Then, pull the knife toward you (by pulling your elbow back). If the knife cuts into the tomato, it’s still sharp. If the knife just dents or smashes the skin, it’s definitely in need of a good sharpening.
How to Sharpen a Knife?
 Trying honing your knife to see if that restores the edge before you sharpen it.
Getting a dull blade back in cutting form requires removing some of its metal and reshaping its sharp edge. There are three ways to do this: a knife sharpener, a sharpening stone (also referred to as a whetstone or water stone), or a professional service. Simply sending the knife to a sharpening professional is of course the easiest of the three, and one that Misen offers its customers starting at $11/knife.
But for those who like being hands-on and prefer taking care of their own knives, knife sharpeners and sharpening stones are good tools to master.
Knife Sharpeners
Knife sharpeners employ abrasive surfaces to grind away a dull edge. Available in electric and manual models, an electric knife sharpener features abrasives on spinning, motorized wheels, while a manual sharpener usually has abrasives formed in a V-shape for knives to run through.
The knife blade is inserted into the chamber and repeatedly pulled through at a set angle, removing any blunt and unaligned metal. This process is repeated for the other side of the knife.
Knife sharpeners are an easy, quick-fix solution, but are generally not recommended as they can remove more metal than necessary and compromise the knife’s integrity in the long run.
Sharpening Stones
Our favorite way to sharpen knives is using a sharpening stone. It may not be the fastest, but it’s reliable, versatile, and allows complete control over sharpening and shaping the blade’s edge.
Sharpening stones generally need to first be submerged in cold water. After about 5-10 minutes, or when the stone stops releasing bubbles, remove it and place it on a damp towel or stable surface. If the stone becomes dry during the sharpening process, splash some more water to keep it wet and prevent damage to the knife.
Holding the knife handle with one hand, face the knife edge away from you and position the blade against the stone. Position it at a 15-degree sharpening angle for Asian-style knives, and a 20-degree angle for Western-style knives. Use the fingers of your free hand to hold the blade in place, and run the knife against the stone in one smooth motion, going from the tip of the blade to its base.
Maintain a consistent angle and light pressure, and continue for about 10-15 passes or until you feel a burr (a slightly raised lip) along the entire blade edge. A burr indicates that the side has been thoroughly sharpened.
Flip the knife over and repeat the same number of passes on the other side. For those who want a sharper, more polished finish, you can switch to a fine grit stone and repeat the entire process.
The Final Cut
Good knives are ones that are sharp — allowing you to work faster, better, and safer. They are the foundational tools of cooking and are best maintained through regular honing and sharpening. This does take some effort and time, but the care put into cutlery is more than made up for by the ease and speed of prep work when you have a sharp knife set.
