How to Sharpen Kitchen Knives of All Shapes and Sizes
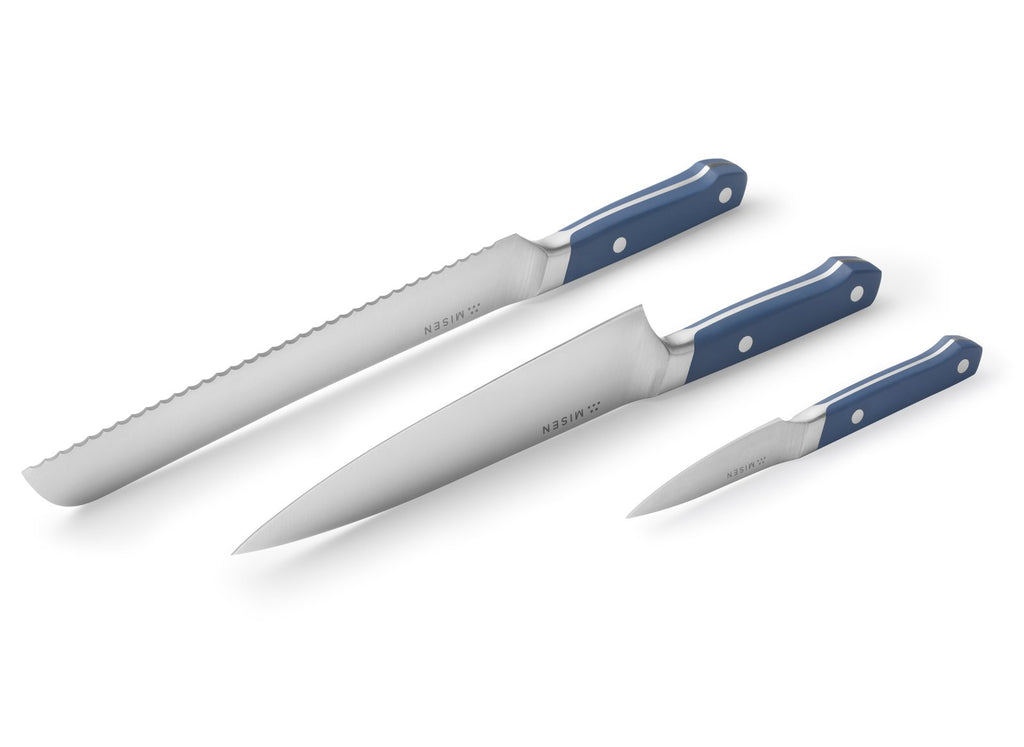 You need a different sharpening technique for each of your different knives.
- Each knife has a different sharpening technique, depending on the shape, size, and flexibility of the blade.
- The most common knife maintenance tools are honing rods for honing, and sharpening stones and electric and manual sharpeners for sharpening.
- Sharpening tools are available in different materials and ranges of grit.
Maintaining a sharp knife collection is the sign of a conscientious and caring cook. One that likes to eat well, takes time to prep properly, and has the right tools to make it all happen. This includes sturdy pots and pans, a stable cutting board, and yes, sharp knives.
Aside from being a hassle to use, dull knives are much more dangerous than sharp ones. Without a sharp cutting edge, you’re basically forcing the blade through food. This can easily cause you to lose your grip and lose control of the knife. For these reasons and more, a good cook will want to keep their knives sharp.
There's a lot of information about how to sharpen standard chef’s knives — honing and grinding till the blade is as sharp as new. But what about the supporting cutlery? The small paring knife, the toothy serrated knife, the bendy fillet and boning blades — how does one keep these in cutting form?
These particular blades aren't built or used the same way as your usual chef’s knife or santoku knife, and therefore can’t be maintained using the same sharpening methods. Learn about the finer points of how to sharpen and keep a cutting edge on these other important kitchen knives.
Paring Knives
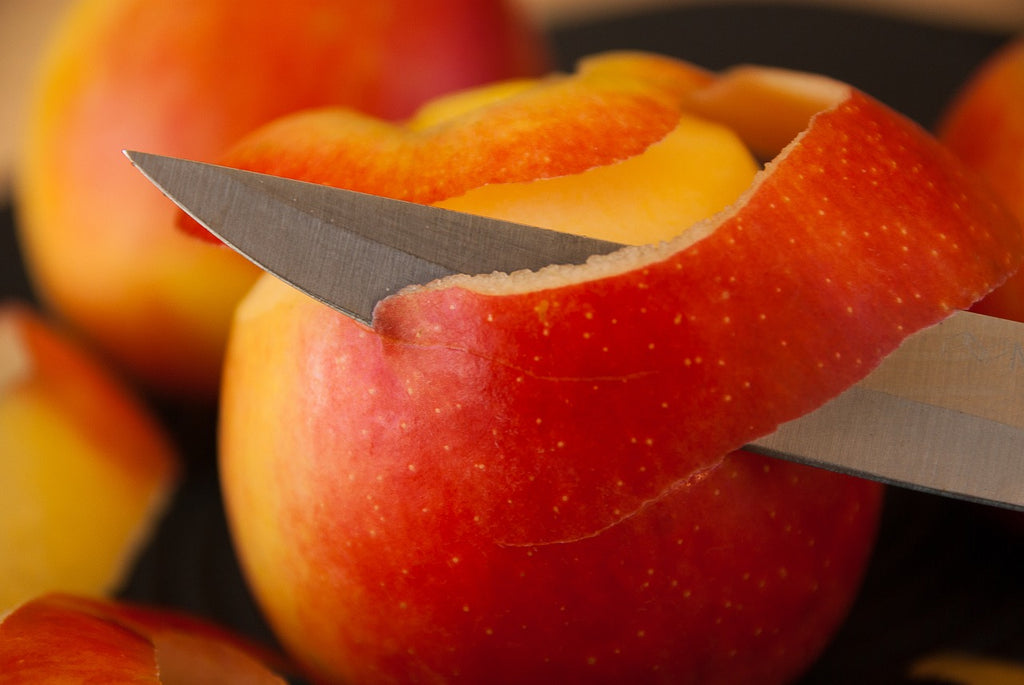 The detail work that you'll do with your paring knife requires a super sharp blade.
Paring knives are most similar to chef’s knives in shape — with a straight edge and spear-like tip — but are usually less than half the size. With a blade that’s only about 2-4 inches long, it’s good for a variety of small tasks from slicing bananas to deseeding chili peppers.
Used almost as often as chef’s knives (although for less rigorous work) paring knives can get dull quickly. Learning how to get them sharp and back in cutting shape is a useful skill for home cooks to have.
What You Need to Sharpen a Paring Knife
The best way to sharpen a paring knife would be to use a sharpening stone (also called a whetstone or water stone). This tool is great for knives of all lengths, giving users control over the angle and movement of the blade.
Sharpening stones come in all shapes, sizes, and grades of grit. Most will come with generalized rough and fine grit options, while more professional brands offer numbered grits — anything below 1,000 is a very coarse grit used to repair knives with chipped edges, 1,000-3,000 is a good medium grit to sharpen dull knives, and 4,000-8,000 is a fine grit to refine the edge of the knife after sharpening.
No matter what grit you choose, the majority of sharpening stones must be submerged in water for 5-10 minutes or until they stop producing bubbles. This indicates that the stone is fully saturated with water, an important step to smooth out the stone’s surface and prevent the blade from catching and creating more nicks.
How to Sharpen a Paring Knife
Now, we’re ready to sharpen. Start by placing the stone on a flat surface with the knife flat against the stone and the cutting edge of the blade facing away from you. With the edge still on the stone, raise the blade of the spine to a 12-18 degree angle.
This is a lower range than used for larger knives, which generally require a 15-20 degree angle. Lower angles produce edges that are sharper but also more prone to chipping, which is fine for paring knives and other utility tools, but not for something as heavily used as a chef’s knife.
The key to knife sharpening is to keep a constant angle. To do this, it helps to place your fingers on the blade as you guide it down the stone in a smooth diagonal sweep from the heel to the tip of the blade. Apply a gentle pressure, but don’t bear down or press the blade onto the stone.
Go through 10-15 passes on each side of the knife. If you’d like a bit more polish or have a second finer grit sharpening stone on hand, you can repeat the process for another round on each side.
Bread Knives and Serrated Knives
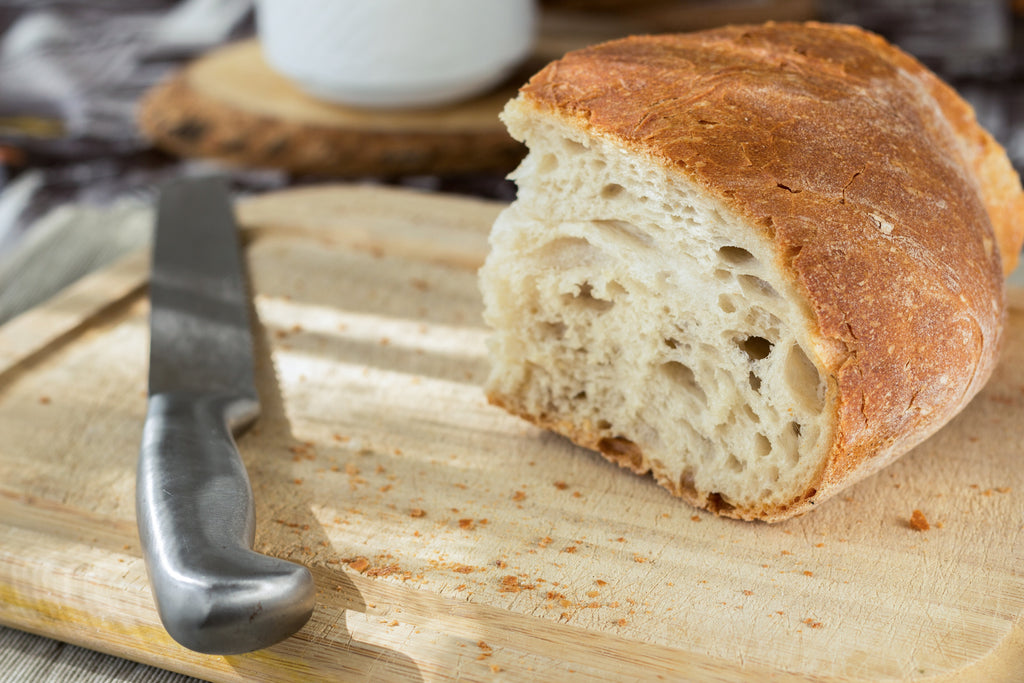 A serrated knife can't be sharpened on a sharpening machine.
Serrated knives are known for their tooth-like blades, which are beveled on one side and flat on the other. This unique serrated edge and one-sided anatomy naturally make them more difficult to sharpen than other straight-edged knives. Fortunately, serrated knives also tend to stay sharper for longer periods of time than other knives and need less maintenance, in general.
As you use a serrated knife, its pointy teeth get worn, while the recessed curves stay sharp. This enables them to still slice through food, even as they grow dull. But a sharp eye will notice the blade beginning to tear and shred rather than slice smoothly — a telltale sign that the blade needs to be sharpened.
What You Need to Sharpen a Serrated Knife
Rather than the usual sharpening stones, serrated knives require a honing steel (also referred to as a honing rod). While a honing steel is not technically a sharpening tool — it’s mainly used for knife maintenance in between regular sharpenings — it’s perfectly shaped for the grooves of a serrated blade.
Honing steel is made in stainless steel, ceramic, or diamond material. Stainless steel is the classic choice and comes in many options — smooth or ridged texture, square or round edges. It’s great for regular blade maintenance, but not recommended for some Japanese blades, which are made of harder steel and may chip on the steel rod (although those with a double bevel should be fine).
Ceramic rods are another great option for regular use, as they are gentle on knife blades while still creating a slight sharpening effect. However, they are quite brittle themselves and can break if not used carefully.
Diamond rods are the traditional tool of most butchers. With a core of stainless steel, they are then embedded with millions of diamond particles for added grit. They may not be a good choice for home chefs and frequent use, as the highly abrasive coating can take off more metal than you want.
Keep in mind that steel and ceramic material are very gentle on blades — they won’t remove significant amounts of steel the way a diamond rod or water stone would when honing a straight blade.
The most important feature of a honing rod is length. It’s best to get a rod at least 2-inches longer than the longest knife you plan to sharpen. Generally, a honing rod that’s at least 12-inches long is sufficient for most kitchen knives.
How to Sharpen a Serrated Knife
Keep in mind that you are only sharpening the side of the blade with the bevel — this is normally on the right when you’re holding the knife in cutting position. The opposite flat side should be left alone. Once you’ve located the beveled side of the blade, hold the knife blade-side up in one hand and the honing rod in the other hand.
Finding the correct sharpening angle is easy. Simply position the honing rod flush within one of the serrated scallops (known as a “gullet”) at an angle that matches the original angle. This is typically between 13–17 degrees, much shallower than many other knives.
Maintaining that angle throughout sharpening takes a bit more focus. An option is to rest the blade along the edge of a table first and then position the honing rod at the correct angle.
If the rod you’re using is tapered, align the rod to where its diameter fills the gullet completely. Do not go higher than this point while sharpening — you want to sharpen the serrations, not enlarge them.
Run the honing rod back and forth, using short, light strokes. Rotate it as you sharpen for consistent results. Do this about 5-10 times per gullet or until you feel a burr (a slightly raised bump of metal shavings) on the flat side of the blade. This indicates the gullet has been sufficiently sharpened, and you can move to the next one.
When you’re done sharpening all the gullets, flip the knife around and use a soft cloth to wipe away all the accumulated burrs. Give the knife a good cleaning before the next use.
Boning and Fillet Knives
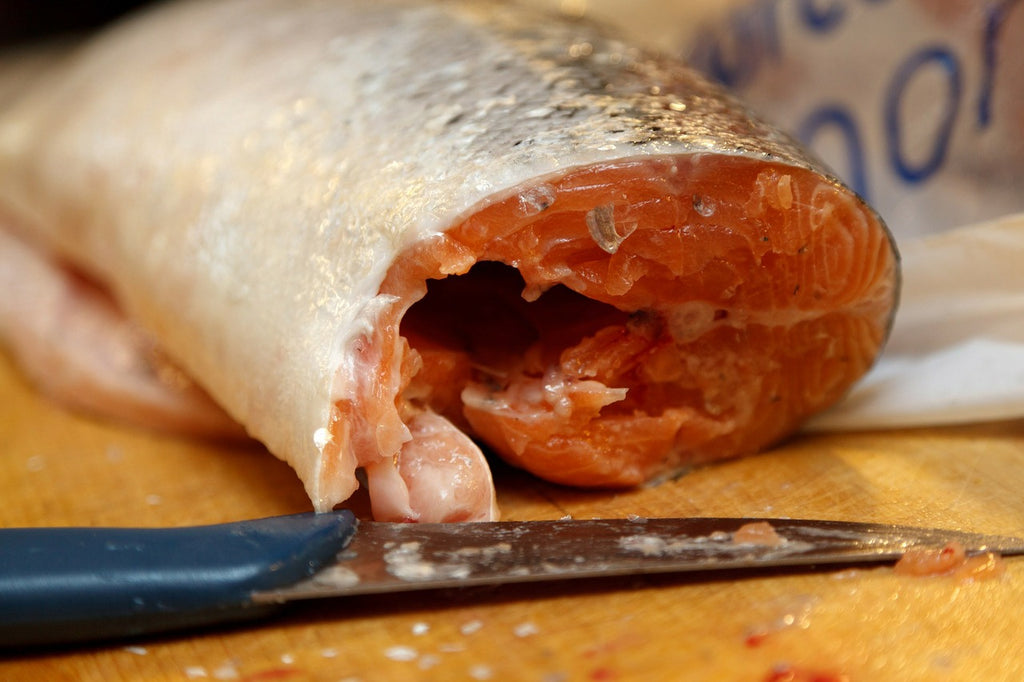 Fillet knives have flexible blades that make them tricky to sharpen.
Boning and fillet knives are not really kitchen essentials for the average home cook. However, if you happen to use these specialty pieces, it’s important to know how to keep them sharp.
Boning and fillet knives are known for their long and skinny blades — about 6-11 inches long — which require a delicate touch to sharpen. They also have a bit of flex, which makes the process even trickier.
Boning knives, which are best for cutting around the bone of tougher red meats, generally have stiffer blades with a straight edge and pointed tip. Fillet knives, on the other hand, are great for poultry and fish because of their more flexible, curved blades.
Given their specific tasks, boning and fillet knives have to be extremely sharp. A dull blade can no longer slice through meat. You’re essentially pushing the knife through, ripping the flesh, and leaving behind chunks of meat that are hard to cook evenly and tend to ruin meal presentation.
What You Need to Sharpen a Boning or Fillet Knife
Boning and fillet knives are best sharpened with a sharpening stone or an electric sharpener. The latter is of course the easiest, as it sharpens your knife in a few minutes. It may however remove more metal from the blade than necessary and end up damaging the knife.
Professional chefs always prefer manual methods when it comes to knife upkeep. Sharpening stones and honing rods allow you more control over the angle and pressure, which is good for blades as thin as the ones on boning knives. You may even opt to use both — a sharpening stone followed by a honing rod — for thorough maintenance.
How to Sharpen a Boning and Fillet Knife
Using a sharpening stone on a fillet or boning knife is a bit different from how you would use one with a stiffer knife, like a chef’s knife or paring knife. Normally, you would glide the entire blade along the stone until you achieve a sharp edge. With a boning or fillet knife, this straight motion would cause the flexible blade to bend and leave only the middle and tip of the blade against the stone.
To ease the pressure and prevent bending the blade, start by placing either the tip or heel on the stone first. Then, following its natural curve, glide the blade across while you simultaneously move it down the stone. This creates a wide scooping motion. Repeat 5-10 times, flip the knife over, and do the same for the alternate side of the blade.
After using a sharpening stone, you can use a honing rod for a smooth finish. With the knife in one hand and the honing rod in the other, place the heel of the knife at the base of the honing rod.
In one fluid motion, slide the knife away from you, as if you’re slicing a thin layer off the rod, while you simultaneously turn the rod. Apply a light pressure throughout the movement — any more will cause the blade to bend.
For both these sharpening processes, try to maintain an angle of 12-20 degrees — higher for the stiffer blades of boning knives, and lower for more flexible fillet knives.
Staying Sharp in the Kitchen
As you continue to spend time in the kitchen, you’ll find yourself using a wider variety of knives. A paring knife for hulling fresh strawberries, or a serrated knife to slice tomatoes for your garden salad. This is the fun of cooking.
Different knives are good for different things, and it’s important to keep each one in working order. All you need are a few simple tools and some practice to maintain your entire knife set with ease.
