
Braising is the centuries-old, fail-safe technique that turns cheap, tough cuts of meat and fibrous vegetables into fork-tender, restaurant-worthy meals by first searing for deep flavor and then slow-cooking in a scant, aromatic liquid at a gentle 180-190 degreesF. The article walks you through the science--collagen dissolving into silky gelatin, natural sauce thickening, and why a steady sub-simmer beats a boil every time--so you understand exactly what's happening in the pot and why it's virtually impossible to overcook a braise. You'll learn how to pick the ideal Dutch oven, stainless rondeau, or modern multi-cooker; build layers of taste with wines, stocks, miso, and dried mushrooms; and finish with a quick sauce reduction and a bright splash of acid or crunch for contrast. Timing guidelines, doneness cues like 200 degreesF pork that shreds itself, and smart leftover storage make the method week-night friendly, while comparisons to pressure- and slow-cookers help you choose the best route for your schedule. Master these principles and you can transform humble chuck, brisket, or root vegetables into rich stews, pot roasts, and global classics with minimal effort, maximum flavor, and the bonus that the dish tastes even better the next day.
What Is Braising? Definition, Science, and Everyday Benefits
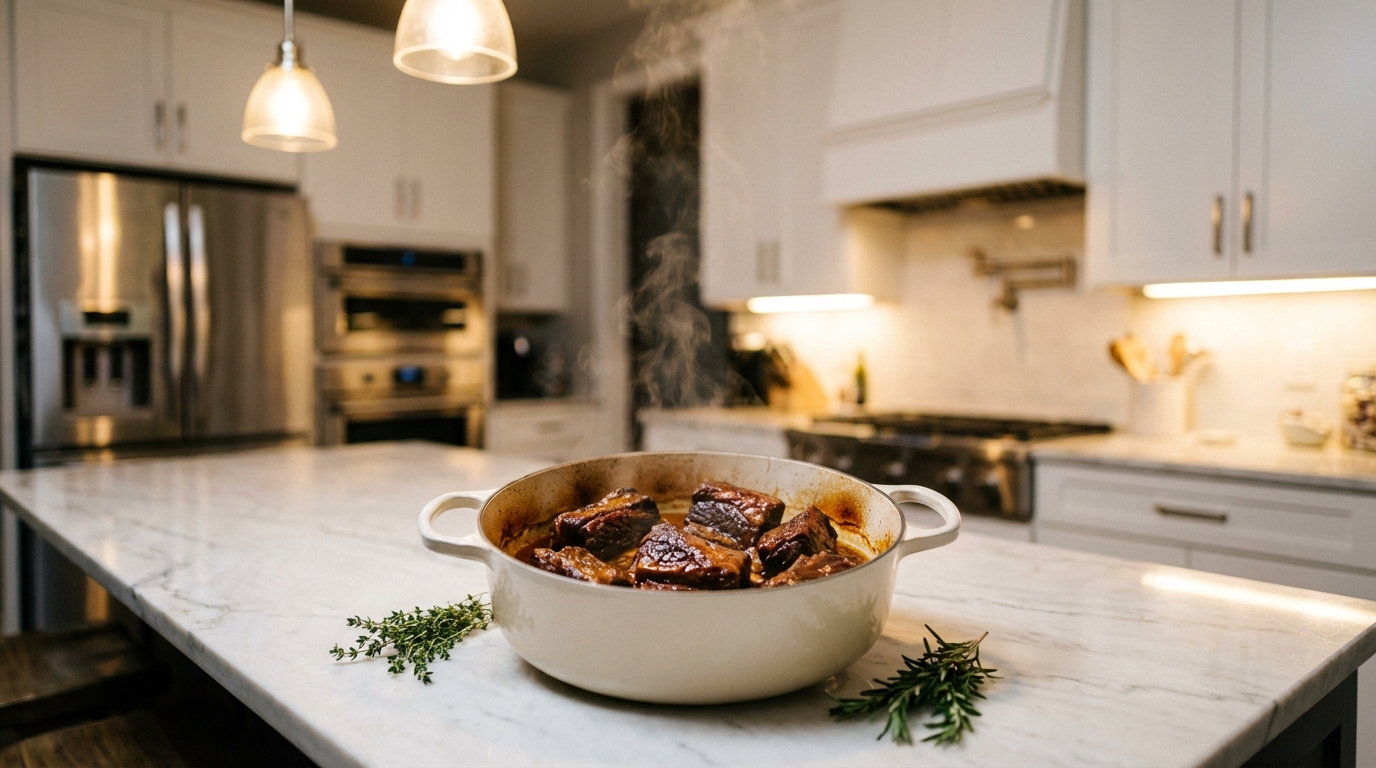
Braising turns cheap, tough cuts into fork-tender, sauce-rich meals by first searing for deep flavor, then slow-cooking in a little liquid at 180-190 degreesF so collagen melts into natural gravy.
Defining what is braising in cooking and why it matters
Braising combines dry and moist heat cooking techniques to transform tough cuts of meat into tender, flavorful dishes. This two-step method begins with searing ingredients in hot fat to develop complex flavors through the Maillard reaction, followed by slow cooking in a small amount of liquid (stock, wine, water, or beer) in a covered pot [1]. The process dates back centuries, predating modern ovens when cooks suspended heavy pots over hearth fires [3].What makes braising valuable is how it solves specific cooking challenges.
When tough, collagen-rich cuts of meat cook slowly in moisture at temperatures between 180 degreesF and 190 degreesF, the connective tissues dissolve into gelatin, separating muscle fibers for remarkable tenderness [3]. This dissolved gelatin also naturally thickens the cooking liquid, creating rich sauces with minimal effort [3]. Simultaneously, ingredients absorb flavors from the cooking liquid while developing depth through the initial browning step [1].Braising matters because it allows cooks to transform inexpensive, flavorful cuts like chuck, flank, brisket, and round into exceptional dishes [3].
The technique also works beautifully for fibrous vegetables like celery, carrots, and parsnips that would remain tough with quick-cooking methods [2]. This versatility explains why braising techniques appear across global cuisines in classics like pot roast, stews, fricassee, and daubes [2][3].
How low‑and‑slow heat transforms proteins and vegetables
Braising fundamentally changes proteins through a precise heat-driven transformation. When collagen-rich tough cuts cook between 180 degreesF and 190 degreesF, this connective tissue dissolves into gelatin, allowing muscle fibers to separate and become tender [5]. This temperature range is critical--too hot (boiling), and proteins coagulate excessively, squeezing out moisture and creating tough, stringy meat [5]. The gelatin produced not only tenderizes but also enriches the cooking liquid with velvety body, explaining why braising liquids gel when cooled [5].
Cooking method affects this transformation dramatically. Pressure cookers operate at 250 degreesF, breaking down collagen in just 30 minutes but often producing drier results [5]. Traditional oven or stovetop braising at 185-195 degreesF takes 2-3 hours, while slow cookers maintain 170-175 degreesF for 6-8 hours, preserving more natural juices [5]. Vegetables undergo their own transformation during braising.
Though they lack collagen, their tough plant fibers soften significantly with extended gentle heat [4]. Harder vegetables like winter squashes, turnips, and bitter greens like kale become particularly tender [4]. When browning vegetables before braising, adding a small amount of sugar triggers caramelization--a reaction where sugars break down above 338 degreesF into complex compounds with deep flavor [5]. This complementary process enhances the overall dish beyond what either meat or vegetables could achieve alone.

Choosing the Right Tools for Reliable Braising
Choose enameled cast iron for decades of low-maintenance, even browning, stainless steel when you need agile heat control and dishwasher durability, and bare cast iron only if you'll nurture its seasoning and avoid acidic foods.
Durable, everyday cookware that lasts - cast iron, stainless steel, and enamel‑coated pots
Selecting the right cookware for braising affects both how your food cooks and how long your pots will serve you. Enameled cast iron offers superior heat retention and durability while protecting the metal from rust and acidic ingredients. The porcelain enamel creates a cooking surface that develops beautiful, even browning while remaining easy to clean [6]. Quality enameled cast iron pots often last decades or longer with proper care, making them worthwhile kitchen investments.
Cast iron braisers without enamel coating retain heat exceptionally well and develop natural seasoning over time, though they require more maintenance and can't handle acidic foods without imparting metallic flavors [8]. For those seeking versatility, stainless steel provides distinct advantages. These pans heat more evenly and respond to temperature changes faster than cast iron, making them ideal when precise heat control matters [8]. Stainless steel also stands up to thermal shocks better--you can add cold ingredients to a hot pan without damaging it--and typically weighs less for easier handling [8].
Many professional cooks prefer stainless steel rondeau pans with their wide cooking surface and straight sides for both browning and braising [8]. Each material has specific care requirements that affect longevity: enameled cast iron should never go in the dishwasher despite some manufacturers claiming it's safe [6], while quality stainless steel withstands both dishwashers and metal utensils without damage [8].
Heat control options: stovetop, oven, and modern electric appliances
Each braising method creates distinct temperature environments that affect your results. Dutch ovens excel because they heat from all directions, including the top, creating concentrated heat pockets that develop deeper flavors through surface browning [10]. As discussed in the previous section, the ideal braising temperature range maintains that gentle 180-190 degreesF simmer whether you're using the oven or stovetop. Slow cookers operate at lower temperatures than Dutch ovens, with heat coming gently from the bottom and slightly from the sides [10].
This gentler heat prevents ingredients from breaking down completely, resulting in firmer vegetables and less-activated starches [10]. While convenient for hands-off cooking, slow cookers limit evaporation when moisture condenses on the lid and drips back down, preventing reduction and flavor concentration [10]. Pressure cookers transform braising by cooking at approximately 250 degreesF--hot enough that Maillard browning occurs throughout the food, not just on surfaces [10]. This higher temperature delivers remarkable tenderness in significantly less time, with dishes requiring only 40 minutes versus hours in other methods [9].
Modern electric multi-cookers combine pressure cooking with user-friendly controls, allowing you to sear ingredients directly in the pot before pressure cooking--streamlining the entire process while delivering results that rival traditional braising methods [9]. For those who prefer traditional techniques, a quality braising pan provides the wide cooking surface and excellent heat retention needed for perfect results.
Step‑by‑Step Braising Process for Consistent Results
Braise with liquid only halfway up the meat at a gentle 250-350 degreesF oven simmer, then strain or blend the sauce and brighten with acid for fork-tender, restaurant-quality results.
Prep, seasoning, and searing to build flavor
Creating the braising liquid, timing, temperature, and finishing the sauceThe braising liquid provides both moisture and flavor, transforming tough cuts into tender morsels. For best results, add enough liquid to reach only one-third to halfway up your ingredients--never fully submerge them [14]. This partial coverage creates the perfect balance of simmering and steaming. Choose liquids that complement your dish: water works surprisingly well for fatty meats that create their own stock during cooking, while wine, stock, beer, or combinations add complexity [13]. Consider incorporating flavor boosters like tomato paste to thicken the sauce or dried mushrooms for umami depth [14]. Virginia Willis recommends a trifecta of secret ingredients--miso paste, dried mushrooms, and red wine vinegar--to produce intensely flavored results [11].Keep your oven between 250 degreesF and 350 degreesF for best results--the consistent heat beats stovetop every time [14].
As we discussed in the temperature section above, you want that gentle simmer, never a boil [14]. Plan on 2-3 hours for large meat cuts, though timing varies by size [14]. Test for doneness the old-fashioned way: meat should surrender to gentle fork pressure, vegetables should yield but not collapse. Here's where you make restaurant-quality sauce: Remove the main ingredients, then decide--strain the vegetables for clarity or blend them in for body and flavor [11]. Simmer until the sauce coats a spoon. Too thick?
Add stock. Too thin? Keep reducing [11]. Just before serving, wake everything up with acid (lemon juice works), fresh herbs, or something crunchy to contrast all that tenderness [13].


Finishing, Troubleshooting, and Making Braising Work for You
Master the fork test, trust that 200 degreesF makes pork fall-off-the-bone perfect, and transform your braise into tomorrow's even-better leftovers by cooling, labeling, and storing it within two hours.
Testing doneness, adjusting seasoning, and sauce tweaks
Knowing when your braise is ready comes down to simple tests anyone can master. The fork test works perfectly--when meat yields easily to gentle pressure and practically falls off the bone, you're there [11]. Want to be extra sure? Grab an instant-read thermometer. Braised pork hits its sweet spot around 200 degreesF, becoming so tender it practically shreds itself [15]. Here's the beauty of braising: you really can't overcook it. Those tough cuts just keep getting better as collagen continues breaking down [15].
For vegetables, look for spoon-tender texture that still holds its shape [13]. Your sauce tells its own story--it's ready when it coats a spoon nicely. Too thick? Add a splash of stock, wine, or water. Too thin? Let it bubble away on the stovetop until it reaches that perfect consistency [11]. Pro tip: Don't toss those aromatics.
Blend them right into your sauce for deeper flavor and less waste [11]. Final touches make all the difference. Taste and adjust seasonings (remember, cold food needs more seasoning than hot). Wake up those rich flavors with a squeeze of lemon, splash of vinegar, or handful of fresh herbs [13]. Want restaurant-worthy presentation? Top with something crunchy like gremolata or toasted breadcrumbs for contrast [13].
Storing, reheating, and repurposing leftovers to reduce waste
Here's something great about braising--leftovers often taste even better than day one. To keep them at their best, transfer your cooled braise to airtight containers within two hours of cooking. This prevents bacteria growth in what food safety experts call the "danger zone" (between 40 degreesF and 140 degreesF) [16].
A simple label with the date helps you track freshness--plan to enjoy refrigerated leftovers within 3-4 days [17]. Need more time? Braised dishes freeze beautifully.
Pack them in
- Braise at 180-190 degreesF to dissolve collagen into gelatin without toughening meat.
- Sear first for Maillard flavor, then add liquid only halfway up the ingredients.
- Use enameled cast iron or stainless rondeau for even heat and decades of service.
- Oven-braise at 250-350 degreesF for 2-3 hours until meat yields to a fork.
- Reduce the cooking liquid afterward until it coats a spoon for instant sauce body.
- Leftover braises keep 3-4 days refrigerated and freeze well for longer storage.
- https://stahlkitchens.com/blogs/news/braising-cooking-method?srsltid=AfmBOoqAlNEheXRd8kjnAP9tpz6tUsqpYHnP5cPzjtMABp30o5z6pMHB
- https://www.thespruceeats.com/braising-and-stewing-techniques-and-tips-995847
- https://annex.exploratorium.edu/cooking/icooks/2-1-03article.html
- https://www.jessicagavin.com/braising/
- https://www.ricardocuisine.com/en/articles/food-chemistry/643-how-to-perfect-the-art-of-braising
- https://www.bonappetit.com/story/best-dutch-ovens?srsltid=AfmBOorg8JblxNYeRd51C06O0VTTA9RDLimdXEaBZlUMy_ky9Xted8YF
- https://www.thespruceeats.com/best-braising-pans-5080036
- https://www.reddit.com/r/AskCulinary/comments/ykcohq/stainless_steel_vs_enameled_cast_iron_for_an/
- https://food52.com/story/23676-braising-slow-cooker-instant-pot-dutch-oven
- https://www.seriouseats.com/why-pressure-cookers-are-better-than-slow-cookers
- https://virginiawillis.com/braising-basics-five-steps-to-perfectly-braised-meats/
- https://stephenlarosa.co/braising-meat-perfectly-in-10-simple-steps/
- https://food52.com/story/26005-how-to-braise
- https://chefsnotes.com/braising/
- https://cravingsbychrissyteigen.com/blogs/tips-tricks/how-to-braise?srsltid=AfmBOopcsbebs3XXrV3SSGih_iYKdllPSEtoDnhyll23xr0V87y45-Cy
- https://workweeklunch.com/leftovers-tips/
- https://extension.illinois.edu/food/leftovers
- https://foodhero.org/healthy-food/how-save-and-reuse-meals