Batonnet Cut: Essential Batonnet Cut Technique and Recipes

The batonnet cut is a fundamental French culinary technique that produces uniform pieces measuring 1/4 inch x 1/4 inch x 2-2.5 inches. This precise cutting method enhances both visual appeal and cooking quality, serving as a foundation for other cuts and various culinary applications.
Understanding the Batonnet Cut
Definition and dimensions of the batonnet cut
The batonnet cut, pronounced 'bah-tow-nay' in French, translates to 'little sticks' and is a cornerstone of French cuisine. This precise cutting technique produces uniform pieces measuring 1/4 inch x 1/4 inch x 2-2.5 inches (6mm x 6mm x 5-6 cm). To execute a batonnet cut, you'll need to trim the ends of the vegetable, square off the sides to create a rectangular shape, and then carefully slice it into the specified dimensions.
As we'll explore further in this guide, mastering the batonnet cut is essential for achieving consistency in both cooking and presentation. This uniformity not only enhances the visual appeal of dishes but also ensures even cooking, elevating the overall culinary experience[1].
Importance in culinary applications
The batonnet cut holds significant importance in culinary applications, serving as a foundational technique that enhances both the visual appeal and cooking quality of dishes. This precise cut ensures uniformity in size, which is crucial for even cooking and consistent texture across ingredients. In professional kitchens, where timing and presentation are paramount, the batonnet cut allows chefs to maintain standardized cooking times and create visually striking plates.
The versatility of the batonnet is evident in its use for various preparations, such as French fries and crudités, where the 6mm x 6mm x 5-6 cm dimensions provide an ideal balance between substance and delicacy. Moreover, as we'll discuss in the following sections, the batonnet serves as an intermediate step for creating smaller cuts, demonstrating its role in a hierarchical cutting system that allows for efficient kitchen operations[2].
Comparison to other knife cuts
The batonnet cut distinguishes itself from other knife cuts through its specific dimensions and applications. At 1/4" x 1/4" x 2-2.5", it's larger than the julienne (1/8" x 1/8" x 2-3") but smaller than the baton (3/8" x 3/8" x 2-3"). This size makes it ideal for vegetable sticks, French fries, and stir-fries, offering a heartier texture than the delicate julienne.
As mentioned earlier, the batonnet serves as a foundational cut, forming the basis for the small dice (1/4" cube) when further chopped. In contrast, the brunoise cut (1/8" cube) derives from the julienne, showcasing the hierarchical nature of culinary knife cuts. While the batonnet emphasizes uniformity and precision, it differs from more rustic cuts that follow the natural shape of the ingredient.
This contrast highlights the batonnet's role in professional kitchens, where consistency in size ensures even cooking and elegant presentation. As we'll explore in the following sections, mastering this cut opens up a world of culinary possibilities[3].
Tools and Preparation for batonnet cuts
Selecting the right knife for batonnet cuts
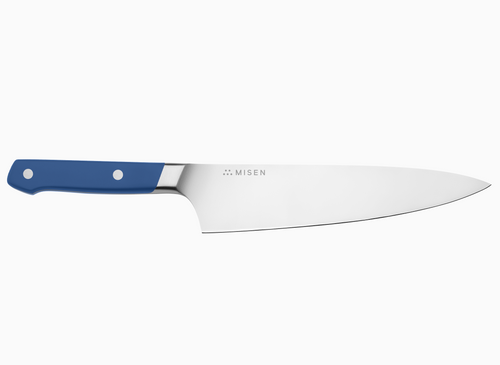
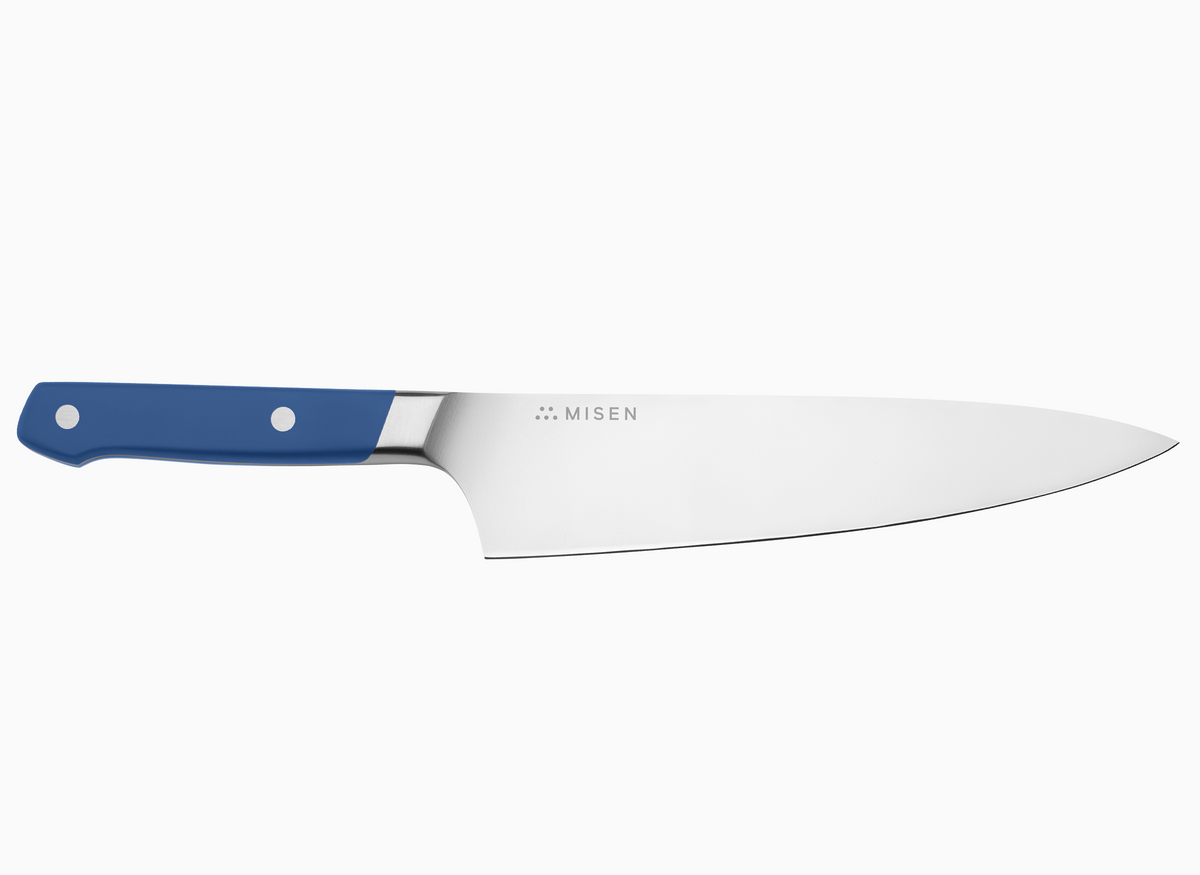
Selecting the right knife is crucial for executing precise batonnet cuts. A sharp, well-balanced chef's knife or Santoku knife is ideal for this technique. The chef's knife, with its versatile blade, allows for smooth rocking motions and clean cuts through various vegetables. Its weight and balance provide the necessary control for achieving uniform 1/4-inch by 1/4-inch by 2-2.5 inch batonnet pieces.
Alternatively, a Santoku knife, known for its flat edge and sharp blade, excels in creating clean, precise cuts without crushing delicate produce. The Santoku's design is particularly effective for up-and-down chopping motions, making it well-suited for the straight cuts required in batonnet preparation.
When selecting a knife, consider factors such as blade sharpness, handle comfort, and overall balance to ensure efficient and safe cutting. A knife that feels like an extension of your arm will significantly enhance your ability to execute consistent batonnet cuts[4].
Preparing your workspace and ingredients
Preparing your workspace and ingredients for batonnet cuts is crucial for achieving precision and efficiency. Begin by selecting a spacious, clean cutting board that provides ample room for maneuvering. Position your board on a stable surface at a comfortable height to maintain proper posture and control.
Gather all necessary ingredients and wash them thoroughly, ensuring they are free from dirt or debris. For vegetables like carrots or cucumbers, trim both ends to create flat surfaces, facilitating easier and safer cutting. Square off the sides of your ingredient to form a rectangular shape, which serves as the foundation for uniform batonnet cuts.
This preparation not only enhances safety but also improves the overall aesthetic of the final product. By taking these preliminary steps, you set the stage for executing precise 1/4 inch x 1/4 inch x 2-2.5 inch batonnet cuts, elevating your culinary skills and the visual appeal of your dishes[1].
Safety precautions when performing precision cuts
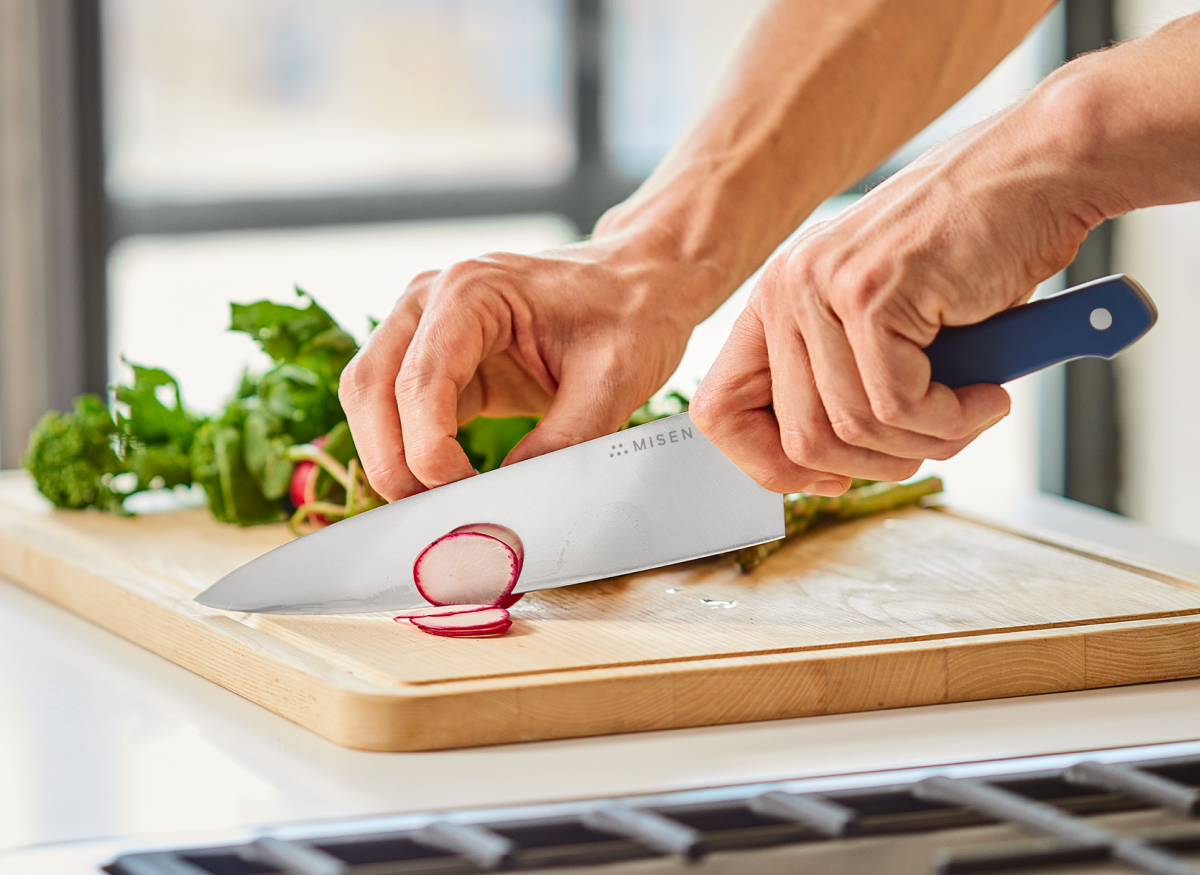
When performing precision cuts like the batonnet, safety should be your top priority. Always use a sharp knife, as dull blades require more force and increase the risk of slipping. Adopt the 'claw grip' technique, curling your fingertips under and using your knuckles as a guide for the knife blade. This protects your fingertips while maintaining control.
Keep your workspace clean and organized to prevent accidents caused by clutter. Secure your cutting board by placing a damp towel underneath to prevent slipping. Maintain proper posture with your cutting board at or slightly below elbow level to reduce fatigue and improve control.
When not in use, store knives safely in a knife block, magnetic strip, or sheath to protect the blades and prevent accidental cuts. Regularly hone your knives to maintain their edge, and sharpen them when honing no longer restores their cutting ability. By following these safety precautions, you'll minimize the risk of injuries while mastering the art of precision cuts[5].
Step-by-Step Batonnet Cutting Technique
Trimming and shaping the ingredient
Trimming and shaping the ingredient is a crucial step in achieving perfect batonnet cuts. Begin by peeling the vegetable, such as a carrot, and removing any knobbly ends to create a uniform surface. Next, cut the ingredient into manageable lengths of 2 to 3 inches, which will determine the final length of your batonnet sticks.
To create a stable base, slice off one side of the vegetable to produce a flat surface, then repeat this process for the remaining sides, effectively squaring off the ingredient. This transformation from a round shape to a rectangular one is almost magical, setting the stage for precise cutting.
Once squared, slice the vegetable into uniform planks approximately ¼-inch thick. These planks serve as the foundation for the final batonnet cuts. By meticulously preparing the ingredient in this manner, you ensure consistency in size and shape, which is essential for both aesthetic appeal and even cooking in various culinary applications.
Creating uniform strips and sticks
Creating uniform strips and sticks is the hallmark of a well-executed batonnet cut. To achieve this, start with the squared-off ingredient you prepared in the previous step. Slice the ingredient lengthwise into planks measuring ¼ inch thick. Stack these planks and cut them into ¼-inch wide strips. Finally, cut these strips crosswise into 2 to 2½-inch lengths, resulting in perfectly uniform batonnet pieces.
Consistency is key; maintain a steady hand and rhythm as you cut. For vegetables like carrots, consider their shape when cutting. Start by dividing the carrot into manageable sections, then square off each piece before proceeding with the batonnet technique.
This method ensures even cooking and an appealing presentation, whether you're preparing crudités, stir-fries, or elegant garnishes. Remember, the batonnet cut serves as a foundation for other cuts, so mastering this technique opens the door to a wide range of culinary possibilities[6].
Perfecting the 1/4 inch by 1/4 inch by 2-3 inch cut
Perfecting the 1/4 inch by 1/4 inch by 2-3 inch cut requires precision and practice. To achieve this, start by squaring off your ingredient to create a stable rectangular base. Slice the ingredient lengthwise into planks measuring exactly 1/4 inch thick, using the width of your knife blade as a guide. Stack these planks and cut them into 1/4-inch wide strips, maintaining a consistent pressure and angle. Finally, cut these strips crosswise into 2 to 2 1/2-inch lengths, resulting in perfectly uniform batonnet pieces.
Consistency is paramount; maintain a steady hand and rhythm as you cut. For vegetables like carrots, consider their tapered shape when cutting. Start by dividing the carrot into manageable sections, then square off each piece before proceeding with the batonnet technique.
This method ensures even cooking and an appealing presentation, whether you're preparing crudités, stir-fries, or elegant garnishes. Remember that the batonnet cut serves as a foundation for other cuts, so mastering this technique opens the door to a wide range of culinary possibilities.
To enhance precision, use a sharp chef's knife or santoku knife, and practice on firmer produce such as root vegetables or apples. As you gain proficiency, you'll find that the batonnet cut not only improves the visual appeal of your dishes but also contributes to more uniform cooking times and textures.
Essential Batonnet Cut Recipes
Honey-glazed batonnet carrots with orange zest
Honey-glazed batonnet carrots with orange zest offer a delightful twist on traditional glazed carrots, combining the precision of the batonnet cut with a vibrant citrus flavor profile. Begin by cutting carrots into uniform batonnet pieces, measuring 1/4 inch by 1/4 inch by 2-2.5 inches. This precise cut ensures even cooking and an elegant presentation.
Par-boil the carrots for 5-8 minutes until tender-crisp, then drain. In a skillet, melt butter and add freshly squeezed orange juice, honey, and a pinch of salt. Return the carrots to the pan and simmer for about 10 minutes, allowing the glaze to reduce and thicken. The honey caramelizes slightly, creating a glossy coating that enhances the natural sweetness of the carrots.
Finish the dish with a sprinkle of fresh orange zest and chopped parsley, which adds a burst of color and freshness. This versatile side dish pairs well with roasted meats and can elevate both holiday feasts and weeknight dinners. The combination of honey's sweetness and orange's tanginess perfectly complements the earthy flavor of the carrots, while the batonnet cut provides an appealing texture and sophisticated appearance.
Crispy batonnet potato fries
Crispy batonnet potato fries are the epitome of French fry perfection, combining the precision of the batonnet cut with expert frying techniques. To achieve the ultimate crispiness, start by selecting starchy potatoes like Russet or Maris Piper, which offer the ideal balance of crispy exterior and fluffy interior. Cut the potatoes into 6mm (1/4 inch) batons using a serrated knife to create a rougher surface, enhancing crispiness.
A game-changing technique involves simmering the cut fries in vinegar-infused water for 10 minutes, which removes excess sugars and activates the starches without disintegrating the potatoes. This step is crucial for achieving that coveted crispy texture. After drying, employ a double-frying method: first at 160-170°C (320-338°F) for 6-7 minutes to cook the interior, then at 180-190°C (356-374°F) for 2 minutes to create a golden, crispy exterior.
For an extra layer of flavor, toss the hot fries with a seasoning blend of garlic salt, onion salt, paprika, and salt immediately after frying. This method ensures fries that remain crispy for up to 15 minutes after cooking, surpassing even high-end restaurant offerings in texture and taste.
Stir-fried vegetable medley featuring batonnet cuts
Stir-fried vegetable medley featuring batonnet cuts offers a perfect canvas to showcase the versatility and elegance of this precise cutting technique. While traditional batonnet cuts are typically applied to firm vegetables, adapting the method for stir-fries requires a nuanced approach. For instance, when preparing green onions, a modified batonnet technique can be employed to create long, slender slivers that add both visual appeal and textural contrast to the dish.
By adjusting the angle of the knife, one can achieve thinner, longer slivers ideal for garnishing, or slightly chunkier pieces better suited for incorporation into the stir-fry itself. This flexibility in cutting technique allows for a range of textures and mouthfeels within the same dish, elevating the overall culinary experience.
The diagonal cuts characteristic of this modified batonnet approach not only enhance the aesthetic appeal of the stir-fry but also contribute to more efficient cooking, as the increased surface area allows for quicker heat penetration and flavor absorption. By applying these principles to a variety of vegetables, such as bell peppers, carrots, and zucchini, you can create a visually stunning and texturally diverse stir-fried medley that showcases your knife skills and attention to detail.
For an authentic Asian-inspired stir-fry experience, consider using our carbon steel wok. Its superior heat conductivity and seasoned surface make it perfect for achieving that coveted wok hei flavor in your batonnet-cut vegetable medley.
Conclusion
Mastering the batonnet cut is a fundamental skill that can elevate your culinary creations to new heights. From enhancing the visual appeal of your dishes to ensuring even cooking, this precise cutting technique is an essential tool in any cook's arsenal. By applying the principles and techniques discussed in this guide, you'll be well-equipped to create stunning and delicious dishes that showcase your newfound expertise.
Remember that practice makes perfect when it comes to knife skills. As you continue to refine your batonnet cutting technique, you'll find that it becomes second nature, allowing you to work more efficiently in the kitchen and produce consistently impressive results. Whether you're preparing elegant vegetable side dishes, crispy fries, or vibrant stir-fries, the batonnet cut will serve you well in a wide range of culinary applications.
Ready to take your culinary skills to the next level? Shop Now for high-quality kitchen tools that will help you perfect your batonnet cuts and other essential cooking techniques.
- The batonnet cut creates uniform pieces measuring 1/4 inch x 1/4 inch x 2-2.5 inches.
- It's essential for even cooking and consistent texture across ingredients.
- The batonnet cut serves as a foundation for other cuts like julienne and brunoise.
- Proper tools and workspace preparation are crucial for executing batonnet cuts.
- Mastering the batonnet technique opens up a wide range of culinary possibilities.
- Wekiva Culinary. (n.d.). Basic Culinary Knife Cuts and How to Make Them.
- Michelin Guide. (n.d.). Types of Knife Cuts.
- WebstaurantStore. (n.d.). Types of Knife Cuts.
- Food & Wine. (n.d.). The Best Vegetable Knives.
- Auguste Escoffier School of Culinary Arts. (n.d.). 8 Knife Cuts Every Professional Cook Should Know.
- Imarku. (n.d.). How to Master the Batonnet Cut.
- F.N. Sharp. (n.d.). The F.N. Sharp Guide to Knife Cuts.
