How to Cut a Turkey

Carving a turkey may seem daunting at first, but with the right technique, it's a straightforward process that yields delicious, juicy meat. This comprehensive guide will walk you through selecting, preparing, and carving a turkey, as well as provide expert tips for enjoying this holiday centerpiece.
Introduction
The Importance of Letting the Turkey Rest
Did you know that letting your turkey rest after cooking is just as important as the roasting itself? This crucial step allows the juices to redistribute throughout the meat, resulting in a more flavorful and succulent bird. During this resting period, the turkey actually continues to cook, with its internal temperature rising by 5 to 10 degrees. That's why it's best to remove the turkey from the oven when it reaches 165°F or slightly lower, to account for this carryover cooking[1].
How long should you let your turkey rest? It depends on the size, but a minimum of 20 minutes is necessary. Larger birds can benefit from up to 40 minutes or more. To keep that skin crispy (because who doesn't love crispy skin?), cover the turkey loosely with foil during this time. Just be careful not to seal in moisture that could lead to steaming - we want to maintain that perfect texture! Not only does resting enhance the turkey's taste and texture, but it also makes carving easier. The meat becomes more relaxed and easier to slice, setting you up for carving success.
Preparing Your Knife
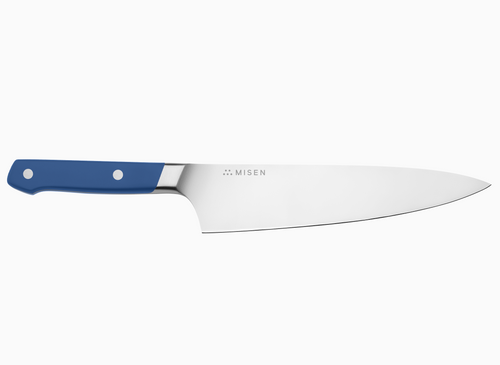
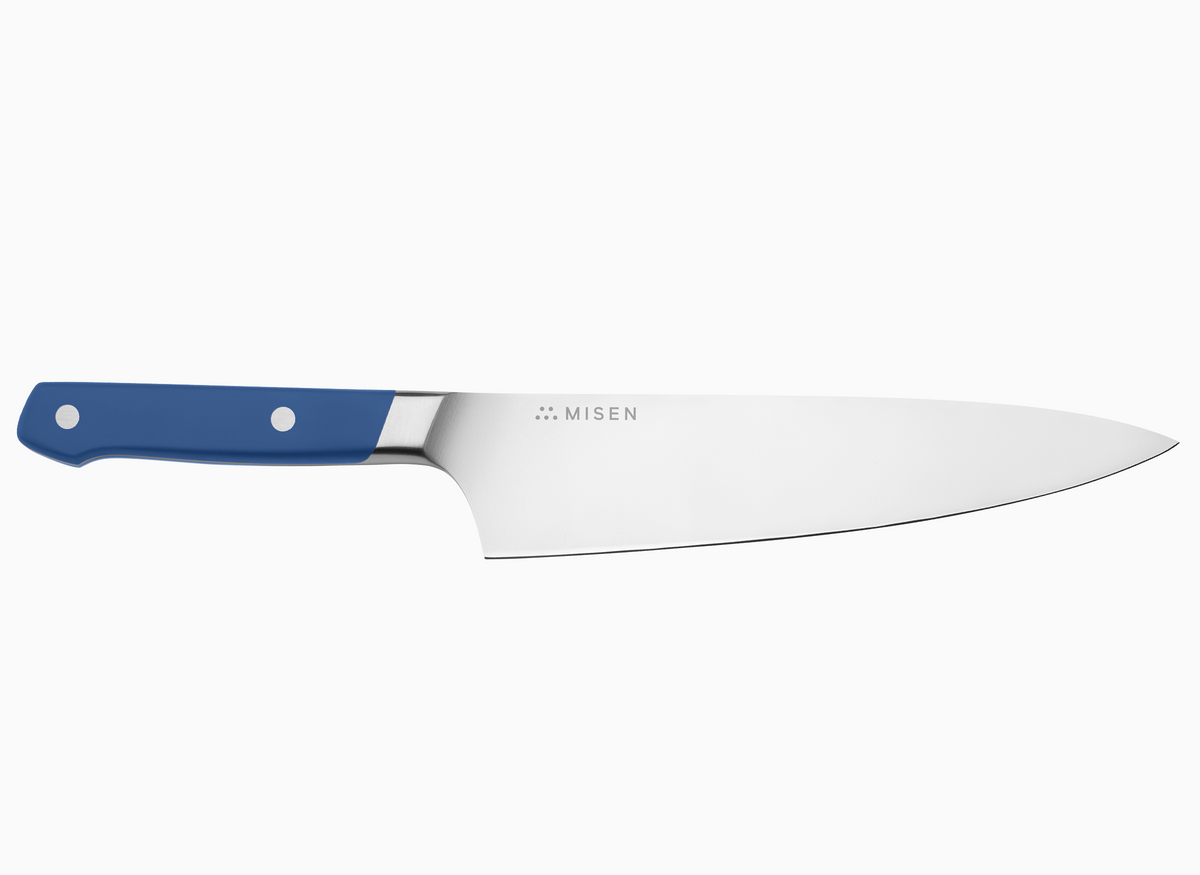
Now, let's talk about your most important tool: the knife. Selecting the right knife is crucial for a smooth carving experience. For best results, you'll want to use a sharp, high-quality knife specifically designed for poultry. These knives typically have a unique angular shape and distal taper, making them perfect for breaking down the bird into sections and cleaning off skin, fat, or small bones[2].
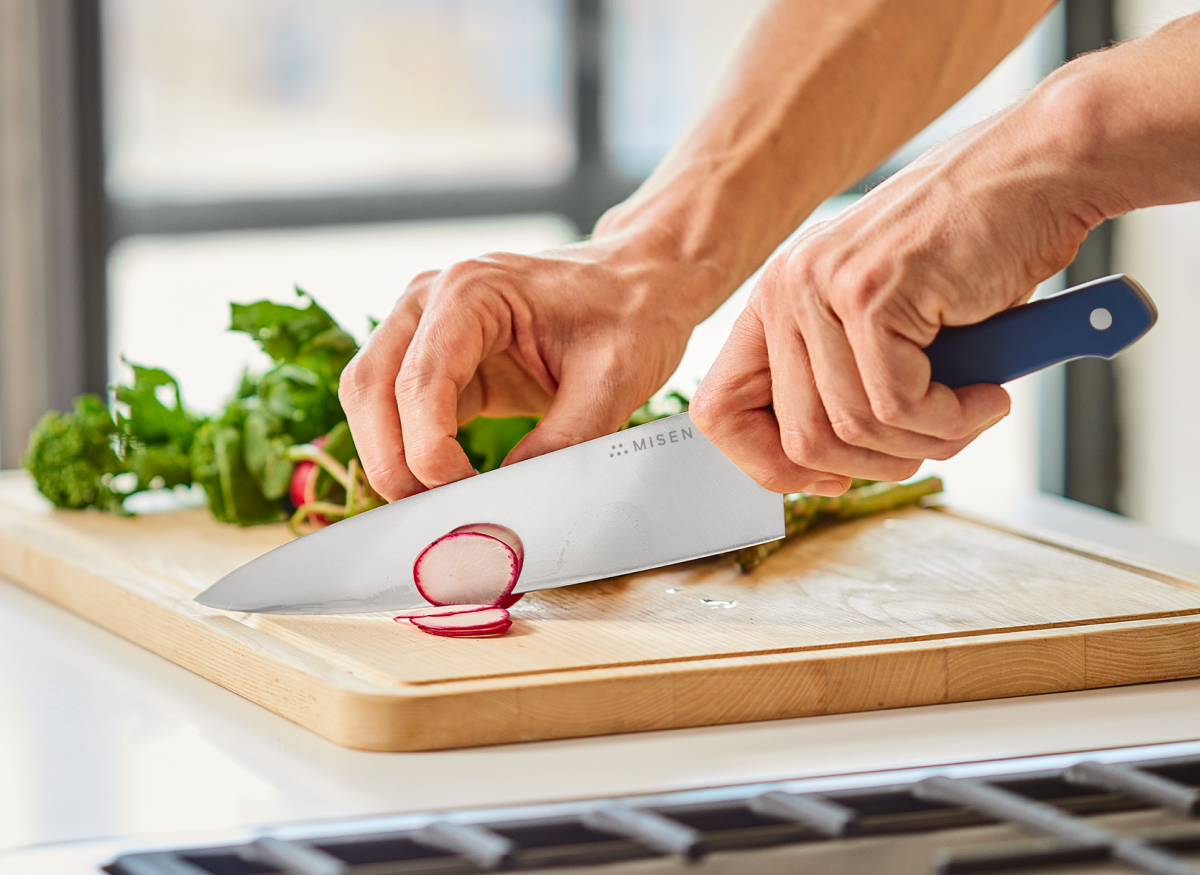
When it comes to slicing the breast, a long slicer is your best friend. It allows for smooth, single-motion cuts through the meat without damaging its delicate structure. Here's a pro tip: pay attention to the blade thickness. Thinner blades (around 2-2.5mm) generally perform better, cutting more cleanly and preserving more nutrients in the food. Remember, avoid sawing motions when using your knife - this can dry out the meat and compromise its texture. Instead, use smooth, deliberate slicing motions to keep that turkey juicy and presentable.
Safe Carving Practices
Safety first, right? When carving a turkey, it's crucial to prioritize safety. Always cut away from yourself, and position your free hand opposite the carving direction to avoid any accidental cuts. Keep your cutting area and knife handles dry to prevent slips, and make sure you have good lighting so you can see clearly what you're doing[3].
Here's something many people don't realize: sharp knives are actually safer than dull ones. They require less force and reduce the risk of slips. If you're not confident in your knife skills, consider using an electric knife for easier cutting. Kitchen shears can also be handy for tackling bones.
Ready to start carving? Begin by removing the legs and thighs. Slice through the skin between the leg and breast, then gently pull back on the leg until you hear a slight pop. Cut around the joint to fully remove the leg and thigh, and repeat on the other side[4].
Next, let's tackle the breasts. Slice down on either side of the breastbone, using long strokes and gently pulling the meat outward as you cut. For the wings, pull them away from the body and slice through the joint. Finally, separate the drumstick from the thigh by identifying the natural separation and cutting through the joint. By following these safe carving practices, you'll not only protect yourself from injury but also create a beautifully presented turkey for your feast. Isn't that what we're all aiming for?
Starting with the Legs
Scoring the Skin
Let's dive into a step that's often overlooked but can make a big difference: scoring the skin. Before you start carving, use a sharp knife to make shallow cuts through the skin between the leg and breast. This technique not only creates a guide for your subsequent cuts but also helps you easily identify the natural separation between different parts of the bird[4].
When you're scoring the skin around the leg joint, be careful not to cut too deeply into the meat. We're aiming for a clean line that will help you navigate the joint when removing the leg and thigh. For the breast, make a long, deep horizontal base cut just above the wing, cutting straight into the turkey as far as the knife will go[5]. This initial score gives you a stopping point for your vertical slices and ensures that each piece of breast meat will have a uniform shape and an attractive strip of crispy skin attached. Who doesn't love that crispy skin, right?
Removing the Leg and Thigh
Now, let
Now, let's get down to business with removing the leg and thigh. Start by slicing through the skin between the leg and breast. Gently pull back on the leg, laying it flat outward, and apply upward pressure on the joint from underneath. Listen for that slight pop as the joint separates - it's oddly satisfying! At this point, use your knife to cut around the joint, completely removing the leg and thigh as a single piece. This technique ensures a clean separation while preserving the integrity of the meat.
Remember, smooth and deliberate motions are key here. We want to maintain the juiciness and texture of the meat. Once you've mastered one side, repeat the process on the opposite side, setting both leg and thigh pieces aside for further carving[4]. See? You're already well on your way to becoming a turkey carving pro!
Separating the Drumstick
Alright, now that you've removed the leg and thigh from the turkey, it's time to separate the drumstick. This part is actually pretty fun! Flip the piece over so it's skin-side down, revealing the natural separation between the drumstick and thigh. Nature's pretty smart, isn't it? This division is often marked by a thin line of fat, making it easier to spot.
Here's a little trick: use your fingers to gently feel for the joint connecting these two parts. With your sharp knife, slice through the meat along this natural separation. As you cut, apply slight pressure to the drumstick to expose the joint further. Don't be surprised if you encounter some resistance at the joint itself. Instead of forcing the knife through, wiggle it gently until you find the sweet spot where the joint easily separates.
This technique ensures a clean cut without damaging the surrounding meat. Remember, our goal is to preserve as much meat as possible while creating visually appealing pieces for your platter[4]. It's all about precision and patience!
Carving the Thigh Meat
Now that you've conquered the drumstick separation, let's move on to carving the thigh meat. Place the thigh skin-side down on your cutting board and locate the thigh bone. Using your sharp knife (keeping those knives sharp is so important!), carefully slice along the bone to remove as much meat as possible.
Here's the key: make long, smooth strokes to preserve the meat's texture and juiciness. As you cut, gently pull the meat away from the bone to expose more surface area for slicing. It's like you're unveiling a delicious meaty present!
Once you've removed the bulk of the meat, you can trim any remaining bits from around the bone. We don't want to waste any of that delicious turkey, do we? For a more refined presentation, slice the thigh meat against the grain into uniform pieces, about 1/4 to 1/2 inch thick. This technique ensures tender, easy-to-eat portions that retain their moisture.
Pro tip: try to keep the skin attached to each slice when possible. Not only does it add flavor, but it also makes your carved turkey platter look even more appetizing[4]. Your guests will be impressed by your carving skills and attention to detail!
Removing the Wings
Locating the Joint
Let's tackle those wings next! Locating the joint is crucial for removing the wings cleanly from your turkey. Start by gently pulling the wing away from the body. This will expose the joint connecting it to the breast. You'll notice a natural separation between the wing and the body - that's what we're looking for!
Here's a handy trick: use your fingers to feel for the joint. It's typically located right where the wing meets the breast. This tactile approach helps you pinpoint exactly where you need to cut. As you move the wing around, you might feel a slight give or pop. That's your cue - you've found the joint!
Once you've identified the joint, position your knife at this point, ready to make a clean cut through the connective tissue[6]. Taking the time to accurately locate the joint means you'll achieve a more professional carve and preserve the integrity of both the wing and breast meat. Isn't it satisfying when everything comes apart smoothly?
Using the Wing for Stability
Here's a clever technique that can really up your carving game: using the wing for stability. Start by leaving one wing attached to the breast while you carve. It might seem counterintuitive, but trust me on this one! This technique provides a natural handle, allowing you to maneuver the turkey more easily as you slice.
Position the turkey with the attached wing facing away from you, creating a stable base. As you carve the breast meat, the wing acts as an anchor point, preventing the turkey from sliding around on the cutting board. This is especially helpful when you're dealing with larger birds - it helps maintain balance throughout the carving process.
Once you've finished carving one side of the turkey, remove the wing and use it to garnish your platter. Not only does this add visual appeal to your presentation, but it also ensures you're using every part of the bird. Then, switch sides and use the remaining wing for stability as you carve the other breast.
This approach not only improves your carving efficiency but also helps preserve the integrity of the meat, resulting in more attractive, uniform slices for your feast. It's all about working smarter, not harder, right?
Carving the Breast
Making the Initial Cut
Alright, let's tackle the main event: carving the breast! To begin, locate the breastbone running down the center of the turkey. Position your sharp knife parallel to this bone and make a long, deep slice along one side. As you cut, angle the blade slightly towards the rib cage, using smooth, deliberate strokes to separate the breast meat from the bone.
This technique is all about precision and control. By angling your knife and using smooth strokes, you're ensuring that you preserve as much meat as possible while maintaining its integrity[7]. Remember, we want beautiful, juicy slices of breast meat, not a mangled mess!
Slicing Against the Grain
Now that you've removed the breast meat, it's crucial to slice against the grain for maximum tenderness. But what does that mean exactly? Well, if you look closely at the meat, you'll see that the muscle fibers run in a specific direction. We want to cut perpendicular to these fibers.
Place the breast on your cutting board and identify the direction of the meat fibers. Then, cut across these fibers, creating uniform slices about 1/4 to 1/2 inch thick. This method ensures each piece is easy to chew and retains its juiciness. It's like giving your guests a little taste of turkey heaven in every bite!
Here's a pro tip: try to keep the skin attached to each slice. Not only does it add flavor, but it also makes your presentation look even more appetizing[4]. After all, we eat with our eyes first, right?
Preserving the Skin
Speaking of skin, let's talk about how to preserve that crispy, golden goodness as you carve the breast meat. The key here is to use a very sharp knife to make clean cuts, keeping the skin intact and attached to each slice. This not only enhances the visual appeal of your carved turkey but also ensures that each serving includes a perfect meat-to-skin ratio. It's all about maximizing flavor in every bite!
If you notice the skin starting to separate as you slice, don't panic. Gently hold it in place with your free hand as you continue to cut. It might take a bit of practice to get this technique down, but trust me, it's worth it. Your guests will appreciate the extra effort when they bite into a perfectly carved slice of turkey with that crispy skin attached[4].
Remember, carving a turkey is as much about presentation as it is about serving. By taking the time to preserve the skin, you're elevating your turkey from a simple meal to a true feast for the senses. Doesn't that sound delicious?
Tips and Tricks
Minimizing mess and stains
Carving a turkey can be a messy affair, but with these tips, you can keep things neat and tidy:
- Use a sharp knife: A sharp blade makes clean cuts, reducing the likelihood of tearing the meat and creating a mess.
- Work on a large cutting board: Choose a board with a groove around the edge to catch any juices.
- Keep paper towels handy: Use them to quickly wipe up any spills or to clean your hands between steps.
- Consider carving in the kitchen: This keeps any mess contained and away from your dining area.
- Wear an apron: Protect your clothes from potential splatters or stains.
- Have a warm, damp cloth nearby: Use it to quickly clean your hands or the cutting board as needed.
By following these strategies, you can focus on creating beautiful, appetizing slices of turkey without worrying about making a mess.
Storing cut turkey
Proper storage of leftover turkey is crucial for food safety and maintaining flavor. Here are some tips:
- Cool quickly: Refrigerate leftover turkey within two hours of cooking to prevent bacterial growth.
- Store in shallow containers: This allows the meat to cool evenly and quickly in the refrigerator.
- Separate meat from bones: Remove the meat from the bones before storing for easier use later.
- Use airtight containers or wrap tightly: This prevents the turkey from drying out and absorbing other flavors from the fridge.
- Refrigerate for 3-4 days: Consume refrigerated leftover turkey within this timeframe for best quality and safety.
- Freeze for longer storage: Turkey can be frozen for up to 2-3 months. Wrap it tightly in freezer-safe packaging to prevent freezer burn.
By following these storage guidelines, you can enjoy your delicious turkey for days after your feast, ensuring nothing goes to waste.
Using turkey in recipes
Leftover turkey is incredibly versatile and can be used in a variety of delicious recipes. Here are some ideas to inspire you:
- Turkey Sandwiches: Layer sliced turkey with cranberry sauce and stuffing for a classic post-holiday sandwich.
- Turkey Soup: Use the carcass to make a flavorful broth, then add vegetables and leftover meat for a hearty soup.
- Turkey Pot Pie: Combine diced turkey with vegetables in a creamy sauce, topped with pastry for a comforting meal.
- Turkey Salad: Mix chopped turkey with mayonnaise, celery, and herbs for a quick and easy lunch option.
- Turkey Enchiladas: Shred the turkey and use it as a filling for cheesy enchiladas.
- Turkey Stir-Fry: Dice the turkey and stir-fry with vegetables and your favorite sauce for a quick dinner.
- Turkey Chili: Use ground or diced turkey in place of beef in your favorite chili recipe.
These recipes not only help you use up leftovers but also provide variety in your meals following the holiday feast. Get creative and enjoy your turkey in new and exciting ways!
Conclusion
Congratulations! You've just mastered the art of turkey carving. It's more than just slicing meat - it's about creating a memorable culinary experience for your guests. By following the techniques we've discussed, you'll achieve perfectly sliced meat that retains its juiciness and flavor. Remember, letting the turkey rest before carving is crucial. It allows those delicious juices to redistribute, resulting in more succulent meat[14].
Want to take your presentation to the next level? Consider decorating your turkey platter with edible greens like baby arugula and fruit slices. Not only do they enhance the visual appeal, but they also complement the turkey's flavors beautifully[15]. Here's a pro tip: to maintain the crispness of the skin, carve the turkey in the kitchen rather than at the table. This allows you to control the environment and avoid potential mishaps. Plus, it enables you to distribute the skin evenly among servings, ensuring each guest enjoys its delectable crunch[16].
By honing your carving skills and paying attention to presentation, you're creating more than just a meal - you're crafting a stunning centerpiece that delights both the eyes and the palate. Isn't that what holiday feasts are all about? Making memories around the table with loved ones, enjoying not just the food, but the entire experience.
To further enhance your culinary arsenal and ensure you have the right tools for the job, why not explore our range of high-quality kitchen knives? These precision-crafted knives are designed to make tasks like turkey carving effortless and enjoyable. After all, the right tools can make all the difference in the kitchen!
Ready to elevate your kitchen experience? Shop Now and discover the perfect tools to complement your newfound carving expertise. Your future holiday feasts will thank you!
- Let the turkey rest for at least 20 minutes before carving to redistribute juices.
- Use a sharp, high-quality knife for clean and precise cuts.
- Start by removing the legs and thighs, then move on to the wings and breast.
- Slice against the grain for tender, easy-to-eat portions.
- Preserve the crispy skin by keeping it attached to each slice when possible.
- The New York Times. (n.d.). The Importance of Resting Turkey Before Carving.
- Food & Wine. (n.d.). How to Carve a Turkey.
- American Society for Surgery of the Hand. (n.d.). How to Carve a Turkey Safely.
- Downshiftology. (n.d.). How to Carve a Turkey.
- Foster Farms. (n.d.). Carve Out Some Turkey: A Visual Guide.
- Serious Eats. (n.d.). The Serious Eats Guide to Carving Turkey.
- Allrecipes. (n.d.). How to Carve a Turkey.
- Cookshack Forum. (n.d.). Turkey Topics: Deboning a Whole Turkey.
- Wild Turkey Zone. (n.d.). Dressing and Carving a Wild Turkey.
- Recipes.net. (n.d.). How to Cut Turkey Breast Against the Grain.
- The Pioneer Woman. (n.d.). How to Carve a Turkey for Thanksgiving Dinner.
- Jessica Gavin. (n.d.). How to Carve a Turkey.
- Martha Stewart. (n.d.). How to Cut a Turkey.
- Reddit r/Cooking. (n.d.). Any Tips for Nicer Presentation and Keeping Food Warm?
- A Garden for the House. (n.d.). My Tips for Decorating a Turkey Platter.
- Clove Garden. (n.d.). Carving a Turkey.
- The Art of Manliness. (n.d.). How to Carve a Turkey.
