How to Cut Tri-Tip

Mastering the art of cutting tri-tip is crucial for achieving mouthwatering results. This comprehensive guide will walk you through the ins and outs of tri-tip, essential tools and techniques, and pro tips for perfect slices every time.
Introduction to Tri-Tip
What is tri-tip?
Tri-tip is a flavor-packed, triangular cut from the bottom sirloin that typically weighs in at 1.5-2.5 pounds. It's a crowd-pleaser thanks to its rich marbling and relatively low fat content. This versatile cut is a true kitchen chameleon - grill it, roast it, or slice it up for endless culinary possibilities.[1]
Characteristics of tri-tip
What sets tri-tip apart? Its distinctive triangular shape and dual grain directions make it a unique cut. The fine muscle fibers and rich marbling contribute to its exceptional tenderness and robust flavor. Pay attention to the grain change at the thickest part - it's crucial for proper slicing. Some tri-tips come with a fat cap, which you can trim off or leave on for an extra flavor boost during cooking.[2]
Why proper cutting is important
Cutting tri-tip correctly isn't just about looks - it's the key to unlocking maximum tenderness and texture. The unique structure, with its two distinct grain patterns, demands a specific cutting technique. Slicing against the grain is like a magic trick that transforms tough muscle fibers into tender, easily chewable pieces. Get it wrong, and you might end up with stringy, tough meat that doesn't do justice to your perfectly cooked roast.[3]
Preparing to Cut Tri-Tip
Tools needed
Ready to tackle that tri-tip? Here's your toolkit for success:
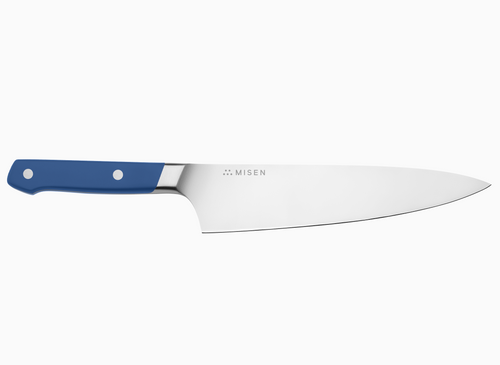
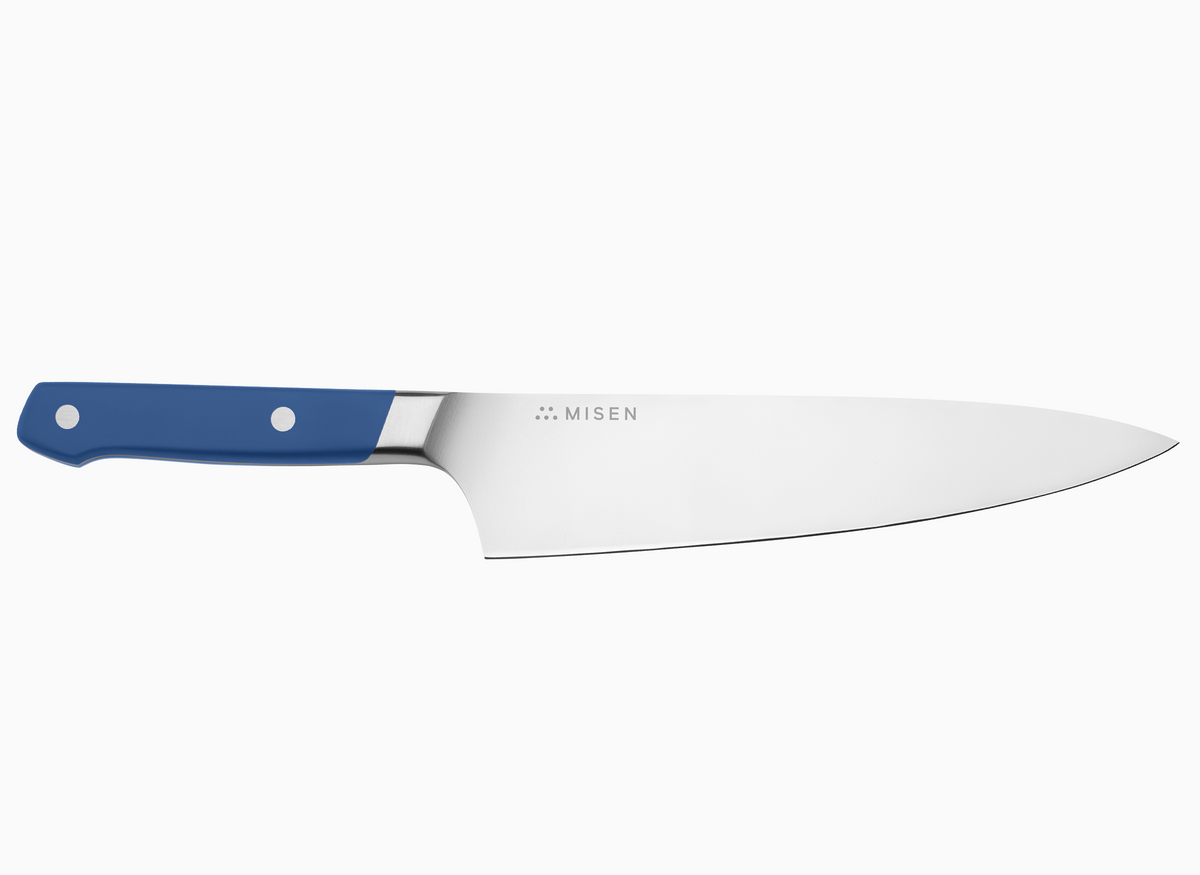
- A sharp, long-bladed knife for smooth slicing (check out our selection at Misen)
- A sturdy cutting board to keep things stable
- Toothpicks (optional) for marking grain direction
- Your smartphone camera for quick reference photos
- A reliable meat thermometer for perfect doneness
Having the right tools in your arsenal ensures clean, precise cuts and helps maintain the integrity of your delicious tri-tip.[4]
Resting the meat
Don't rush to slice that beautiful tri-tip! Resting is a game-changer that significantly impacts the final quality of your meat. Give it a breather for about half the cooking time, typically 10-15 minutes. This allows those protein fibers to relax and reabsorb moisture, resulting in a juicier, more tender cut. For optimal results, use a leave-in probe thermometer to keep tabs on temperature throughout cooking and resting.[5]
Identifying the grain
Cracking the grain code is essential for achieving tender slices. Tri-tip is unique with its two distinct grain directions, typically intersecting near the middle of the cut. Before cooking, take a moment to examine the raw meat and observe those fiber patterns. Consider marking the grain direction with toothpicks or snapping a quick photo for reference. This prep work is especially valuable when using dark rubs that might mask the natural texture.[6]
Cutting Techniques for Tri-Tip
Against the grain cutting method
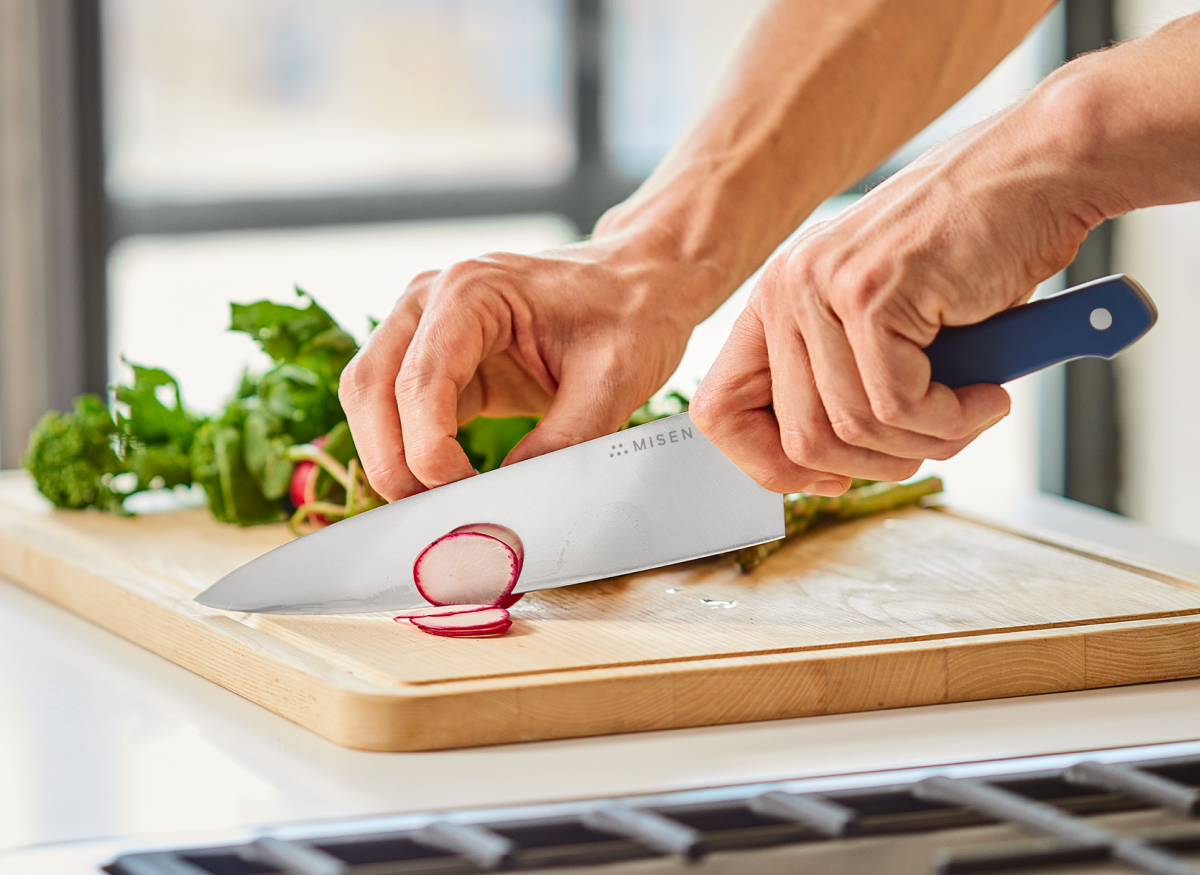
The against-the-grain cutting method is your secret weapon for tender tri-tip slices. Start by locating the point where the grain changes direction and make an initial cut to separate the tri-tip into two pieces. For the narrower tail section, position the meat so the grain runs horizontally and make thin vertical slices. Apply the same principle to the larger section, adjusting as needed for your desired slice size.[7]
Slicing thickness
When it comes to tri-tip slices, size matters! For the perfect balance of tenderness and texture, aim for slices around 1/4 inch thick. This sweet spot gives you the best of both worlds - a flavorful outer crust and a tender interior. Craving a more substantial steak-like experience? Go for thicker slices of about 1/2 inch.[8]
Handling different sections of the tri-tip
Mastering tri-tip's unique structure is key to handling its different sections. After separating the two parts at the grain intersection, slice each against its respective grain. This method ensures every bite is optimally tender by shortening those muscle fibers. By nailing this sectional cutting technique, you'll transform a perfectly cooked tri-tip into consistently tender and flavorful servings that'll have everyone coming back for seconds.[9]
Tips for Perfect Tri-Tip Cuts
Maintaining the right temperature
Temperature control is crucial for tri-tip perfection. For best results, embrace the low-and-slow method with indirect heat around 200°F (93°C). This gentle approach ensures even cooking and prevents an overcooked exterior while the interior reaches your desired doneness. Use a reliable meat thermometer like our Carbon Steel Wok to keep a close eye on that internal temperature.[10]
Using a sharp knife
A sharp knife is your best friend when it comes to clean, precise tri-tip cuts. Opt for a long, thin-bladed knife that glides smoothly through the meat. Before you start slicing, make sure your knife is properly sharpened or steeled. When it's time to cut, use long, smooth, controlled motions for those picture-perfect slices. Remember to adjust your cutting angle as you move through different sections of the meat to maintain that all-important against-the-grain technique.[11]
Presentation tips
Want to make your tri-tip look as good as it tastes? Think about creating height on the plate for visual appeal. Try stacking those beautiful slices on a bed of creamy mashed potatoes or grilled veggies to add dimension. Play with contrasting colors to make your dish pop - pair the rich brown of the meat with vibrant green asparagus or colorful roasted carrots. For an elegant finishing touch, drizzle a complementary sauce in an artistic pattern around the plate, enhancing both flavor and aesthetics.[12]
Common Mistakes to Avoid
Cutting with the grain
Don't fall into the trap of cutting with the grain - it's a common mistake that can turn your tender tri-tip tough. When you cut parallel to those muscle fibers, you're essentially leaving long strands intact, resulting in a chewy and tough eating experience. Always take a moment to identify the grain direction before slicing and adjust your cutting angle as needed to maintain that crucial against-the-grain technique.[13]
Slicing too thick or thin
Finding the right thickness for your tri-tip slices can make or break your dish. Go too thin, and you might end up with meat that falls apart easily. Cut too thick, and you're in for a tougher chewing experience. Aim for consistency throughout the slicing process to ensure uniform cooking and a beautiful presentation that'll impress your guests.[14]
Not allowing proper rest time
Patience is a virtue, especially when it comes to resting your tri-tip. Cutting into the meat too soon is like opening a pressure cooker before it's ready - you'll lose all those flavorful juices, leading to a drier, less tender eating experience. Give your tri-tip the VIP treatment by allowing it to rest for approximately half the duration of its cooking time before slicing. Trust us, your taste buds will thank you![15]
Serving and Enjoying Tri-Tip
Pairing suggestions
Ready to elevate your tri-tip experience? When it comes to wine pairings, consider the cut's unique characteristics and preparation method. Full-bodied reds with moderate tannins and acidity are your go-to companions for tri-tip's rich flavor. Look for options with notes of dark fruit, spice, or earthiness to complement the meat's taste. Remember, it's all about finding that perfect balance between the wine's body and the meat's richness - you want them to dance together, not compete for the spotlight.[16]
Leftover storage and reheating
Don't let those delicious tri-tip leftovers go to waste! Proper storage is key to maintaining quality and safety. Refrigerate your meat within two hours of cooking in an airtight container, and aim to enjoy it within 3-4 days for optimal flavor. When it's time to reheat, you've got options to bring your tri-tip back to its former glory. Try oven reheating, sous vide, or careful microwave heating to restore that near-original texture and flavor.[17]
Creative uses for tri-tip cuts
Leftover tri-tip is a goldmine for creative cooks! Slice it thin for mouthwatering tacos, paired with your favorite spices and toppings. Craving comfort food? Whip up hearty tri-tip sandwiches with caramelized onions and melted cheese. For quick and satisfying meals, toss your tri-tip into pasta dishes, salads, or stir-fries. The possibilities are endless, so let your culinary imagination run wild![18]
Conclusion
Congratulations! You're now armed with the knowledge to master the art of cutting tri-tip like a pro. By understanding tri-tip's unique characteristics, using the right tools, and employing proper cutting techniques, you're well on your way to consistently achieving tender, delicious results. Remember the golden rules: let that meat rest, identify the grain, and slice against it for optimal texture. With a little practice, you'll be serving up perfectly cut tri-tip that's sure to impress even the most discerning food lovers.
Ready to put your tri-tip cutting skills to the test? Shop Now for high-quality knives and cookware that'll make your tri-tip preparation a breeze. Happy cooking!
- Tri-tip's unique grain pattern requires a two-step cutting approach
- A sharp knife and against-the-grain cuts are your best friends for tenderness
- Patience pays off - let that meat rest before slicing
- Aim for 1/4 inch thick slices for the ideal texture
- Proper cutting elevates both flavor and presentation
- Barbecue & Smoker Recipes. (n.d.). Beginners Guide to Barbecue.
- Dead Rooster Co. (n.d.). Tri-Tip Steak Tips from the Butcher.
- Tomcat BBQ. (n.d.). How to Slice a Tri-Tip.
- Smoking Meat. (n.d.). How to Slice a Tri-Tip.
- ThermoWorks. (n.d.). Give Your Meat a Rest.
- Smoking Meat. (n.d.). How to Slice a Tri-Tip.
- Cook the Story. (n.d.). How to Cut Tri-Tip.
- Smoked BBQ Source. (n.d.). How to Slice Tri-Tip.
- Running to the Kitchen. (n.d.). How to Cut Tri-Tip.
- ThermoWorks. (n.d.). Tri-Tip: Labor Day Favorite Leaves Many Scratching Heads.
- My Chicago Steak. (n.d.). Steak Presentation.
- Rosebud Steak. (n.d.). Steak Plating.
- Smoked BBQ Source. (n.d.). How to Slice Tri-Tip.
- Dead Rooster Co. (n.d.). Tri-Tip Steak Tips from the Butcher.
- ThermoWorks. (n.d.). Give Your Meat a Rest.
- Grape Experiences. (2023). Santa Maria Style BBQ: Wines for Pairing.
- The Default Cook. (n.d.). How to Reheat Leftover Tri-Tip.
- The Default Cook. (n.d.). Leftover Tri-Tip Tacos.
