How to Sear a Steak on the Stove: Step-by-Step Instructions

Mastering the art of stovetop steak searing requires attention to detail in selecting the right cut, preparing the meat, and using proper techniques and equipment. This guide provides comprehensive instructions for achieving restaurant-quality results at home.
Preparing Your Steak for Searing
Choosing the right cut of steak
When selecting a steak for pan-searing, opt for boneless cuts between 1-1.5 inches thick with good marbling. Ribeye and New York strip are excellent choices due to their fat content and thickness, which help maintain juiciness during cooking. Sirloin offers more flavor than filet mignon while being more economical, though filet remains the most tender option.
For consistent cooking, it's best to avoid bone-in cuts as they can lead to uneven heat distribution. Look for steaks with visible white marbling running through the meat - these intramuscular fat streaks will melt during cooking, enhancing flavor and tenderness. The thickness of the steak is crucial - thinner cuts cook too quickly and risk drying out, while cuts over 1.5 inches may not cook evenly on the stovetop[1].
Bringing the steak to room temperature
Contrary to popular belief, letting steaks reach room temperature before cooking offers minimal benefits. Tests show that a 1-inch steak left out for an hour only reaches 52°F at its center, and after two hours only climbs to 62°F - nowhere near room temperature[2]. This small temperature change makes no meaningful difference in cooking evenness or browning.
Additionally, leaving meat at room temperature for extended periods risks entering the USDA's 40-140°F danger zone where bacterial growth accelerates[3]. Instead of waiting, focus on thoroughly drying the steak's surface with paper towels before cooking, as moisture removal has a far greater impact on achieving proper browning than starting temperature[4].
Seasoning techniques for optimal flavor
Salt timing significantly impacts steak flavor and texture. For optimal results, either salt immediately before cooking or at least 40 minutes before - anything between creates moisture issues that prevent proper searing. Within 3-4 minutes of salting, osmosis draws moisture to the surface, which then needs 40 minutes to reabsorb back into the meat.
For the best results, salt steaks on both sides and let them rest uncovered in the refrigerator overnight, allowing the seasoning to penetrate deeply while slightly drying the surface for better browning[5]. Beyond salt, keep seasoning minimal - fresh cracked black pepper just before cooking prevents the oils from burning. Avoid marinades and complex spice rubs that can interfere with achieving a proper crust. If using garlic and herbs, add them along with butter in the final minutes of cooking to prevent burning while still infusing flavor[6].
Essential Equipment for Stovetop Steak Searing
Selecting the ideal pan for searing
Cast iron and stainless steel pans are the top choices for searing steak, but cast iron offers clear advantages. Cast iron's superior thermal density maintains consistent temperature when meat hits the surface, creating an even, deep sear that stainless steel struggles to match. While stainless steel pans heat up quickly and clean easily, they lack the heat retention needed for restaurant-quality results.
Cast iron also allows seamless transition from stovetop to oven at any temperature, unlike stainless steel which typically maxes out at 500°F and may have heat-sensitive handles. The main tradeoff is maintenance - cast iron requires careful cleaning without soap and periodic re-seasoning, while stainless steel can go straight in the dishwasher. For the best possible sear, choose a well-seasoned cast iron skillet at least 12 inches wide to avoid overcrowding[7].
Importance of using high-heat cooking oils
Using the right oil is crucial for achieving a perfect sear without filling your kitchen with smoke. The key is selecting oils with smoke points above 400°F - the temperature where oil starts breaking down and producing bitter flavors. Avocado oil leads the pack with a 520°F smoke point, creating uniform crusts without burning. Other excellent options include refined safflower oil (500°F), extra light olive oil (450°F), and peanut oil (450°F).
Avoid butter's low 300°F smoke point unless using clarified butter (ghee), which handles high heat well. To minimize smoking, use only enough oil to coat the pan's surface - excess oil around the steak burns quickly and creates unnecessary smoke[8]. Tests show avocado oil produces the most even sear with minimal burning while enhancing the steak's natural richness[9].
Additional tools to enhance your searing process
A digital instant-read thermometer eliminates guesswork when determining doneness. Insert it into the thickest part of the steak - rare registers at 125°F, medium-rare at 135°F, and medium at 145°F. Heavy-duty tongs give you precise control when flipping and positioning the steak, while protecting your hands from high heat. A splatter screen contains oil spray without trapping moisture that could interfere with proper searing.
For butter-basting, a long-handled spoon lets you safely collect and pour hot butter over the steak to enhance browning and flavor development[5]. Keep paper towels nearby to thoroughly dry the steak's surface before searing, as excess moisture prevents proper crust formation.
How to Sear a Steak on the Stove: Step-by-Step Instructions
Preheating your pan to the perfect temperature
Proper pan temperature is crucial for developing a flavorful crust without overcooking the interior. Heat your cast iron or carbon steel pan over medium-high heat for 5-6 minutes before adding any oil. The pan surface needs to reach at least 375°F (191°C) to achieve proper Maillard browning, with higher temperatures producing even better results. Test the pan's readiness by dropping a single water droplet on the surface - it should immediately bead up and dance across the pan rather than simply evaporating.
Once hot, add just enough oil to coat the bottom, as excess oil will smoke unnecessarily. Counter-intuitively, starting with a colder steak (straight from the refrigerator or even a brief stint in the freezer) creates a thermal barrier that allows more time for crust development before the interior overcooks[10]. With induction cooktops, cast iron heats more evenly than on gas ranges where hot spots can develop. For stainless steel pans, their quick heat recovery helps maintain temperature when the steak hits the surface, though they don't retain heat as well as cast iron[11].
Proper technique for placing and flipping the steak
Contrary to traditional advice, flipping your steak multiple times creates better results than a single flip. Place the steak in the hot pan by laying it away from you to prevent oil splatter. Rather than waiting several minutes per side, flip the steak every 30-60 seconds. This frequent-flip method cooks steaks 30% faster and produces more even doneness from edge to edge by preventing intense heat buildup on either side.
The meat needs only a few undisturbed minutes initially to develop a proper crust - after that, frequent flipping helps distribute heat more evenly through the steak. Don't worry about losing browning or flavor - tests show steaks flipped frequently brown just as well as those flipped once, while developing less of a gray band of overcooked meat around the edges. Let the steak release naturally from the pan before attempting to flip it - when properly seared, it will lift easily without sticking[12].
Determining doneness and resting your steak
Accurate steak doneness depends on internal temperature, not color or touch tests. For rare, remove the steak at 120-130°F; medium-rare at 130-135°F; medium at 135-145°F; and medium-well at 145-155°F. Insert a digital thermometer into the thickest part and slowly pull it through to find the coolest spot - this represents the steak's true doneness. Account for carryover cooking, where residual heat continues raising the internal temperature after removing from heat. Thinner steaks experience 3-5°F of carryover, while thicker cuts can rise 5-7°F.
Let steaks rest 5-10 minutes before cutting to allow juices to redistribute. During resting, the proteins relax and reabsorb moisture, resulting in a juicier steak. Tent loosely with foil to retain some heat without trapping moisture that could soften the crust. Cutting too soon allows juices to escape, leaving the meat drier than desired[13].
Mastering Different Searing Methods
Traditional pan-searing technique
Traditional pan-searing starts with a properly heated cast iron skillet over medium-high heat for 5-6 minutes until it reaches at least 375°F. Add just enough high smoke point oil to coat the bottom - avocado, refined safflower, or tallow work best. Once the pan is smoking hot, place the dried and seasoned steak away from you to prevent oil splatter. Rather than the conventional single flip, turn the steak every 30-60 seconds for more even cooking and up to 30% faster results. This frequent-flip method prevents intense heat buildup on either side while still developing an excellent crust.
Let the meat release naturally from the pan before attempting to flip - when properly seared, it lifts easily without sticking. In the final 1-2 minutes of cooking, add butter to the pan for extra flavor and a creamy finish. The butter's milk solids will brown and create rich flavors, but adding it too early risks burning[5]. For a 1-inch thick steak, cook approximately 3-4 minutes per side for medium-rare, adjusting based on your stovetop's heat output[14].
Reverse searing for thicker cuts
Reverse searing excels with steaks thicker than 1.5 inches, delivering even doneness and superior crust development. Start by cooking the steak in a 225°F oven on a wire rack over a baking sheet until it reaches 10-15°F below your target temperature (80-95°F for rare, 90-95°F for medium-rare, 100-105°F for medium). This gentle heat ensures uniform cooking through the meat's center. After a 10-minute rest, sear the steak in a screaming-hot cast iron pan for 60-75 seconds per side.
The method's two-phase approach prevents the thick gray band of overcooked meat common with traditional searing, while the initial low-temperature cook allows precise control over doneness. Unlike direct high-heat methods that can dry out well-done steaks, reverse searing maintains moisture even at higher internal temperatures. The technique also generates fond (browned bits) in the pan perfect for making pan sauces[15].
Butter-basting method for enhanced flavor
Butter-basting combines traditional searing with continuous flavor infusion. Start by searing the steak in oil until a crust forms, about 4 minutes, before adding butter to prevent burning. Once the butter melts and foams, add aromatics like crushed garlic cloves, shallots, and fresh herb sprigs. Flip the steak every 30 seconds while rapidly spooning the hot butter mixture over the meat, focusing on less-browned areas. This technique bastes the steak in flavored butter while creating an even crust through frequent turning. Continue basting until the steak reaches 120°F for medium-rare. For a finishing touch, strain the browned butter, discard the aromatics, and drizzle the infused butter over the sliced steak[16].
Troubleshooting Common Searing Issues
Preventing sticking and burning
Sticking and burning often stem from common misconceptions about pan searing. Skip adding oil to the pan - well-marbled cuts like ribeye and strip steak release enough fat during cooking. Start with a cold pan rather than preheating, which allows more gradual heat distribution and prevents sudden temperature spikes that cause sticking. Begin on high heat to drive off surface moisture, then reduce to medium-high once searing begins. This temperature control prevents both sticking and burning while ensuring even cooking.
For minimal sticking, use either a carbon steel or non-stick pan instead of stainless steel - their slicker surfaces help the crust adhere to the meat rather than the pan. Flip the steak every 2 minutes to build up browning gradually without scorching. This method produces excellent results while keeping your kitchen cleaner by minimizing smoke and splatter[17].
Achieving the perfect crust
A perfect steak crust requires managing three key elements: moisture, heat, and timing. Start by thoroughly drying the steak's surface with paper towels - surface moisture prevents proper Maillard browning. Heat your cast iron pan until a water droplet instantly evaporates and dances across the surface, indicating optimal searing temperature. Just before cooking, brush the steak with a thin layer of oil rather than adding oil to the pan. This creates more even contact between meat and cooking surface.
For maximum crust development without overcooking, flip the steak every 45 seconds during the initial sear to build base color, about 5 minutes total. In the final minutes, brush melted butter on the steak between flips - the milk solids in butter accelerate browning while adding flavor. Watch carefully during this stage as the added fat can cause flare-ups that quickly turn a perfect crust into a burnt exterior. The finished crust should be deep brown and evenly caramelized, not black or spotty[18][19].
Adjusting cooking time for different steak thicknesses
Steak thickness directly impacts cooking time and temperature management. For thin steaks (½-¾ inch), sear 2-3 minutes per side over high heat, as the interior cooks quickly.Medium-thickness steaks (1-1¼ inch) need 4-5 minutes per side with medium-high heat to develop proper crust without overcooking. Thick cuts (1½-2 inches) require a modified approach: start with 3-4 minutes per side to establish crust, then reduce heat to medium and cook additional 4-6 minutes, flipping every minute until target temperature.
For steaks over 2 inches, switch to reverse searing - cook at 225°F until internal temperature reaches 15°F below target, rest 10 minutes, then sear 90 seconds per side. Regardless of thickness, remove steaks 5-10°F before target temperature to account for carryover cooking. A digital thermometer remains essential as thickness variations of even ¼ inch can significantly affect cooking time.
Conclusion
Mastering the art of stovetop steak searing takes practice, but with the right techniques and tools, you can achieve restaurant-quality results at home. From selecting the perfect cut and preparing it properly to understanding the nuances of different searing methods, this guide has provided you with a comprehensive roadmap to elevate your steak game.
Remember the key takeaways: choose well-marbled steaks of appropriate thickness, thoroughly dry the surface before cooking, use a cast iron skillet for optimal heat retention, select high smoke point oils, and don't be afraid to flip frequently for even cooking. Whether you opt for traditional pan-searing, reverse searing for thicker cuts, or the flavor-enhancing butter-basting method, each technique offers unique benefits to explore.
As you experiment with these methods, keep in mind the importance of temperature control, both in preheating your pan and monitoring your steak's internal temperature. A good digital thermometer is invaluable for achieving your desired level of doneness consistently.
With practice, you'll develop an intuitive sense for the perfect sear, learning to adjust for different steak thicknesses and managing common issues like sticking or uneven browning. The result will be perfectly cooked steaks with a beautifully caramelized crust and juicy, flavorful interior – a true culinary achievement right in your own kitchen.
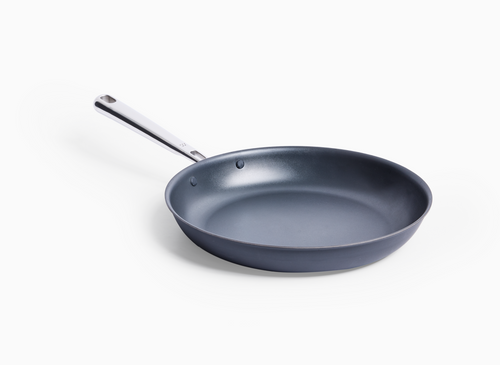
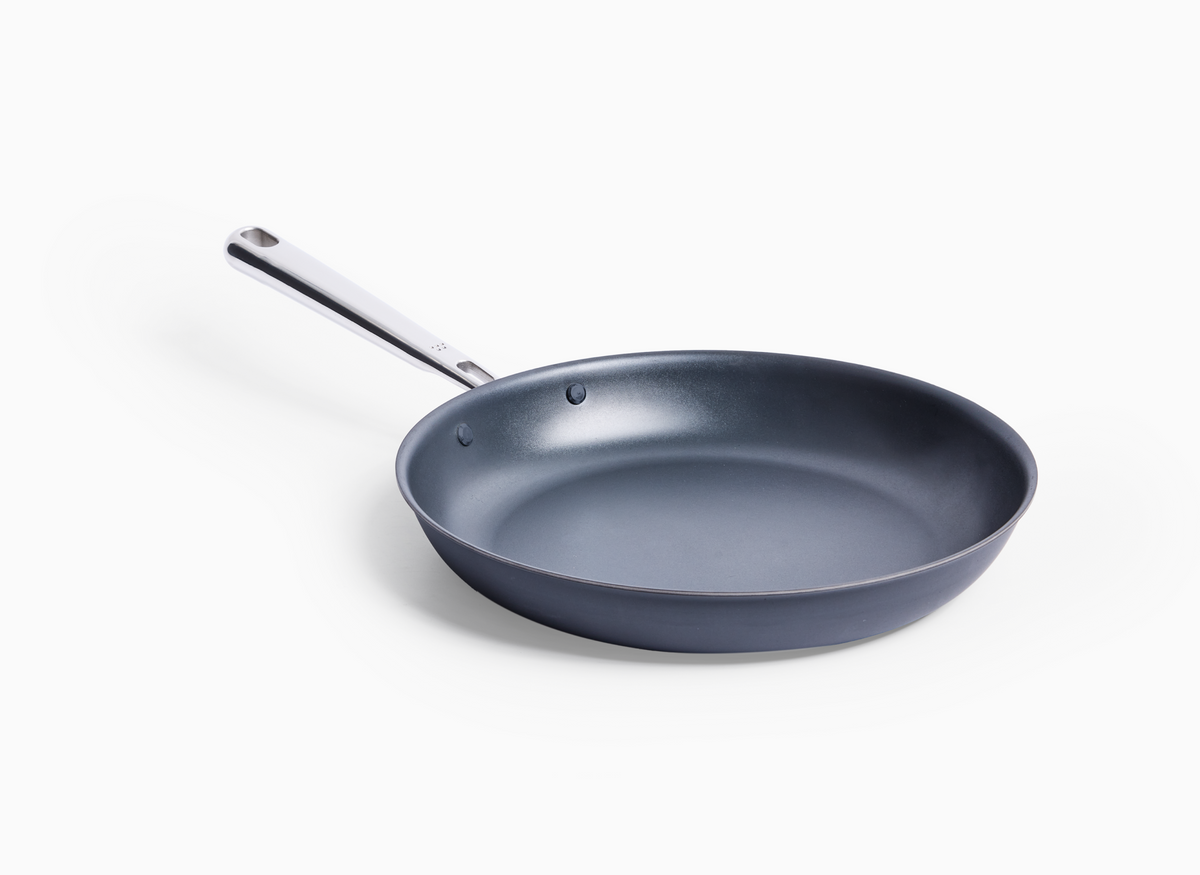
Ready to put your new skills to the test? Our carbon steel pan is an excellent choice for achieving that perfect sear, combining the best qualities of cast iron and stainless steel. Its superior heat retention and distribution make it ideal for creating a restaurant-quality crust on your steaks. Plus, its versatility means you'll find countless uses for it beyond just steak searing.
Elevate your cooking game today and impress your family and friends with your newfound steak searing expertise. Shop Now for all the essential tools you need to become a steak searing pro.
- Choose steaks with good marbling, 1-1.5 inches thick for optimal results.
- Thoroughly dry the steak's surface before cooking for better browning.
- Use a cast iron skillet for superior heat retention and even cooking.
- Select high smoke point oils like avocado oil for the best sear.
- Flip the steak frequently for more even cooking and faster results.
- Seven Sons. (n.d.). How to Pan Fry a Steak.
- America's Test Kitchen. (n.d.). Warming Up Steak Before Searing.
- Food & Wine. (n.d.). Should Raw Meat Be at Room Temperature Before You Cook It?
- Serious Eats. (n.d.). Old Wives' Tales About Cooking Steak.
- Serious Eats. (n.d.). Perfect Pan-Seared Steaks Recipe.
- Natasha's Kitchen. (n.d.). Pan Seared Steak.
- Virginia Boys Kitchens. (n.d.). Searing: Cast Iron vs. Stainless Steel - What's Best for Your Steak?
- Amazing Food Made Easy. (n.d.). What High Smoke Point Oils are Best for Sous Vide Searing?
- Red Meat Lover. (n.d.). Best Oil for Cooking Strip Steak.
- ThermoWorks. (n.d.). How to Sear a Steak.
- ChefSteps. (n.d.). Pan Searing Guide.
- Serious Eats. (n.d.). The Food Lab: Flip Your Steaks and Burgers Multiple Times for Better Results.
- ThermoWorks. (n.d.). Steak Temps: Getting It Right.
- Fifteen Spatulas. (n.d.). How to Properly Sear a Steak.
- Allen Brothers. (n.d.). How to Reverse Sear a Steak.
- America's Test Kitchen. (n.d.). How to Butter-Baste Steak.
- America's Test Kitchen. (n.d.). The Easiest, Cleanest Way to Sear Steak.
- Jess Pryles. (n.d.). How to Get the Perfect Steak Crust.
- Elizabeth Karmel. (2020). Red Hot Cast Iron Steak with Perfect Crust.
