How to Sear a Steak: The Ultimate Guide for Perfectly Cooked Steaks

Mastering the art of searing steak is essential for achieving restaurant-quality results at home. This comprehensive guide covers everything from selecting the right cut to advanced searing techniques, ensuring you can create the perfect steak every time.
Preparing Your Steak for the Perfect Sear
Choosing the right cut of meat
Selecting the right cut is the foundation of a perfectly seared steak. Look for steaks at least 1-inch thick, which provide better control during cooking and more even heat distribution. When examining the meat, check for fine lines of marbling (intramuscular fat) running through the cut. These thin veins create tenderness and rich flavor as they render during cooking.
For searing, premium cuts like ribeye, strip steak, or filet mignon work best. Ribeyes offer excellent marbling and stay juicy over high heat, while strip steaks provide a good balance of tenderness and beef flavor. Filet mignon, cut from the tenderloin, delivers the most delicate texture but needs careful timing to avoid overcooking. Choose cuts with bright red coloring and avoid any with brown spots or excessive surface moisture[1][2].
Bringing the steak to room temperature
Contrary to popular belief, bringing steak to room temperature before cooking doesn't significantly improve results. Tests show that after an hour of resting, a 1-inch thick steak only reaches 52°F, and even after two hours, barely hits 62°F - not enough to impact cooking. This minimal temperature change doesn't justify the food safety risks of leaving meat in the USDA's danger zone (40-140°F).
Instead of waiting, focus on proper cooking technique: use a cold-start method by placing the steak in an unheated pan over high heat, then flip every 2 minutes to build a rich crust without overcooking. For thick cuts, consider the reverse sear method - warming the steak to 95°F in a 275°F oven before searing[3][4].
Proper seasoning techniques
Proper steak seasoning requires kosher salt with larger crystals that can effectively penetrate the meat's surface. Apply a visible, even layer of kosher salt and freshly ground black pepper across all surfaces of the steak - including the sides - creating what's essentially a seasoning 'skin.' For optimal results, salt the meat at least 40 minutes before cooking or immediately before it hits the pan. Salting between 3-40 minutes draws moisture to the surface, preventing proper searing.
When the steak is done cooking and sliced, finish with large, flaky sea salt to enhance the interior's flavor and add textural contrast. This two-stage seasoning approach - kosher salt before cooking and flaky salt after - ensures restaurant-quality results[5][6].
Essential Equipment for Searing Steak
Selecting the ideal cooking surface
Cast iron pans deliver the best searing results due to their superior heat retention and mass. While cast iron heats slowly and unevenly, once hot it maintains temperature better than any other material - even when cold meat hits the surface. This consistent heat creates the deep, flavorful crust essential for a perfect steak.
For optimal results, use a 12-inch skillet to avoid overcrowding, which can cause steaming instead of searing. While clad stainless steel pans can work, most are too thin for ideal heat retention except for premium options. Carbon steel offers a lighter alternative to cast iron but requires a thicker gauge to match its searing capability.
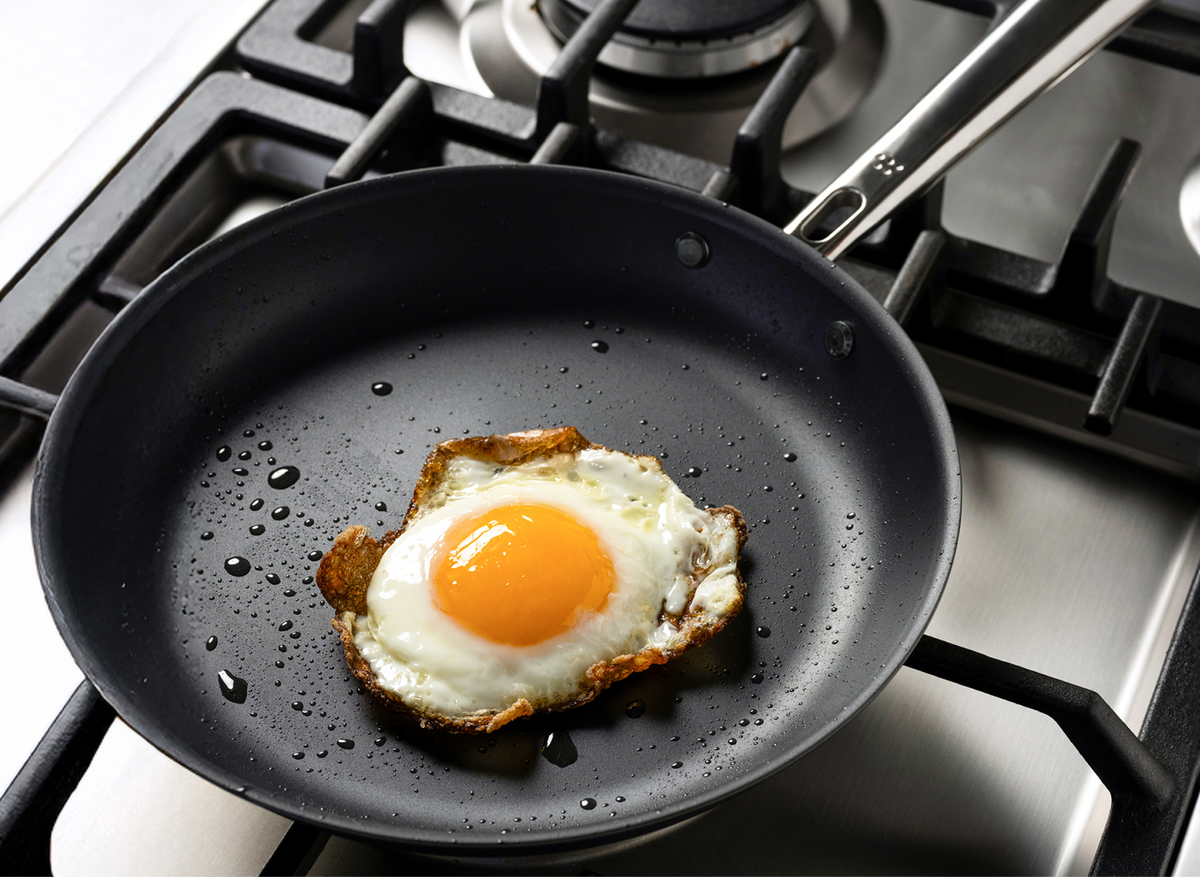
Never use nonstick pans for high-heat searing - the coating can break down at high temperatures and won't develop proper browning. If using copper, ensure it's at least 2.5mm thick for adequate heat retention, though the inevitable oil splatters may damage its appearance[7][8].
Importance of high-quality tongs
High-quality tongs act as an extension of your hands when searing steak, providing precise control over flipping and positioning. Look for tongs with scalloped edges and aligned tips that can firmly grip meat without piercing or tearing. The best tongs combine sturdy stainless steel construction with ergonomic handles and spring tension that won't strain your hand during extended use.
For searing, 12-14 inch tongs offer ideal reach while keeping hands safely away from hot surfaces and oil splatter. Avoid silicone-tipped tongs for high-heat searing, as they may not withstand extreme temperatures. Instead, choose all-metal tongs with thin, precise edges that can slide smoothly under steaks to check doneness and maintain even contact with the pan[9][10].
Using a meat thermometer for precision
A reliable meat thermometer transforms guesswork into precision when cooking steaks. For instant readings, look for thermometers that deliver temperature accuracy within 0.5°F in just one second, featuring a backlit display that rotates 360 degrees for easy reading from any angle. For continuous monitoring, leave-in probe thermometers stay inserted while cooking, alerting you when meat reaches target temperature.
When using either type, insert the probe into the thickest part of the steak, avoiding fat or bone for accurate core temperature readings. For steaks under 1.5 inches, insert the probe horizontally from the side; for thicker cuts, angle the probe downward from the top. Check multiple spots, as temperature can vary throughout the meat. The ideal internal temperatures are 125°F for rare, 135°F for medium-rare, 145°F for medium, 150°F for medium-well, and 160°F for well-done[11][12].
The Searing Process: Step-by-Step
Preheating your cooking surface
Proper preheating is crucial for achieving the perfect sear. Heat your cast iron skillet over high heat for 5-7 minutes until it's extremely hot - around 425°F (218°C). This temperature triggers the Maillard reaction, creating that coveted brown crust while keeping the interior juicy. To test readiness, drop a few water droplets on the surface - they should instantly vaporize and dance across the pan.
For non-cast iron pans, extend preheating time to 8-10 minutes to ensure adequate heat retention. Add oil only when the pan reaches full temperature, using just enough to coat the bottom surface evenly. The oil should shimmer immediately but not smoke - if smoking occurs, briefly remove the pan from heat to let it cool slightly. This careful temperature control prevents both underdeveloped crusts from too-cool pans and burnt exteriors from overheated surfaces[13][14].
Timing the sear for optimal crust formation
Optimal crust formation requires precise timing and technique during the searing process. Place the steak in the smoking-hot pan and resist moving it for 2-3 minutes to allow proper contact for browning. After the initial sear, flip the steak every 15-30 seconds - this frequent flipping develops an even crust while minimizing the overcooked gray band beneath the surface.
The entire searing process typically takes 8-10 minutes for a 1.5-inch thick steak to reach medium-rare. Watch for visual cues: the steak should develop a deep mahogany color rather than black, which indicates burning. Once the first side shows proper browning, flip and repeat. For enhanced crust development, brush melted butter on the steak during the final minute of cooking - the milk solids in butter accelerate browning through the Maillard reaction. The steak's surface should feel firm and crusty when gently pressed with tongs, indicating proper sear development.
Flipping techniques for even cooking
Frequent flipping creates better steaks than the traditional single-flip method. The Just Keep Flipping (JKF) technique involves flipping steaks every 20-30 seconds over high heat, building an even crust while preventing overcooking. This method works for any thickness or cut, developing a deep mahogany exterior without the thick gray band of overcooked meat that often forms beneath the surface.
Tests show multiple-flip steaks cook 20-25% faster than single-flip steaks while achieving identical surface browning and more even internal doneness[15]. For fatty cuts like ribeyes, increase flipping frequency to control flare-ups. With cylindrical cuts like tenderloin, rotate rather than flip to ensure even cooking. The technique requires practice to master timing and heat control, but delivers superior results by allowing both gradual crust development and even heat distribution[16].
Start with high heat, then reduce to medium-high after the initial sear. This temperature adjustment prevents smoking while maintaining enough heat for proper browning[17].
Advanced Searing Techniques
The reverse sear method
The reverse sear method flips traditional steak cooking by starting with low-temperature oven roasting before finishing with a high-heat sear. Cook thick steaks (1.5-2 inches) in a 225°F oven on a wire rack until they reach 10-15°F below target temperature: 80-95°F for rare, 90-95°F for medium-rare, 100-105°F for medium, 110-115°F for medium-well. This gentle heating activates tenderizing enzymes and ensures even doneness throughout.
After a 10-minute rest, sear the steak in a screaming-hot cast iron pan for 45-75 seconds per side to develop a deep mahogany crust through the Maillard reaction. This two-step process offers superior control over doneness while minimizing the overcooked gray band common with traditional searing. The method works particularly well for premium cuts like ribeye, filet mignon, and strip steak, though any thick cut will benefit from this technique[18][19].
Butter basting for enhanced flavor
Butter basting transforms a good steak into an exceptional one by developing a deep mahogany crust while infusing rich, nutty flavors throughout the meat. Start by searing the steak in a smoking-hot pan with oil until it's about 20-30 degrees below target temperature. Then add 2-3 tablespoons of high-quality European or cultured butter, which offers higher fat content for better browning.
As the butter aggressively bubbles and browns, tilt the pan to collect the melted butter near the handle, then spoon it continuously over the steak. The key is maintaining extremely high heat so the butter's water content evaporates instantly, allowing the fat to create a golden crust through the Maillard reaction rather than making the surface soggy. Add crushed garlic cloves and hardy herbs like thyme or rosemary to infuse the butter with aromatic flavors that coat the meat with each baste. Continue flipping and basting frequently until the steak reaches your target temperature - this technique can reduce cooking time by up to 35% while ensuring even doneness[20][21].
Using herbs and aromatics during searing
Fresh herbs and aromatics transform a good steak into an exceptional one during the searing process. Add whole garlic cloves and hardy herbs like rosemary, thyme, or fresh bay leaves to the pan alongside the steak - no need to chop or mince them. As the herbs cook in the hot oil or butter, they release essential oils that infuse the meat with complex flavors.
For pan-seared steaks, toss these aromatics in with neutral oil or butter and use them while basting. The steak continues absorbing herby flavors throughout cooking, and wilted herbs can be discarded after. Avoid dried herbs, which burn quickly at high temperatures and impart bitter flavors. For advanced flavor layering, rub the bone with fresh herbs and garlic after resting, or swab the sliced meat with an herb bundle dipped in finishing oil. This technique works particularly well with rosemary and garlic for sous vide preparations[22]. The key is using fresh, sturdy herbs that can withstand high heat while releasing their aromatic compounds into the cooking fat[23].
Finishing Touches
Resting the steak after searing
Resting steak after searing is crucial for maintaining juiciness and optimal texture. When meat cooks, muscle fibers contract and force moisture toward the center. A steak cut immediately after cooking can lose up to 9% additional weight in juices, compared to just 2% loss when properly rested. Let steaks rest until their center temperature reaches 120°F (49°C) - typically 10 minutes for a 1.5-inch thick cut.
During this time, the outer layers cool from over 200°F to around 145°F, allowing muscle fibers to relax and redistribute moisture evenly throughout the meat. This temperature equilibration creates a pressure differential that pulls liquid from the center toward the edges, resulting in a steak that stays juicy when sliced. The resting period also allows carryover cooking to complete, where residual heat continues raising the internal temperature by several degrees. For precision, use a meat thermometer to verify the center has reached 120°F before slicing.
Slicing against the grain for tenderness
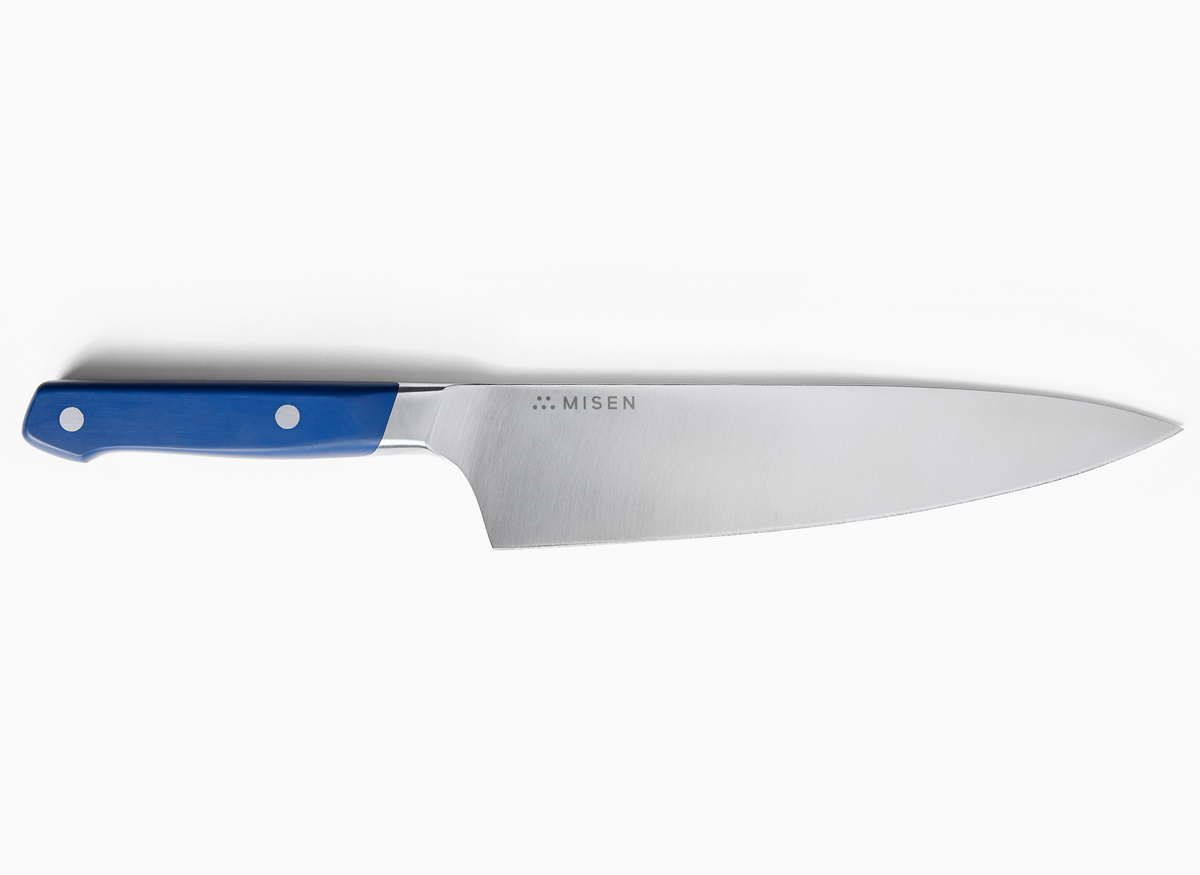
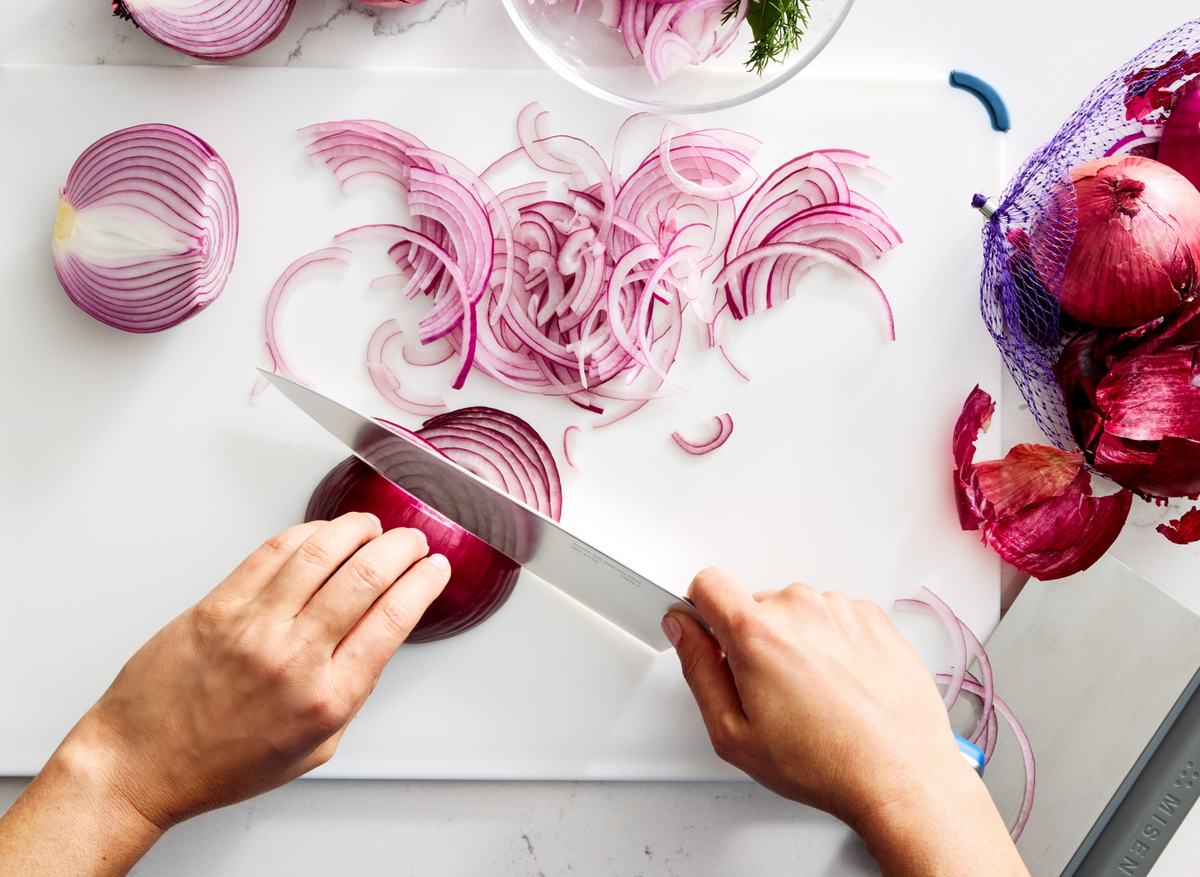
Proper slicing technique dramatically impacts steak tenderness by shortening tough muscle fibers. Examine the meat to identify parallel white lines running in one direction - this is the grain. Position the steak so these fibers run left to right, then slice perpendicular to them using a sharp knife. This crosswise cutting shortens muscle fibers from potentially infinite length to just the width of your slice, making each bite easier to chew.
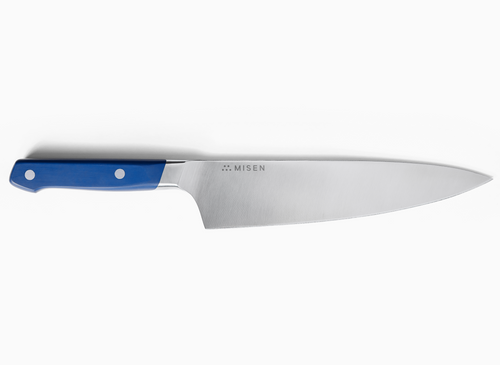
For tougher cuts like flank, skirt, or hanger steak where the grain is more pronounced, slicing against it becomes crucial. Tests show cutting at 45 degrees instead of perpendicular increases fiber length by nearly 50%, while cutting parallel to the grain leaves fibers intact and creates chewy, rubber band-like bites. Use a sharp slicing knife or sujihiki with a long, narrow blade to minimize friction and cellular damage. Make clean, even cuts about 1/4 to 1/2 inch thick, and avoid sawing motions that can tear the meat's structure[24][25].
Pairing your perfectly seared steak
A perfectly seared steak deserves thoughtful wine pairings that enhance its rich flavors. For leaner cuts like filet mignon, opt for medium-bodied wines with subtle flavors - Merlot from Bordeaux or Washington State complements without overwhelming the meat's delicate taste. Fatty, marbled cuts like ribeye pair exceptionally with high-tannin wines that cut through richness - try Cabernet Sauvignon from Napa Valley or a robust Sagrantino from Italy's Umbria region.
Strip steaks shine alongside GSM blends (Grenache-Syrah-Mourvedre) from France's Rhône Valley, which offer enough body to match the meat while adding complex fruit and spice notes. For budget-friendly cuts like flank or skirt steak, look to Spanish Tempranillo or Argentine Malbec - their strong berry flavors and velvety textures complement the more fibrous meat.
When serving steak with classic sauces, consider how the sauce affects pairing: pepper-crusted cuts match well with spicy Syrah, while buttery pan sauces call for the bright acidity of cool-climate Pinot Noir. The key is balancing the wine's body with the cut's richness while using acidity and tannins to refresh the palate between bites[26][27].
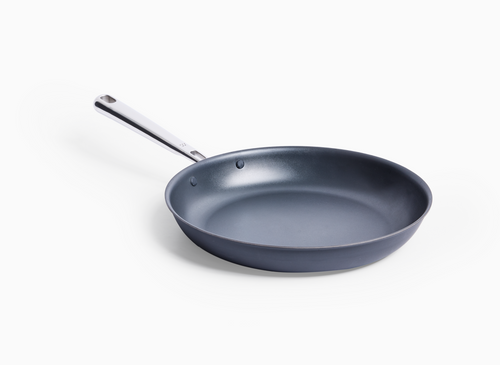
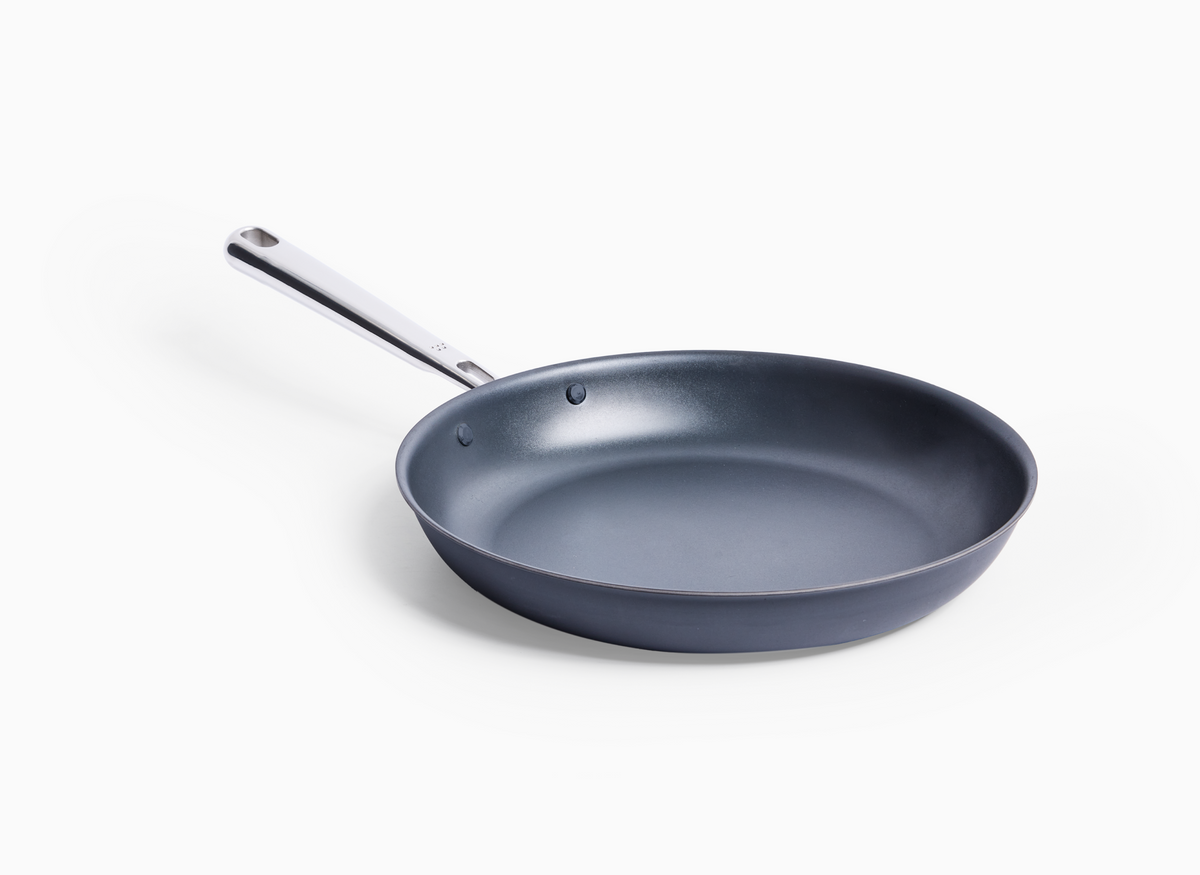
Now that you've mastered the art of searing the perfect steak, it's time to put your skills to the test. Our carbon steel pan is an excellent choice for achieving that restaurant-quality sear at home. Its superior heat retention and distribution properties make it ideal for creating a beautiful crust on your steak while maintaining a juicy interior. Ready to elevate your steak game? Shop Now and discover the difference the right tools can make in your cooking.
- Choose steaks at least 1-inch thick with fine marbling for best results
- Proper seasoning and pan preheating are crucial for developing a flavorful crust
- Cast iron pans offer superior heat retention for ideal searing
- Frequent flipping during cooking promotes even crust formation and doneness
- Resting the steak after cooking is vital for maintaining juiciness
- <
- My Chicago Steak. (n.d.). Best Cuts of Steak.
- Taste of Home. (n.d.). Types of Steak Everyone Should Know.
- America's Test Kitchen. (n.d.). Warming Up Steak Before Searing.
- Food & Wine. (n.d.). Should Raw Meat Be at Room Temperature Before You Cook It?
- Serious Eats. (n.d.). Perfect Pan-Seared Steaks Recipe.
- Bon Appétit. (n.d.). How to Season a Steak.
- The Rational Kitchen. (n.d.). Best Pan for Searing Steak.
- Virginia Boys Kitchens. (n.d.). Searing: Cast Iron vs Stainless Steel - What's Best for Your Steak?
- Serious Eats. (n.d.). The Best Kitchen Tongs.
- Food Network. (n.d.). Best Tongs.
- Serious Eats. (n.d.). The Best Meat Thermometers.
- Bon Appétit. (n.d.). The Best Meat Thermometer.
- Tasting Table. (n.d.). Preheating Tip for Perfect Steak Sear.
- Hestan Cue. (n.d.). The Ultimate Guide for Pan-Seared Steak.
- The Chopping Block. (n.d.). Flip Your Steaks as Often as You Like.
- Jess Pryles. (n.d.). The JKF Method: Just Keep Flipping.
- America's Test Kitchen. (n.d.). The Easiest, Cleanest Way to Sear Steak.
- Jessica Gavin. (n.d.). How to Reverse Sear a Steak.
- Allen Brothers. (n.d.). How to Reverse Sear a Steak.
- Serious Eats. (n.d.). Butter-Basted Pan-Seared Steaks Recipe.
- Jess Pryles. (n.d.). How to Butter Baste a Steak.
- Tasting Table. (n.d.). Dried Herb Mistake Seared Steak.
- Little Sunny Kitchen. (n.d.). Pan Seared Steak.
- Serious Eats. (n.d.). Why Should You Cut Meat Against the Grain?
- Chubo Knives. (n.d.). How to Cut Meat Against the Grain.
- Wine Folly. (n.d.). The Handy Guide to Wine and Steak Pairing.
- Wine Enthusiast. (n.d.). Wine and Steak Pairing.
