Mastering Braising: The Ultimate Guide to This Slow-Cooking Method
About Misen
We make kitchen tools that work better, last longer, and cost less than you’d expect: everyday innovations with a radical focus on our customers’ actual need.
Table of Contents
Summary
Mastering braising unlocks the secret to turning budget-friendly, tough cuts into fork-tender, restaurant-worthy meals through a simple four-step dance of browning, moistening, covering, and slow-cooking that triggers the Maillard reaction and converts collagen into silky gelatin. The article equips home cooks to choose the perfect vessel--stainless for versatility, enameled cast-iron for heat-holding charm, or carbon steel for searing prowess--while detailing oven temperatures (275-300 degreesF), liquid levels halfway up the food, and timing rules from 20-minute chicken to 9-hour short ribs. Readers learn to layer flavor by deglazing the browned bits, building aromatic bases of onions and herbs, and finishing with acid, while troubleshooting common pitfalls like tough meat (cook longer, not hotter), watery sauce (reduce and season), or mushy vegetables (add late). By embracing low-energy, scrap-friendly techniques, anyone can transform everyday ingredients into deeply satisfying dishes and a velvety sauce in one pot, making braising the ultimate slow-cooking superpower for sustainable, economical, and incredibly flavorful meals.
Understanding Braising: Science, Benefits, and Everyday Impact
Braising turns cheap, tough cuts into fork-tender, deeply flavored meals by searing to spark the Maillard reaction, then slow-cooking in just enough liquid to convert collagen to gelatin while keeping the meat juicy and waste out of the trash.
What braising is and how the heat‑moisture balance creates flavor and tenderness
Braising combines dry and moist heat cooking to transform tough cuts into tender, flavorful dishes. The process begins with searing meat at high temperatures (around 140 degreesC), triggering the Maillard reaction where proteins and sugars interact to create hundreds of new flavor compounds [3]. This initial browning develops deep, rich flavors that form the foundation of the dish. Next comes the crucial slow-cooking phase where meat simmers in liquid at lower temperatures.
During this extended cooking period, several transformations occur simultaneously. The collagen in connective tissue--responsible for meat toughness--slowly converts to gelatin, creating a tender texture and rich mouthfeel [2]. Meanwhile, muscle fibers undergo structural changes as heat causes protein denaturation, where ordered structures convert to random coils [1]. This protein transformation significantly impacts texture, as myofibrillar proteins contract then gradually relax during extended cooking.
The moisture component provides critical benefits: it prevents meat from drying out, helps regulate temperature, and creates an environment where flavors can migrate between the meat and cooking liquid [1]. The balance between heat and moisture is crucial--too much liquid prevents proper browning while insufficient moisture causes dryness. The slow heat transfer allows fat to render gradually and flavors to concentrate, while acids in the cooking liquid help break down proteins, further enhancing tenderness [2]. This delicate interplay between heat and moisture is what distinguishes braising from other cooking methods, creating meat that's both fork-tender and intensely flavorful.
Why braising is a sustainable, low‑waste method that enhances everyday meals
Braising stands out as a remarkably sustainable cooking method that minimizes food waste while maximizing flavor. This technique excels at transforming tough, often overlooked cuts of meat--typically less expensive and more likely to be discarded--into tender, flavorful dishes. When you braise, you're practicing the nose-to-tail cooking philosophy that helps reduce the estimated 30-40% of U. S.
food supply that gets wasted annually [4]. The slow-cooking process creates an ideal environment for using vegetable scraps that might otherwise be discarded; carrot tops, celery leaves, and onion ends contribute valuable flavor to the cooking liquid while reducing kitchen waste. After cooking, the nutrient-rich braising liquid becomes a ready-made stock for future meals, creating a closed-loop system that stretches ingredients further. Braised dishes often improve with time, making them excellent for batch cooking and planned leftovers--a key strategy for reducing household food waste, which accounts for 43% of all wasted food in America [6].
Beyond waste reduction, braising is economically sustainable, turning inexpensive ingredients into meals that feel luxurious, helping you maximize your food budget while minimizing environmental impact. Each time you choose to braise, you're making a cooking decision that helps conserve resources and reduce greenhouse gas emissions while creating meals with exceptional depth and complexity [4].
Choosing the Right Braising Tools for Daily Cooking
Pick stainless steel for acidic braises, carbon steel for lightning-fast sears, or enameled cast iron for decades of low-maintenance heat retention--just don't waste money on the wrong size.
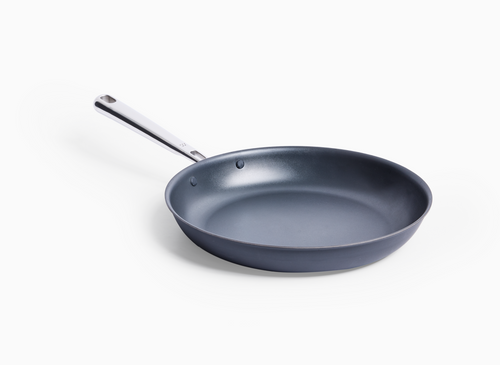
Durable materials--stainless steel, enameled cast iron, and carbon steel--and why they last
Your braising cookware material directly impacts your results. Let's break down your three best options. Stainless steel is your workhorse - it's non-reactive, rust-resistant, and handles high heat for years [7]. Perfect for acidic braising liquids like wine or tomatoes. Pro tip: invest in pans with aluminum or copper cores for even heating.
Yes, 5-ply costs more than 3-ply, but the difference in cooking performance is worth it. Carbon steel brings restaurant-quality performance to your kitchen - it's lighter than cast iron yet equally durable [7]. It heats fast and evenly, making it perfect for that crucial searing step. Just remember: it reacts with acidic ingredients, so skip it for your tomato-based braises. Enameled cast iron delivers the best of both worlds through its porcelain coating [7].
You get incredible heat retention without the maintenance of traditional cast iron. No seasoning required, no metallic flavors in your food, and it'll last decades with basic care. The weight and price tag are higher, but for serious braising, it's hard to beat.
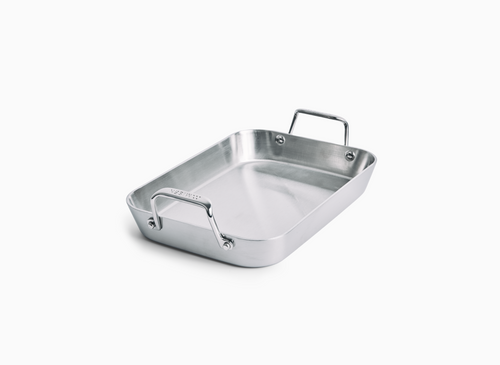
Size, shape, and lid features that fit any home kitchen and keep cookware in use
Size matters when choosing a braiser - get it wrong and it'll collect dust in your cabinet.
Here's what actually works: cooking for one or two?
A 3.
Step‑by‑Step Braising Workflow for Consistent Results
Salt your meat early, sear it hard for a deep crust, then let aromatics, fond, and a gentle 275-350 degreesF braise work together to turn tough cuts into spoon-tender flavor bombs.
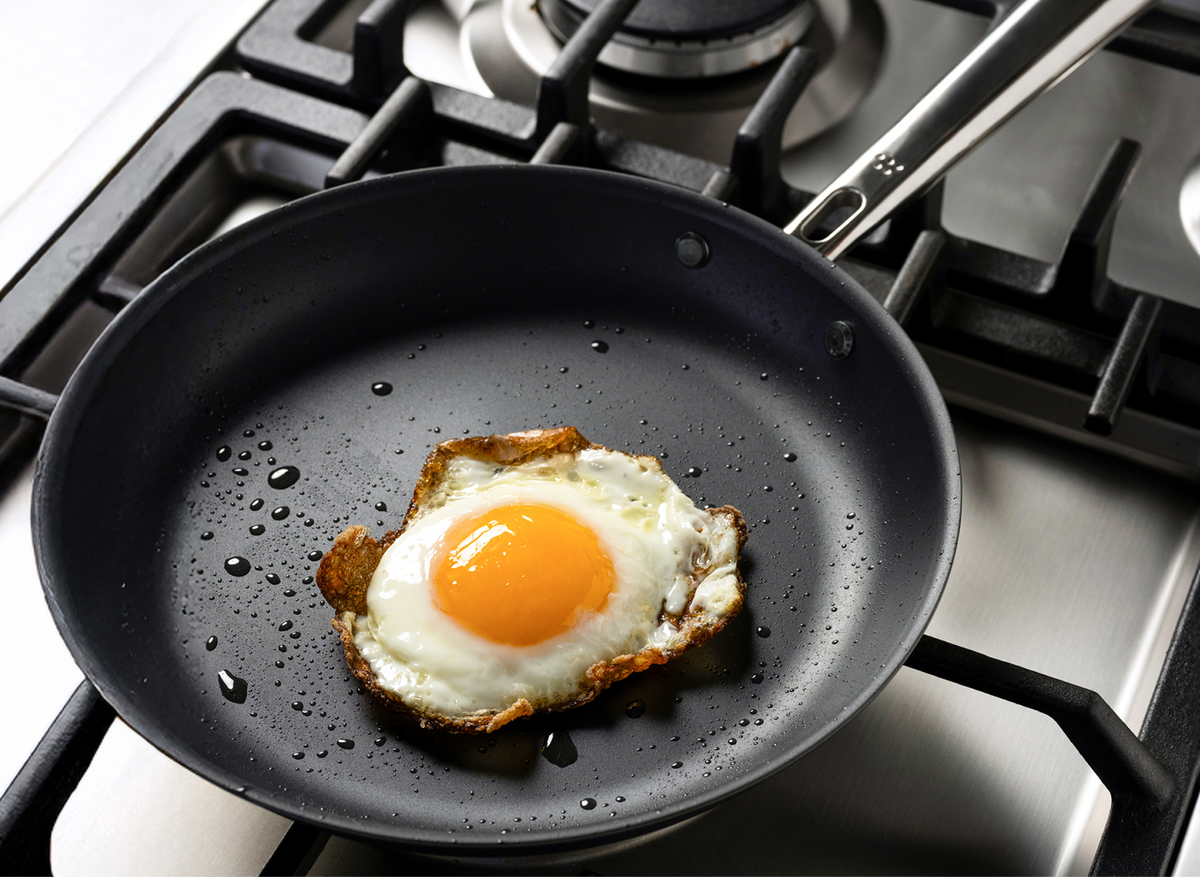
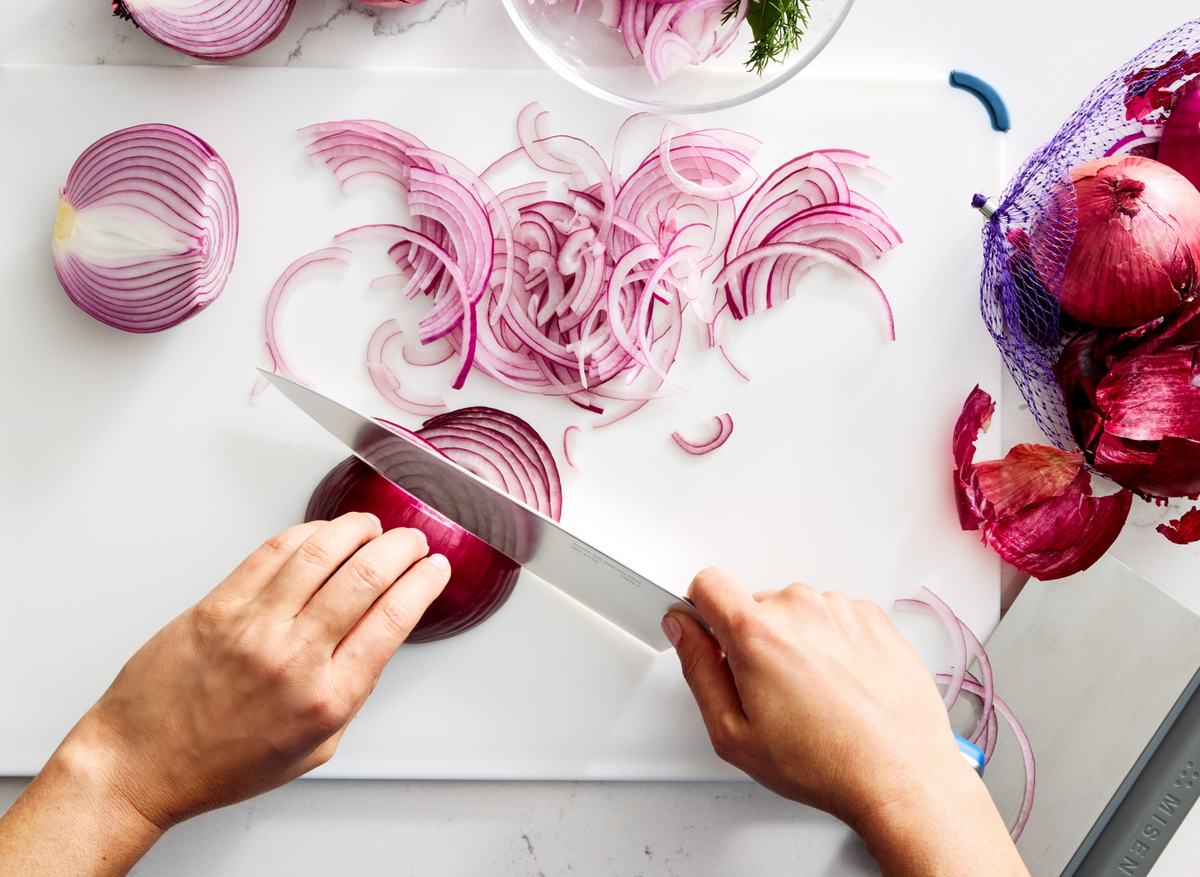
Prep, seasoning, and searing: building flavor before the low‑heat phase
Start with salt--your secret weapon for both flavor and texture. When you season meat generously and let it rest (even just 1-2 hours helps, though overnight is ideal for larger cuts), something amazing happens. The salt draws out moisture, dissolves, and creates a natural brine that gets pulled back into the meat [10]. For really tough cuts, grab a skewer and poke some holes first--this gives the salt a shortcut to work its magic deeper inside [12]. Now for the fun part: searing.
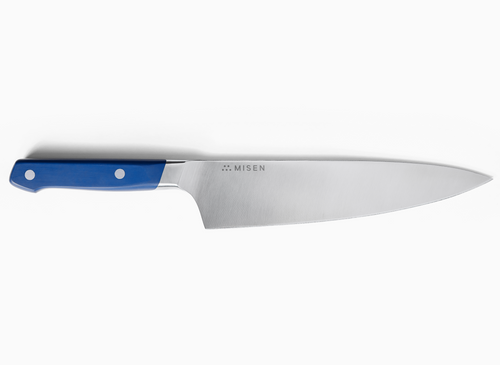
This step builds the foundation of your entire dish's flavor (we covered the science in the previous section, but here's how to nail it). Don't settle for pale beige--you want a deep, rich crust [11]. That caramelization creates layers of flavor that will infuse your whole braise. A well-heated carbon steel pan gives you the high heat you need for proper browning while building up that precious fond--those browned bits stuck to the pan that are pure concentrated flavor [10]. Once your meat is beautifully browned, use the same pan to sauté your aromatics.
Those onions, carrots, and celery will soak up all that fond while developing their own sweetness [10]. This is also the perfect time to add flavor boosters like tomato paste, miso, or dried mushrooms--they'll bloom in the hot fat and add incredible depth [10]. Finally, deglaze with wine, vinegar, or stock, letting it simmer for 5-10 minutes. This step does double duty: it loosens all that flavorful fond and pre-heats your liquid so your oven temperature won't drop when you start braising [11]. Smart cooking is all about these little efficiencies that make a big difference.
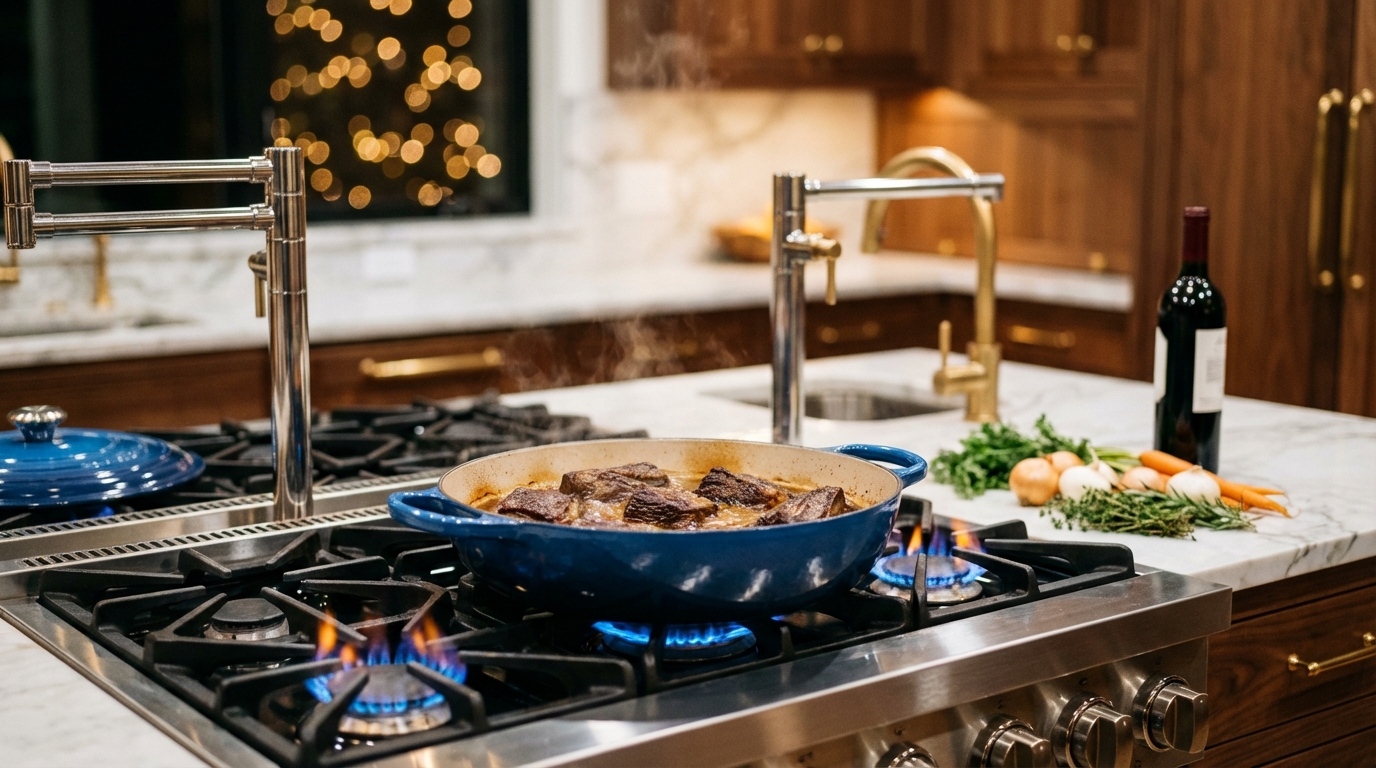
Low‑heat cooking, liquid ratios, timing, and safety tips for foolproof braises
Here's where patience pays off. Keep your oven between 275 degrees and 350 degreesF--this sweet spot lets meat transform slowly without drying out [13]. At these temperatures, you get a perfect moisture cycle: steam rises, hits the lid, and rains back down on your meat, spreading flavor everywhere [13]. The liquid level matters more than you might think. Use the one-third rule: liquid should come about a third of the way up your meat [13]. Too little and you'll scorch the bottom; too much and you'll end up with watery, bland results that never properly concentrate [13].
After 30 minutes, take a peek. If the liquid is bubbling hard, dial back the heat by 10 degrees at a time until you get a gentle simmer [13]. And yes, you can overcook a braise--even with all that moisture, meat will eventually dry out if you push it too far [13]. You're looking for fork-tender, not falling apart. With bone-in cuts, watch for the meat just starting to pull away from the bone--that's your cue that the collagen has transformed into silky gelatin [13]. Once it's done, resist diving in immediately.
Let your braise rest for 15-30 minutes so those juices redistribute evenly [14]. Even better? Many braises taste incredible the next day, making them perfect for meal prep [13]. Store leftovers in airtight containers--they'll keep for five days in the fridge or three months in the freezer [14]. Skip the microwave when reheating (it'll toughen the meat). Instead, warm it gently in a 350 degreesF oven with a splash of liquid and a foil cover to keep everything moist [14].
Flavor Mastery and Troubleshooting for Perfect Braises
Master your braise by layering umami-rich liquids--wine, miso, tomato, even milk--then keep tough meats at a gentle 275-300 degreesF simmer until collagen melts into fork-tender silk.
Aromatics, herbs, and liquid choices to layer flavor with pantry staples
Your braising liquid transforms simple ingredients into deeply flavorful dishes--it's worth choosing wisely. Stock forms a reliable base, whether homemade or store-bought low-sodium versions enhanced with aromatics. For extra depth, add a splash of soy sauce or miso, or let spices like paprika, turmeric, and saffron bloom in the liquid [15]. Wine brings classic sophistication to braises. Choose dry over sweet varieties, which turn cloying when reduced. Stretch your budget by cutting wine with water or stock--you'll still get complex flavor without breaking the bank.
Beer works beautifully too, especially darker, malty types that won't turn bitter during cooking [15]. Tomato-based liquids deliver rich, concentrated sauces. Skip the diced tomatoes (they're picked underripe) and reach for whole peeled or crushed varieties. Balance acidity by sautéing anchovies with your vegetables and finishing with balsamic vinegar [15]. For something unexpected, try braising in pure fat with bright accents like capers, olives, and lemon. Even milk works wonderfully--as it reduces, the water evaporates and milk solids caramelize into a nutty brown sauce [15].
Build your flavor foundation with aromatics. Sauté onions, celery, carrots, and fennel in rendered fat to capture every bit of fond. Add hardy herbs and whole spices early (bay leaves, rosemary, cinnamon sticks), but save delicate herbs for the end to keep them bright [15]. A quality braising pot with a tight-fitting lid will help retain these complex flavors throughout the cooking process.
Common braising problems and quick fixes to keep dishes tender and waste‑free
Tough meat is the most frequent braising complaint, typically resulting from improper technique rather than the recipe itself. When meat stays tough after the recommended cooking time, don't panic--just keep cooking. Collagen needs time to break down into gelatin, so continue at low heat until the meat is fork-tender [16]. As covered in the cooking section, maintain 275-300 degreesF in the oven or gentle bubbles on the stovetop [17]. Quick fixes for common problems: Thin, watery sauce: Remove the meat, then reduce the liquid over medium heat until it coats a spoon. Add a splash of vinegar or lemon juice to brighten the concentrated flavors [16].
Bland results: This usually means you skipped proper browning or didn't season in layers. Next time, ensure good searing with space between meat pieces, deglaze thoroughly for all that fond, and build aromatics throughout cooking [18]. Mushy vegetables: Start with hardy vegetables like carrots and potatoes, then add delicate ones (zucchini, peas) in the final 20-30 minutes [16]. Uneven cooking: Stop peeking! Every time you lift the lid, you lose heat and moisture. Trust the process [17].
Dry, stringy meat: This happens when you rush with high heat. Low and slow is non-negotiable--increasing temperature won't speed things up, just dry things out [18]. Too greasy: Skim fat during cooking or chill overnight and remove the solidified layer before reheating [16]. Store leftover braises in their cooking liquid to keep meat moist. When reheating, skip the microwave--use a 350 degreesF oven with a splash of liquid to maintain texture [17].
Key Takeaways
- Browning triggers Maillard reaction for deep flavor but doesn't seal juices.
- Cook tough cuts 275-300 degreesF until fork-tender to convert collagen to gelatin.
- Add liquid only ⅓-½ up food to braise, not poach, and keep lid tight.
- Oven-braise low and even; stovetop heat can toughen proteins.
- Reduce braising liquid after cooking for concentrated sauce.
- Extend low heat, not higher, when meat stays tough.
- Skim fat or chill to remove grease without losing flavor.
References
- https://pmc.ncbi.nlm.nih.gov/articles/PMC12743518/
- https://www.orka.tech/en/the-chemistry-of-tenderizing-meat-enzymes-acids-and-marinades/?srsltid=AfmBOopaVvHoJx4EUk6gHOW2GlktOA7rzDJYkzZPSMjqxrTCha5sB2HK
- https://www.culinaryartsswitzerland.com/en/news/maillard-reaction/
- https://www.epa.gov/sustainable-management-food/sustainable-management-food-basics
- https://foodprint.org/cooking-sustainably/
- https://www.escoffier.edu/blog/culinary-arts/waste-not-4-ways-chefs-can-reduce-food-waste/
- https://www.escoffieronline.com/pros-and-cons-of-common-cookware-materials/
- https://www.thespruceeats.com/best-braising-pans-5080036
- https://www.seriouseats.com/best-braisers-6753394
- https://virginiawillis.com/braising-basics-five-steps-to-perfectly-braised-meats/
- https://andrewzimmern.com/essential-tips-for-braising/
- https://www.americastestkitchen.com/articles/552-how-to-braise-brisket
- https://www.poconorecord.com/story/lifestyle/food/2019/03/20/braising-is-most-flexible-foolproof/5671820007/
- https://copykat.com/how-to-make-the-perfect-roast-beef/
- https://food52.com/story/21887-change-the-way-you-cook-braising
- https://chefscircle.co.uk/the-chefs-circle-academy/knife-skills-cutting-techniques/10-braise-problems-tough-meat-thin-sauce-dull-flavour-fixed/
- https://www.tastingtable.com/1753910/common-mistakes-braising-meat/
- https://garlicdelight.com/how-to-braise/