
Reverse-searing thick steaks--starting low and slow at 200-275 degreesF, then finishing with a blazing-hot sear--gives you edge-to-edge perfection, deeper flavor through natural enzymatic tenderizing, and a crust that rivals any steakhouse, all while eliminating the gray band and guesswork of traditional methods; this guide walks you through choosing 1.5-inch+ cuts like ribeye or tomahawk, dry-brining with salt for at least 8 hours to season from the inside out and create a dry pellicle for superior browning, setting up simple tools like a wire rack and instant-read thermometer, executing the gentle oven or grill phase that ends 10-15 degreesF below target, and nailing a 45-90-second sear for a restaurant-quality crust, plus it shows why you can slice and serve immediately without resting and how to troubleshoot common pitfalls like poor browning or overcooking, so you can consistently turn out juicy, crusty steaks that impress every time.
Why Reverse Sear Steak Works and When to Use It
Reverse-sear your steak--starting low and slow at 225-275 degreesF then finishing with a sizzling sear--so a thick ribeye or tomahawk cooks evenly from edge to edge, banishing the dreaded gray band and giving you a bigger window to hit perfect doneness.
The science of low‑and‑slow cooking for even doneness
Traditional high-heat cooking creates steep temperature gradients inside steak. The outer portions heat rapidly while the center warms gradually, resulting in overcooked edges and potentially undercooked centers [1]. This happens because muscle proteins denature at specific temperatures - myosin begins unraveling at around 50 degreesC/122 degreesF while other proteins coagulate at higher temperatures [1]. As proteins coagulate, they squeeze moisture out of the meat, potentially creating dry, tough results [2].
Low-and-slow cooking fundamentally changes this dynamic by creating a shallower temperature gradient throughout the meat. When steak cooks at lower temperatures (like in an oven at 225-275 degreesF), heat transfers more uniformly from exterior to interior [2]. This gradual approach allows the center to warm without forcing the exterior far beyond target temperatures [3]. The result?
Steak with minimal variation in doneness from edge to center - what chefs call a reduced "bullseye effect" [2]. This science explains why traditionally cooked steaks often show distinct bands of doneness - from well-done edges to medium or rare centers. In contrast, reverse-seared steaks display remarkably consistent color and texture throughout [1]. The method also provides more control over final doneness since the temperature rises slowly, giving you a larger window to remove the steak at precisely the right moment [3].
Ideal cuts and thickness for the reverse sear steak method
Reverse sear requires steaks at least 1.5 to 2 inches thick [4][5]. This thickness requirement isn't arbitrary--thinner steaks cook through too quickly, leaving no time for the gradual temperature development that makes reverse sear effective [4].
The method simply doesn't work on minute steaks or similarly thin cuts, resulting in overcooked meat [5]. Premium, tender cuts perform best with this technique, including ribeye, strip, porterhouse, T-bone, filet mignon, and tomahawk steaks [4][6].
Tri-tip also responds well to reverse searing, both in the oven and on the grill [6]. When finishing with a high-heat sear, a quality
Preparing Your Steak for Consistent Results
Dry-brine your steak for eight hours--salt only, no rinsing--to season it edge-to-edge and create the dry surface essential for a flawless crust.
Seasoning, dry‑brine, and letting flavors penetrate
Seasoning your steak correctly makes all the difference between good and exceptional results. Dry-brining--simply salting your meat without water--is your secret weapon here. Unlike herbs and spices that stay on the surface, salt actually penetrates deep into the meat [7]. Here's what happens: salt first draws moisture out, then pulls it back in along with the dissolved salt, seasoning your steak from edge to center [7]. To dry-brine effectively, place your steaks on a wire rack set in a rimmed baking sheet--this lets air circulate all around [8].
Use about 1/4 teaspoon of salt per side in a thin, even layer [8]. Don't stress about salt type--testing shows kosher and table salt work equally well [8]. Timing is crucial. Skip the 2-4 hour window--your steak surface can turn mushy because the salt hasn't fully reabsorbed [8]. Eight hours hits the sweet spot for tender, well-seasoned meat with perfect texture [8].
Going overnight (8-16 hours) gives you the driest exterior possible, setting you up for that incredible crust during the final sear [4]. Feel free to add pepper or granulated garlic for extra flavor, but remember--only salt actually penetrates the meat [7][8]. When you're ready to cook, don't rinse or pat dry. A properly dry-brined steak naturally develops a dry surface that's primed for exceptional browning [4][8].
Tools and equipment you really need for a reliable reverse sear
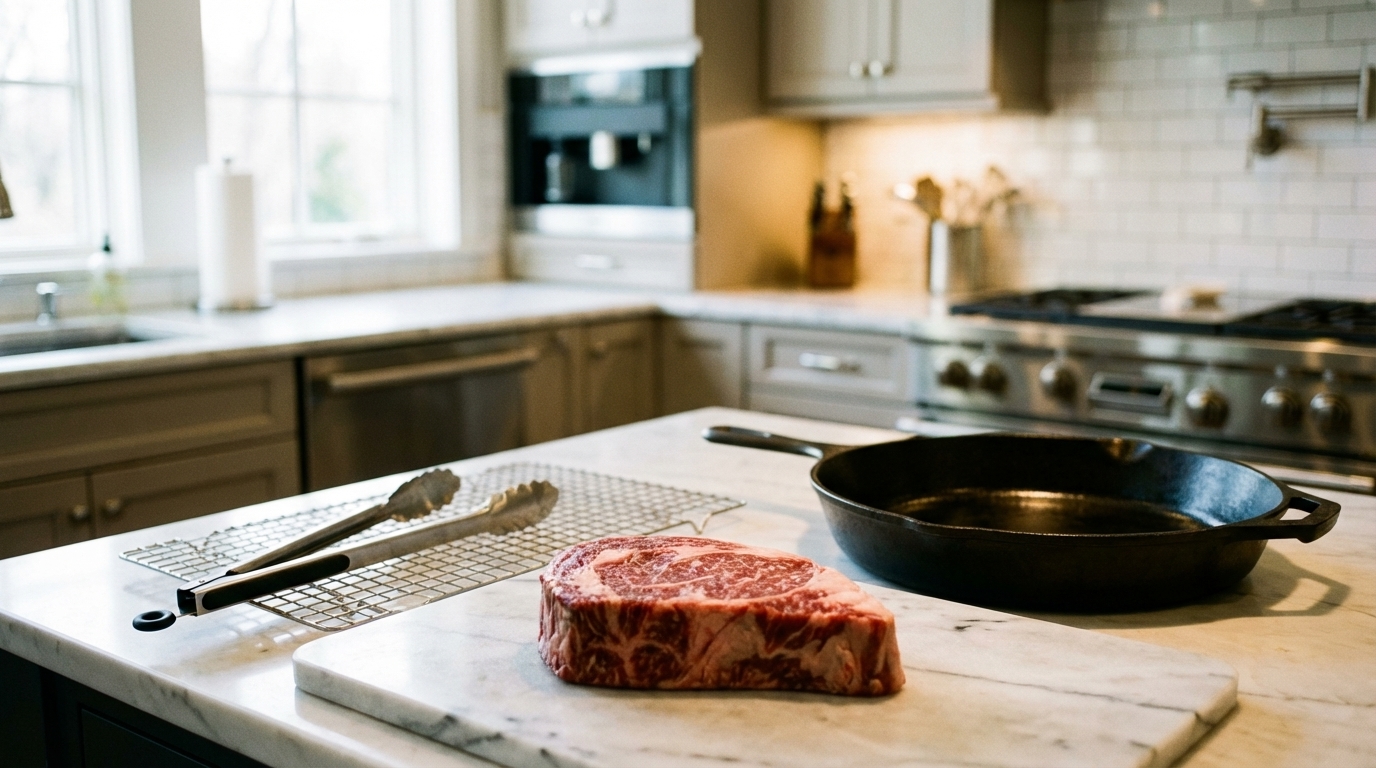
You don't need fancy equipment to nail the reverse sear--just a few key tools. Start with a wire rack set in a rimmed baking sheet. This setup lets air circulate around your entire steak during low-temperature cooking, creating that crucial dry surface for browning [4]. An instant-read thermometer is non-negotiable.
You'll need precise temperature readings to know when to move your steak to high heat (usually 10-15 degreesF below your target) and when it's perfectly done [4]. For searing, grab a heavy skillet that holds heat well--cast iron, carbon steel, or heavy stainless steel all work great. These maintain temperature when your cool steak hits the surface [4]. Using a grill instead?
A chimney starter helps you achieve the blazing heat you need without overcooking [4]. Sure, sous vide machines can deliver similar results, but these basic tools get the job done beautifully without the complexity [4].
Step‑by‑Step Reverse Sear Steak Process
Gently cook your steak 10-15 degreesF below target at 200-275 degreesF, then sear it hot and fast--no resting required--for flawless edge-to-edge doneness every time.
Low‑temperature cooking: oven, grill, or sous‑vide options and target temps
The first phase involves gently cooking your steak until it's about 10-15 degreesF below your final target temperature. Set your oven between 200 degreesF and 275 degreesF (93 degreesC to 135 degreesC) [4]. As we discussed earlier, this low-and-slow approach gives you that perfect edge-to-edge doneness we're after.
For 1.5-inch steaks in a 250 degreesF oven, remove them at 105 degreesF for rare (20-25 minutes), 115 degreesF for medium-rare (25-30 minutes), 125 degreesF for medium (30-35 minutes), or 135 degreesF for medium-well (35-40 minutes) [4]. Since timing depends on your specific oven and steak thickness, don't rely on the clock--trust your thermometer [9]. Alternatively, set up your grill with distinct temperature zones--cooking first on the cooler side with only half the burners lit or coals on one side [4].
For smoking, maintain similar low temperatures while adding flavor complexity. Sous vide offers the most precise temperature control, though steaks emerge wet, making proper searing more challenging than with other methods [9]. Whatever method you choose, stick with the thick cuts we covered earlier--this technique needs that extra thickness to work its magic [5].
High‑heat finish: achieving the perfect crust without overcooking
After your steak reaches 10-15 degreesF below your target temperature, it's time for the crucial searing phase. Thanks to the dry surface you've developed, your steak will brown beautifully with minimal effort [4]. For stovetop finishing, get your heaviest skillet smoking hot--cast iron, carbon steel, or heavy stainless steel works best.
Optionally add butter for enhanced flavor. For grilling, build the hottest fire possible (especially important if using charcoal) and sear for approximately 1.5 minutes total, turning frequently [4]. You're essentially just adding that gorgeous crust to an already perfectly cooked interior, which is why this method delivers such consistent results [4].
Here's the best part: no waiting around. Your reverse-seared steak is ready to serve immediately--no resting needed since the gentle cooking has already done that work for you [5]. Keep the searing brief to maintain your perfect temperature while still getting that restaurant-quality crust [5].
Finishing Touches, Serving, and Troubleshooting
Skip the long rest, slice against the grain on a warmed plate, and let that flawless edge-to-edge pink speak for itself--no heavy sauce needed.
Resting, slicing, and plating for maximum juiciness
Unlike traditionally cooked steaks, reverse-seared steaks barely need to rest at all. The gentle oven cooking has already done the work of keeping those juices where they belong [4]. Just give it 5 minutes under loose foil before slicing--that's all you need [4]. No more waiting around for 10-15 minutes like with regular cooking methods. For maximum tenderness, always slice against the grain--that means cutting across those muscle fibers, not along them [10].
It's the difference between tender bites and chewy ones [10]. Pro tip: Try slicing at a 45-degree angle (what chefs call "on the bias"). This gives you more surface area and even better texture [10]. A sharp Good presentation makes everything taste better. Fan your slices across a warmed plate to show off that beautiful edge-to-edge pink that reverse searing delivers [11].
Warming your plates beforehand helps keep everything at the perfect temperature [11]. For that restaurant look, transfer your rested steak to a clean plate or wire rack before slicing [11]. Since reverse searing doesn't leave much fond in the pan for sauce-making, you'll find the steak's concentrated flavor stands on its own [4]. A pinch of flaky sea salt or a drizzle of good olive oil is all you need--skip the heavy sauces that would hide all your hard work [11].
Common pitfalls and quick fixes for reverse sear steak
Even experienced cooks can run into issues with reverse searing. First up: oil choice matters. Extra virgin olive oil will smoke like crazy and taste bitter--save it for salads [12]. Instead, reach for oils that can handle the heat: avocado, vegetable, or grapeseed oil. The most common mistake? Pulling steaks from the oven too late.
For steaks under 2 inches, take them out at 90-100 degreesF for medium-rare--not the 115 degreesF you'll see in many recipes. That hot sear can bump the temperature up by 30 degrees [12]. And speaking of temperature, double-check your thermometer's accuracy in boiling water--a wonky thermometer ruins everything [12]. Not getting your pan hot enough is another recipe for disappointment--you want it smoking before that steak hits the surface [13]. Otherwise, you'll get a soggy exterior instead of that crispy crust you're after. Remember, this technique only works with thick, well-marbled steaks (at least 1.5 inches) [13].
Thin or lean cuts just won't give you good results. If you love basting with butter during the sear, pull your steak from the oven even earlier--that butter bath adds heat fast [12]. Every kitchen setup is different, so you'll need to adjust for your equipment [13]. Convection ovens run hot (drop the temp by 25 degreesF), and some electric grills might not get hot enough for a proper sear--you might need to finish on the stovetop instead [13].
- Reverse-sear thick (≥1.5 in) ribeye, strip, filet, etc. for edge-to-edge doneness.
- Dry-brine 8-24 h with ¼ tsp salt/side to season deep and dry the surface.
- Cook low (200-275 degreesF) to 10-15 degreesF below target, then sear 45-90 s/side.
- Skip the rest--serve immediately; juices stay locked in from slow cook.
- Use wire rack for oven/grill to dry exterior, ensuring faster, better crust.
- Monitor internal temp, not clock, with instant-read for foolproof results.
- https://scifood.blog/2025/01/04/the-science-behind-steak-achieve-steak-perfection-or-at-least-dont-suck/
- https://www.orka.tech/en/the-science-of-cooking-meat-protein-denaturation-and-the-maillard-reaction/?srsltid=AfmBOopOk6ujL3FcjbeNcnO2jMKLLNBUfYhX9QUlmMmS6tElLEh9asK3
- https://steakrecipe.org/steak-toolkit/
- https://www.seriouseats.com/reverse-seared-steak-recipe
- https://jesspryles.com/how-to-cook-a-steak-with-reverse-sear-method/
- https://www.jessicagavin.com/how-to-reverse-sear-a-steak/
- https://davidavellan.com/reverse-sear/
- https://cookthestory.com/how-to-dry-brine-steak/
- https://www.inkbird.com/blogs/recipes/how-to-reverse-sear-steak
- https://www.webstaurantstore.com/blog/4970/what-is-reverse-searing.html?srsltid=AfmBOorMhM3IUVssfzF8OXAEGvrcaZyHpDuHZkP_zzpOyhd4Hx4-jPIg
- https://boothcreekwagyu.com/blogs/the-butchers-blog/the-perfect-reverse-sear-ribeye-a-step-by-step-guide?srsltid=AfmBOooheH1eTTq01j1_1X-q9ehabztdCob3xLX1JVioCy4Q7d7GtVCV
- https://www.reddit.com/r/steak/comments/1161o69/where_did_i_go_wrong_first_attempt_at_reverse/
- https://grillio.com/blog/reverse-searing/?srsltid=AfmBOopTMXP1A9agdOba4oOXvKBeIYdBO21KCFzm_Yvk5hXBfjsug38t