Saucepan: Essential Guide to Perfect Cooking Success
Understanding Saucepan Fundamentals
Multi-ply construction with aluminum cores between stainless steel layers creates even heat distribution, preventing hot spots that burn food while other areas remain undercooked.
Anatomy of a Quality Saucepan: Handles, Body, and Lid Design
A quality saucepan relies on three essential components working in harmony. The body needs multi-ply construction—typically tri-ply or 5-ply—with an aluminum core between stainless steel layers. This design spreads heat evenly from bottom to sides, preventing those frustrating hot spots that burn your sauce while leaving other areas undercooked[1]. Your handle matters more than you might think. Look for wider, rounded handles that stay cool during cooking and sit high enough to keep food from getting trapped around the rivets[2]. Larger saucepans benefit from a helper handle on the opposite side—trust us, you'll appreciate it when lifting a full pot of pasta water. The lid completes the system with its slightly arched design that channels condensation back into the pot instead of letting it escape as steam[3]. This small detail makes a big difference in cooking efficiency. For versatility, an 8-inch diameter hits the sweet spot—wide enough for easy whisking but deep enough to prevent boil-overs.
Saucepan vs. Saucier: Key Differences and When to Use Each
Saucepans and sauciers serve different purposes in your kitchen, though their names sound similar. Saucepans have straight sides meeting the bottom at sharp 90-degree angles—perfect for boiling water, cooking pasta, and poaching eggs. Those higher walls contain bubbling liquids and prevent annoying spillovers when you're making soup or stock[4]. Sauciers take a different approach with their shallow, rounded sides that curve seamlessly from bottom to rim. This smart design means your whisk or spoon can reach every spot without missing those corners where food loves to hide and burn[5]. They're your best friend for dishes that need constant stirring—think creamy risotto, silky pastry cream, or delicate sauces that demand attention. The rounded shape also distributes heat more evenly across the entire cooking surface[6]. Both typically come in stainless steel, with sauciers ranging from 2-5 quarts (3-4 quarts hits the sweet spot for most home cooks). Professional chefs often reach for sauciers because they're surprisingly versatile—they handle most saucepan tasks while excelling at anything requiring precise temperature control and frequent stirring.
The Science of Heat Distribution in Saucepans
Heat distribution makes or breaks your cooking results. When heat spreads evenly, you avoid those frustrating hot spots that scorch one area while leaving another undercooked[7]. The secret lies in multi-ply construction—aluminum or copper cores wrapped in stainless steel layers. The inner metal conducts heat efficiently while the steel provides durability and won't react with your food[8]. Quality matters more than quantity here. A well-made 3-ply pan outperforms a poorly constructed 5-ply every time. Look for around 2.7mm total thickness—thick enough for even heating but still responsive when you adjust the temperature. Professional-grade pans with proper construction maintain consistent temperature throughout the cooking surface[9].
How Design Elements Impact Cooking Performance
Every design element shapes how your saucepan performs. The height-to-width ratio isn't random—taller sides with a smaller base create less surface area for evaporation while distributing heat evenly through liquids. This means your stocks reduce at the right pace and your rice cooks uniformly[9]. The sweet spot for thickness sits between 2.5-3mm. Go thicker and your pan becomes sluggish to temperature changes. Go thinner and you'll battle hot spots and uneven cooking. It's all about finding that responsive middle ground. Handle shape affects more than comfort. Concave handles with indented centers give you better leverage and control, especially crucial when lifting a full pot. Round handles might look sleek, but they're harder to grip securely when your hands are wet or you're wearing oven mitts. Don't overlook the lid—it's your secret weapon for efficiency. A well-designed lid traps heat and moisture, cutting cooking times and energy use. This matters most for delicate dishes where consistent temperature makes the difference between silky-smooth and separated sauces.
Choosing the Perfect Saucepan for Your Kitchen
Fully-clad stainless steel with aluminum extending up the sides offers the most versatile option for everyday cooking, handling acidic ingredients beautifully while lasting for decades.
Material Guide: Stainless Steel, Non-Stick, Cast Iron, and Copper Compared
Stainless steel saucepans provide the most versatile option for everyday cooking. Look for fully-clad construction where the aluminum core extends up the sides - this ensures even heating throughout the pan, not just at the base. Stainless steel handles acidic ingredients beautifully and lasts for decades with proper care.
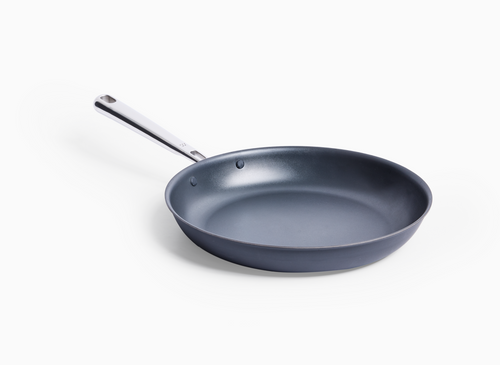
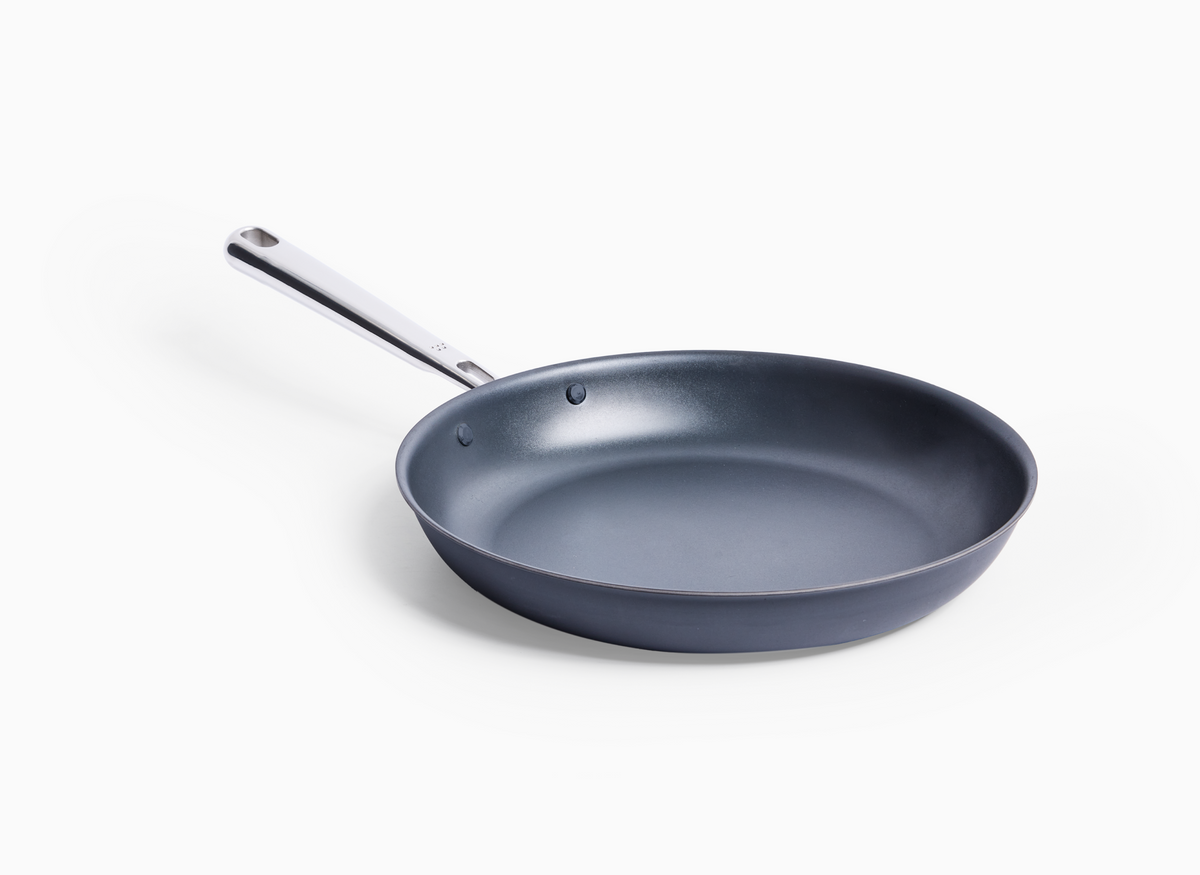
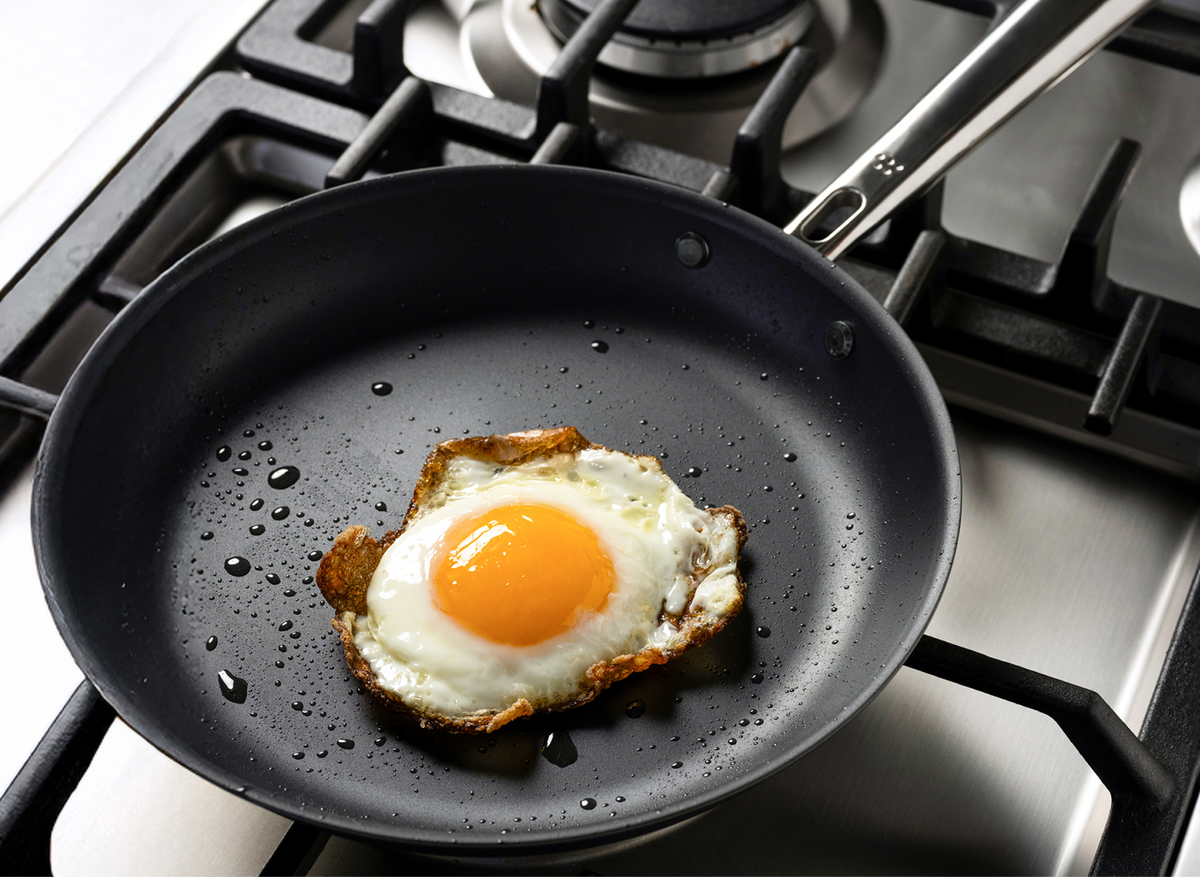
Non-stick saucepans make delicate tasks like cooking eggs or reheating leftovers effortless. Just remember to use silicone or wooden utensils and keep the heat moderate to preserve the coating. They're perfect when you want easy cleanup, though they'll need replacing every few years.
Cast iron saucepans bring serious heat retention to your stovetop. Once properly seasoned, they create a natural non-stick surface that improves with use. Skip these for tomato sauces or wine reductions - the acidity can damage the seasoning and create off-flavors.
Copper saucepans respond to temperature changes instantly, giving you precise control for finicky sauces and custards[10]. Most feature stainless steel or tin linings to prevent reactions with food. While they require regular polishing to maintain their gleam, professional chefs love them for their unmatched heat responsiveness.
Size Selection: Matching Saucepan Dimensions to Cooking Needs
Choosing the right saucepan size starts with understanding your typical cooking needs. For solo cooks or couples, a 2-quart saucepan handles most daily tasks - think single servings of soup, small batches of rice, or heating up leftovers. When cooking for a family or meal prepping, reach for a 3-4 quart size[12].
Here's what different sizes do best[13]:
- 1-2 quart: Perfect for melting butter, making single servings, or heating small amounts
- 3 quart: The versatile middle ground - great for side dishes, pasta for two, or blanching vegetables
- 4 quart: Family-sized portions, batch cooking, and tasks where you need extra room to stir
Remember that size affects more than just capacity. Smaller pans heat up quickly but lose temperature fast when you add cold ingredients. Larger pans take more time to warm but maintain steady heat better - ideal for simmering soups or sauces[14]. If you're choosing just one, a 3-quart saucepan prevents overcrowding while handling most kitchen tasks comfortably.
Professional Features Worth the Investment
Professional-grade features make a real difference in daily cooking. Look for these upgrades that actually improve your results:
A rolled rim or pouring lip prevents drips when transferring sauces - once you cook with one, you'll never want to go back. Flared sides give your whisk room to work, especially helpful when making roux or stirring polenta.
The construction method matters more than marketing terms. Fully-clad pans with aluminum extending up the sides heat evenly from bottom to rim[15]. Disc-bottom pans only distribute heat at the base, leaving the sides cooler and creating uneven cooking.
Handle comfort becomes crucial during longer cooking sessions. Well-designed handles stay cool, offer a secure grip, and position high enough that food doesn't collect around the rivets. On larger saucepans, a helper handle opposite the main one saves your wrist when lifting a full pot.
These features cost more upfront but pay off through better cooking control and longevity. A quality stainless steel pan with professional features becomes your reliable kitchen workhorse for decades.
Top Recommendations Across Budget Categories
Finding the right saucepan at your budget comes down to understanding where to invest and where you can compromise.
Best Overall Value: Look for fully-clad stainless steel with aluminum cores extending up the sides. These heat evenly and last for years. Many direct-to-consumer brands now offer professional-grade construction at reasonable prices by cutting out retail markups.
Premium Investment: Top-tier saucepans add refined details like perfectly balanced handles, precision-ground bases for flat cooktop contact, and lids that fit multiple pieces in the line. The cooking performance improvement is real but incremental - worth it if you cook daily.
Budget-Smart Options: Entry-level stainless steel saucepans work fine for basic tasks like boiling water or heating soup. Just know that disc-bottom construction means less even heating and potential hot spots. They'll get the job done while you save for an upgrade.
What to Avoid: Skip sets that seem too good to be true - thin construction and poor handles make cooking frustrating. One quality saucepan outperforms three mediocre ones. Focus on getting the size you'll use most in the best quality you can afford.
Mastering Essential Saucepan Cooking Techniques
Taking 5-8 minutes to properly heat your pan prevents sticking and ensures even cooking, transforming your saucepan into a naturally non-stick surface.
Proper Preheating: The Foundation of Successful Saucepan Cooking
Proper preheating transforms your cooking results. Most home cooks rush this crucial step, but taking 5-8 minutes to properly heat your pan prevents sticking and ensures even cooking[16]. When your pan reaches the right temperature, food releases naturally and develops better flavor through proper browning[17].
Here's what you need to know: high heat (around 425-450°F) works for searing and quick sautés, medium heat (350-375°F) handles everyday cooking and sauce-making, and low heat (300-325°F) keeps delicate foods happy[16]. Skip the guessing games with water droplets - a simple surface thermometer takes the mystery out of temperature control.
Once your pan's ready, move quickly. Add your oil or butter, give it a quick swirl, then add your food right away. This prevents the fat from burning and creates that perfect cooking surface. The payoff? Food that browns beautifully, releases easily, and tastes exactly how you intended.
Temperature Control: Managing Heat for Perfect Results
Temperature control separates good cooking from great cooking. Think of heat levels as tools in your toolkit - each serves a specific purpose.
For beautiful sears and crispy edges, medium-high heat creates that golden crust we all love. Just make sure your food is room temperature and patted dry first - wet or cold food will steam instead of sear.
Simmering deserves more credit than it gets. Those lazy bubbles (not a rolling boil) coax out flavors gently, making it perfect for soups and sauces. Pro tip: season your liquid right after reducing from a boil - this is when flavors marry best[18].
Low heat might test your patience, but it's worth it for building deep flavor without browning. This gentle approach works magic on garlic, onions, and other aromatics - just keep stirring and resist the urge to crank up the heat[19].
Match your heat to your task: rapid boiling for pasta, gentle steady heat for braising, quick high heat for stir-frying. Once you understand which temperature does what, you'll naturally reach for the right heat level every time.
Stirring Methods That Prevent Burning and Enhance Flavor Development
Smart stirring makes all the difference between perfectly cooked food and a burnt mess. It's not just about moving food around - it's about managing heat and building flavor.
For thick sauces and soups, regular stirring prevents those dreaded hot spots that lead to scorching. Think of stirring as your heat equalizer, keeping everything cooking at the same pace. When reducing liquids, stirring actually speeds things up by exposing more surface area to air and breaking up that insulating layer of steam[20].
Choose the right tool for the job - a wide, flat spatula or spoon that reaches into corners works best. Keep that utensil moving along the bottom where heat concentrates most. For long-simmering soups, here's an old kitchen trick: drop a few clean spoons or forks in the bottom of your pot. They help distribute heat and prevent sticking during those hands-off cooking times[22].
When food starts sticking despite your best efforts, don't panic. A splash of cool liquid and some gentle scraping turns those browned bits into flavor gold. This technique, called deglazing, transforms potential disasters into the foundation of amazing sauces[21].
Common Mistakes That Compromise Your Saucepan Cooking Results
Let's talk about the cooking mistakes that trip up even experienced home cooks - and how to avoid them.
Rushing the preheat: Give your pan time to get properly hot. Those extra few minutes prevent sticking and create better browning[23]. A properly preheated pan makes all the difference between food that releases naturally and a stuck-on mess.
Overcrowding the pan: Too many ingredients drop the temperature dramatically, causing food to steam instead of sear. This prevents the caramelization that creates deep, rich flavors[24]. Work in batches if needed - patience pays off with better results.
Adding cold ingredients: Cold food straight from the fridge shocks your pan's temperature, breaking down that protective steam barrier we work so hard to create. Let proteins and vegetables come to room temperature first[25].
Burning aromatics: Garlic burns quickly and creates bitter flavors that can ruin a dish. Add it after onions have become translucent, sautéing just until fragrant - usually 1-2 minutes[24].
Moving food too soon: When cold food hits hot metal, it initially sticks. But if you're patient, those surface pores will release naturally as temperature equalizes. Resist the urge to constantly flip and stir - let the pan do its work.
Specialized Cooking Applications for Your Saucepan
Master the five mother sauces and you'll have the foundation to create any sauce you need - each one transforms with simple additions into countless variations.
Sauce Mastery: From Simple Reductions to Complex Mother Sauces
The five mother sauces are your gateway to endless cooking possibilities. Each one acts as a foundation you can build on with simple additions. Start with Béchamel - just butter, flour, and milk whisked together until smooth. Add some Gruyère or Parmesan and you've made Mornay sauce[26]. Velouté works the same way - combine your roux with light chicken, veal, or fish stock, and you've got a silky base. Want to make it special? Stir in some cream for Sauce Suprême[27]. Espagnole takes more time but delivers incredible depth. You'll cook the roux longer for a nutty flavor, then add mirepoix, tomato paste, and brown stock. Let it reduce and you've got demi-glace, or add red wine and shallots for a classic Bordelaise[27]. Hollandaise breaks the mold - no roux needed. Just whisk egg yolks with butter over gentle heat. Master this technique and you can make Béarnaise by adding tarragon and shallots[27]. The last mother sauce, Sauce Tomate, goes beyond basic tomato sauce. You'll use a roux for body and simmer it with mirepoix and aromatics until it's deeply flavorful. Transform it into Sauce Provençale with garlic, olives, and fresh herbs[27]. Once you understand these basics - how to thicken properly, emulsify without breaking, and develop flavors through reduction - you'll have the confidence to create any sauce you need[28].
Perfect Grains, Pasta, and Legumes Every Time
Getting perfect grains, pasta, and legumes is simpler than you think once you know the right techniques. For hearty grains like farro, wheatberries, and barley, skip the measuring cup. Cook them like pasta in plenty of salted boiling water, then test for doneness. You'll get fluffy, perfectly cooked grains every time without the guesswork[29]. For beans and legumes, you've got two soaking options. The overnight soak is easy - just cover with water before bed. In a hurry? Use the quick-soak method: bring beans to a boil for 2-3 minutes, turn off the heat, and let them sit for an hour. Drain and they're ready to cook[30]. When making pasta (especially whole grain varieties), start checking several minutes before the package says. Bite into a piece - when that white floury center disappears, you've nailed it[31]. Here's a pro tip: always simmer your grains instead of keeping them at a rolling boil. Your saucepan's even heat distribution (remember those multi-ply benefits we discussed?) makes this gentle cooking method work perfectly.
Soups and Stews: Building Layers of Flavor in Your Saucepan
Building amazing soups and stews is all about layering flavors from the start. Begin by browning your meat and vegetables properly - those caramelized bits stuck to the bottom of your pan are pure gold. They'll dissolve into your liquid and create incredible depth[32]. Take your time with aromatics. Sweat onions, celery, and carrots slowly to bring out their natural sweetness, or let them brown deeply for richer, toasted flavors. The choice is yours, and both work beautifully[33]. Here's the secret: season as you go. Don't wait until the end. Each ingredient you add should be properly seasoned - this builds layers of flavor that make restaurant-quality soups possible at home[33]. Want silky-smooth vegetables? Try the French à l'étouffée technique - cover your veggies and let them simmer gently in their own juices over low heat[33]. Need body without cream? Stir in nut butter, purée some of the cooked beans, toss in bread cubes, or blend in cauliflower. You'll get that rich, satisfying texture without the heaviness[33]. For crystal-clear broth, start simple: sear garlic and onions, add water and salt, then simmer. It's that easy[33]. Your saucepan choice matters here - as we discussed in the heat distribution section, even heating prevents hot spots and scorching during those long, slow simmers[33]. Keep tasting and adjusting. A splash of vinegar here, a pinch of salt there - these small tweaks make the difference between good and great[33].
Delicate Cooking Tasks: Custards, Caramel, and Temperature-Sensitive Recipes
Making perfect custards, caramel, and other temperature-sensitive dishes comes down to gentle heat and patience. For silky custards, you're looking for that magical moment when egg proteins set just right - not scrambled, but transformed into creamy perfection[34]. The water bath (bain-marie) is your best friend here. Place your custard cups in a larger pan filled with hot water that comes halfway up the sides. This creates the gentle, even heat custards need. Bake at 180°C (360°F) and watch for that telltale sign - a slight jiggle in the center when you gently shake the dish. That's when you know it's perfectly set[35]. Ready to unmold? Here's the trick: dip your custard container briefly in hot water to loosen the caramel, run a knife around the edges, then flip it onto your plate with confidence. You'll get a clean release with that gorgeous caramel sauce pooling around it[35]. For the caramel itself, grab your stainless steel saucepan - you need to see the color change clearly, which is tough with non-stick. Don't stir! Just swirl the pan gently to prevent sugar crystals from forming[36]. Watch for that deep amber color - it's the sweet spot between pale and bitter. This temperature control expertise you've been building throughout your saucepan journey really pays off with these delicate tasks[34].
Care, Maintenance, and Extending Saucepan Life
Different materials demand specific cleaning approaches - stainless steel needs circular motions with specialized cleaners while cast iron requires only hot water and salt to preserve seasoning.
Material-Specific Cleaning Methods That Preserve Performance
Different cookware materials need specific cleaning approaches to maintain their performance. For stainless steel cookware like the Misen Stainless Steel Pan, use a specialized stainless steel cleaner with a nylon scrubby, working in circular motions on stains after soaking in hot water. Highly polished stainless requires gentler cleaning with a non-abrasive cleaner and a soft washcloth to prevent scratching[37]. Enameled cast iron demands special care - avoid harsh abrasives and instead use gentle cleaners, letting them sit for 10 minutes before scrubbing. For stubborn interior stains on light-colored enamel, soak overnight in a 1:3 bleach-water solution[37]. PTFE nonstick surfaces should never go in the dishwasher or face abrasives - clean while still warm using hot water and a soft sponge with dish soap, paying special attention to handle joints and rivets[37]. Ceramic nonstick requires thorough cleaning with hot water and dish soap to prevent cooking fat buildup that can compromise the surface. For stuck-on residue, make a gentle paste with baking soda and water[37]. Cast iron and carbon steel need cleaning methods that preserve their seasoning - use hot water and a stiff brush, avoiding soap which breaks down the protective polymerized fat layers. For stubborn debris, scrub with a mixture of coarse salt and cooking oil using a cloth or paper towel[37].
Proper Storage Practices to Prevent Damage
Proper storage practices significantly impact cookware longevity and performance. For stacked storage, place soft towels or felt pan protectors between each item to prevent direct contact, arranging largest pans at the bottom with progressively smaller ones on top[38]. Maximize vertical space by hanging pots and pans on hooks or wall-mounted racks, but consult structural experts before installation to ensure secure attachment to load-bearing supports[38]. Store lids separately using dedicated organizers to prevent scratching while maintaining easy access[38]. For non-stick cookware, avoid stacking without protection since even minor contact can compromise the coating - once scratched, the surface may begin flaking into food[39]. Consider material-specific needs: carbon steel and cast iron require extra-sturdy hanging solutions due to their weight, while stainless steel benefits from cabinet dividers to prevent denting[38]. Avoid common storage mistakes like overcrowding cabinets, storing pans in damp conditions near sinks, or hanging items at impractical heights that block kitchen sight lines[38]. For drawer storage, use deep drawers with dividers and non-slip liners to prevent shifting during opening and closing[38].
Troubleshooting Common Issues: Discoloration, Sticking, and Warping
Discoloration in stainless steel pans often results from overheating but can be removed using vinegar, while preventing future stains by using wooden or silicone utensils instead of metal ones that may scratch the surface[40]. Sticking issues stem from improper preheating - always heat pans on low to medium for 2-3 minutes before adding oil or food, and ensure sufficient fat or liquid while moving food frequently to prevent scorching[40]. Warping typically occurs from rapid temperature changes, like plunging a hot pan into cold water or heating too quickly on high heat. The uneven heat distribution causes stress that misshapes the metal, particularly in thinner pans[41]. Signs of warping include wobbling on flat surfaces and liquids pooling to one side[42]. To prevent warping, let pans cool naturally before washing, heat gradually rather than immediately using high settings, and ensure even heat distribution across the base[42]. For already warped pans, restoration is possible using controlled heat and careful hammering - heat the pan on low, place it between towels on a flat surface, and gently hammer to reshape, though severely warped cookware may require using a wooden block to distribute the force[41].
When to Restore vs. When to Replace Your Saucepan
Knowing when to restore versus replace your saucepan requires evaluating specific damage patterns and material conditions. For non-stick pans, visible peeling or significant scratching of the coating demands immediate replacement, as the exposed metal can react with foods and coating particles may contaminate meals[43]. Stainless steel pans should be replaced if the core material becomes exposed through the exterior, particularly since this can cause reactions with acidic foods[44]. Cast iron pans with minor rust can often be restored through a 1:1 white vinegar and water soak followed by proper reseasoning, while excessive rust that persists after treatment indicates the need for replacement[44]. Warping presents a clear replacement trigger - if your pan wobbles on flat surfaces or shows uneven heat distribution, it's time for a new one since these issues compromise cooking performance and safety[43]. Loose or broken handles create immediate safety hazards and cannot be reliably repaired at home, making replacement necessary[43]. For enamel-coated pans, small chips along the rim may be acceptable, but flaking enamel on cooking surfaces requires replacement since fragments can contaminate food[44].
- Quality saucepans feature multi-ply construction with aluminum or copper cores between stainless steel layers for even heat distribution and prevention of hot spots
- Saucepans have straight sides perfect for boiling and containing liquids, while sauciers offer rounded sides ideal for whisking and stirring delicate sauces
- Proper preheating takes 5-8 minutes at medium heat - rushing this step leads to sticking and uneven cooking results
- Different materials serve different purposes: stainless steel offers versatility and durability, non-stick provides easy cleanup, cast iron delivers superior heat retention, and copper gives precise temperature control
- Size selection matters - 3-quart saucepans offer the best versatility for most home cooks, balancing capacity with manageable weight
- Master the five mother sauces (Béchamel, Velouté, Espagnole, Hollandaise, and Sauce Tomate) to unlock endless cooking possibilities
- Material-specific cleaning and storage methods preserve performance - use specialized cleaners for stainless steel, avoid soap on cast iron, and always protect non-stick surfaces when stacking
- https://www.epicurious.com/expert-advice/the-best-saucepans-for-cooking-literally-everything-article
- https://www.nytimes.com/wirecutter/reviews/the-best-small-saucepan/
- https://www.seriouseats.com/best-saucepans-7229377
- https://www.seriouseats.com/saucepans-vs-sauciers-whats-the-difference-7550331
- https://www.lecreuset.ca/en_CA/blog/saucepan+vs+saucier.html?srsltid=AfmBOoqR3WBkntq7heQnY4hC8TA2FnW-n2XPjkXvEtXFSqI14SnMGAk9
- https://www.kitchenany.com/saucepan-vs-saucier/
- https://www.360cookware.com/blogs/360-cookware-blog/26543747-the-science-behind-the-best-cookware?srsltid=AfmBOopCcVRAIyQWdN6AZ21rBmMY2xXivrs5jd2twDZMfctZp6tV_sTT
- https://www.sciencedirect.com/science/article/abs/pii/S1359431115011084
- https://misen.com/blogs/news/what-is-a-saucepan-a-comprehensive-guide?srsltid=AfmBOopF6wLM5kLQWO_eZA0PmMlcSZEqadV8o4yYZnypbhjcV_inWJyM
- https://stahlkitchens.com/blogs/news/which-metals-are-best-for-cooking?srsltid=AfmBOopfXBJ1XdY7BcCUgPd-h3G9spmSJHx0UJcdG4bTvYQFmaNBJzVR
- https://prudentreviews.com/saucepan-sizes/
- https://www.wayfair.com/sca/ideas-and-advice/guides/your-guide-to-saucepan-sizes-T21626
- https://misen.com/blogs/news/what-is-a-saucepan-a-comprehensive-guide?srsltid=AfmBOorFDsVwSTQHJg0RHKtF0-VcpIvHoYcJ72Fdsl80tbq2cgM4MSUz
- https://www.consumerreports.org/home-garden/cookware/best-cookware-sets-of-the-year-a2221791769/
- https://www.thechoppingblock.com/blog/how-to-properly-heat-your-pan-so-food-wont-stick
- https://www.reluctantgourmet.com/frying-pan-temperature-video/
- https://goop.com/food/tutorials/the-secret-to-controlling-heat-in-the-kitchen/?srsltid=AfmBOoougwWh_zKz8w9ig4uxMa_ix95Fz2jkMgbiEEWbJ9_tsaKKstYu
- https://theintrepidgourmet.com/2016/09/26/cooking-101-controlling-heat/
- https://www.reddit.com/r/Cooking/comments/4n97kd/does_stirring_make_it_reduce_faster/
- https://www.culinaryartsswitzerland.com/en/news/cooking-techniques/
- https://cooking.stackexchange.com/questions/12966/how-can-i-stop-my-soups-sticking-to-the-bottom-of-the-pot
- https://everyday-uniforms.com/blogs/chefs-magazine/common-chef-mistakes?srsltid=AfmBOoqK1WxRIDRAoa0lj7Pag2oPWwt9ZD47lBsJo3IdkathgOMZGHlT
- https://theintrepidgourmet.com/2025/02/24/10-common-kitchen-mistakes/
- https://www.buzzfeed.com/hannahloewentheil/small-cooking-mistakes
- https://www.munchery.com/blog/how-to-use-the-5-mother-sauces-in-everyday-home-cooking/
- https://www.escoffier.edu/blog/recipes/how-to-make-the-five-mother-sauces/
- https://www.thechoppingblock.com/blog/10-tips-for-making-sauces-part-1
- https://mvmagazine.com/news/2019/09/23/hearty-grains-cooked-pasta-style
- https://www.health.ny.gov/prevention/nutrition/resources/legumes.htm
- https://www.epicurious.com/expert-advice/how-to-cook-and-sauce-whole-wheat-pasta-article
- https://modernancestor.net/2012/12/25/tips-for-building-flavor-in-soups-and-stews/
- https://cosmoappliances.com/tips-for-mastering-the-art-of-soups-and-stews-at-home/
- https://www.bongeats.com/recipe/caramel-custard
- https://www.yummytummyaarthi.com/caramel-custard-caramel-pudding-baked/
- https://en.christinesrecipes.com/2012/02/how-to-make-caramel-tips-and-video.html
- https://www.kitchenkapers.com/pages/best-way-to-clean-your-cookware?srsltid=AfmBOoopAkefBq7SdKevYf_6UcJlfHu6znMnGn-qIY0YXwLLkpwnLWNx
- https://www.debuyer-usa.com/blogs/how-to/how-to-organize-pots-and-pans-expert-tips-for-longevity-and-easy-access?srsltid=AfmBOopvnAKDIOqqDJwD6ZVqeUZpBOkyr_ieA20UdypTCChArQz4UG4p
- https://www.reddit.com/r/kitchen/comments/1fch9fc/how_can_i_prevent_my_pots_and_pans_from_getting/
- https://www.marthastewart.com/7617742/how-care-stainless-steel-pan-prevent-burning-warping
- https://www.tasteofhome.com/article/how-to-fix-a-warped-pan/
- https://www.skottsberg.com/en/blogs/blog/how-to-avoid-a-warped-pan/
- https://www.homesandgardens.com/solved/signs-it-is-time-to-replace-your-pots-and-pans
- https://americankitchen.com/blogs/table-talk/when-to-replace-cookware?srsltid=AfmBOopRgTwiPhpQOtGLi71OQ92Rsce5DNb0Mh41efoTfGCDIky0i7v0
