

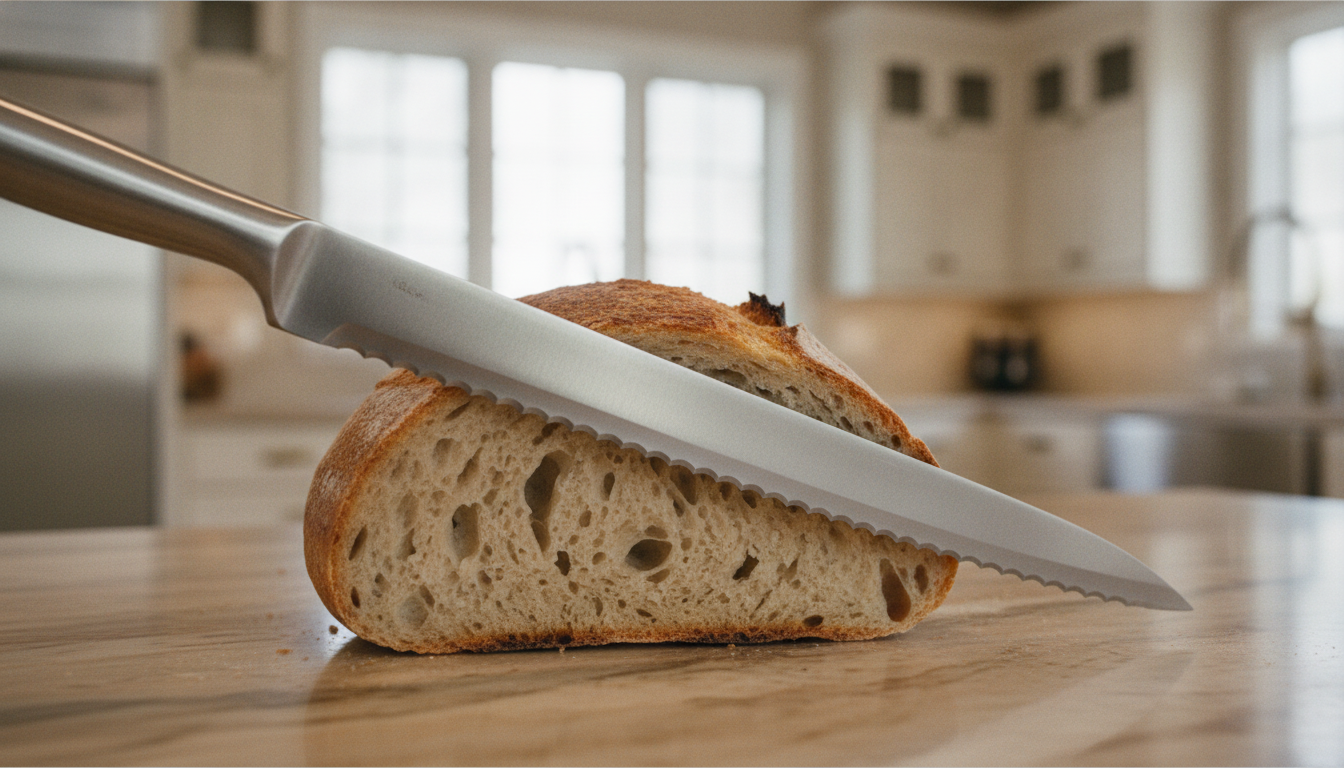
Master the sawing technique that protects your sourdough's open crumb by using a shallow angle, light back-and-forth strokes, and minimal downward pressure. A serrated bread knife with proper maintenance and the right blade length makes clean slices effortless while preserving the texture you worked hard to build.
Why the Sawing Motion Matters for Sourdough (And Why Most Cooks Get It Wrong)
Serrated teeth grip the crust independently so you can slice through soft sourdough with minimal downward pressure and preserve those airy pockets.
The Crumb Structure Problem: Why Pressure Cuts Destroy What You've Built
A sourdough crust resists a straight blade, so cutting straight down forces you to add downward pressure just to break through [1]. That pressure travels straight into the crumb, squashing the open, airy pockets you built through fermentation and shaping.
A serrated edge solves this because its teeth grip and bite into the crust on their own, letting you slice through the soft interior with minimal force [1]. Clean, controlled back-and-forth strokes with as little downward pressure as possible protect that structure, while excessive sawing back over the same cut can still mar the slice [2].
How Serrated Edges Work Differently Than Chef's Knives
A chef's knife relies on a plain edge--a single continuous line of sharpened steel that needs full blade contact and forward push force to cut cleanly through food [4]. A serrated bread knife works on a different mechanic: pointed teeth separated by deep gullets grip the crust independently, creating a saw-like action instead of one continuous push cut [4].
This distinction answers a common question, since not every serrated blade counts as a bread knife--the teeth on a bread knife are shaped specifically to bite through a tough, crusty exterior while protecting the soft, airy interior underneath [4]. That's the special function a chef's knife can't replicate: slicing without squeezing.
The Three-Step Sawing Technique That Keeps Your Crumb Open
A shallow 13- to 17-degree angle lets the serrated edge catch the crust first, then a gentle forward-and-back glide through the full blade length keeps your crumb intact.
Step 1: Position and Angle--The 20-Degree Rule for Clean Entry
Rest the knife tip on the crust at a shallow angle instead of pressing straight down; serrated edges perform best in the 13- to 17-degree range, and staying close to that window keeps the teeth working the way they're designed to [5]. At this angle, the points catch the crust and start the cut before any downward force reaches the crumb below [6].
Keep the blade nearly parallel to the top of the loaf and let the tip locate its grip first, rather than dropping the spine down and forcing entry [5]. Skipping this shallow approach is what makes the crust resist, which is exactly the moment that leads to the extra pressure that flattens the slice [6].
Step 2: Let the Blade Do the Work--Forward Momentum Without Downward Force
Once the tip catches the crust, shift your energy into a forward-and-back glide instead of a push straight down [7]. Using the full length of the blade pulls you into a natural sawing rhythm, so the serrations do the cutting while your hand only guides direction [7].
Long, gentle strokes carry the blade through the crumb without compressing it, even on a thick, crusty sourdough loaf [8]. Save any added pressure for the final pass through the bottom crust, which tends to resist more than the top [7].
Common Sawing Mistakes That Compress Your Crumb (And How to Avoid Them)
Trust the blade's teeth to grip the crust instead of forcing downward pressure that crushes your crumb structure.
Pressing Down Instead of Gliding: Why Strength Isn't the Answer
Pressing down harder feels like the natural response when a blade meets resistance, but added force is exactly what crushes the open crumb you built through fermentation. A straight edge spreads pressure evenly across its full length, and when that pressure can't fracture the crust, it compresses it instead, squashing the soft interior underneath [9].
A serrated edge already concentrates force into each tooth tip, so pushing down only drives that concentrated pressure deeper into the crumb rather than helping the blade cut [9]. The fix isn't more strength, it's trusting the teeth to grip the crust on their own so the cut happens with minimal downward force [6].
Using the Wrong Knife for Your Loaf Shape and Crust Thickness
Loaf shape and crust thickness determine which blade dimensions actually work. A blade shorter than the loaf's width forces you to saw at an angle or re-enter the cut, and that extra maneuvering is what drags pressure into the crumb [10].
Thick, crusty boules need a blade at least 9 to 10 inches long with widely spaced teeth, since tighter serrations bog down in a dense crust instead of gripping it [11]. A straight-spined knife also forces your knuckles into the cutting board on wide loaves, while a curved blade clears that gap so the sawing motion stays level through the entire slice [10].
Maintaining Your Bread Knife for Consistent, Clean Cuts Every Time
A quality serrated bread knife needs sharpening only once a year or two, but replacement becomes the smarter choice once teeth chip, go missing, or wear flat.
How to Hand-Clean Serrated Blades Without Damaging the Teeth
When to Resharpen vs. Replace: The Serrated Blade Maintenance Timeline A quality serrated bread knife rarely needs sharpening--often just once a year for regular bakers, longer for occasional use [15]. Watch for crumbs scattering as you slice, a ragged crust edge, or added force needed to break through the loaf; a quick tomato test confirms dulling if the skin tears or the flesh squishes [15]. Sharpening solves the problem when teeth are simply rounded, but replacement is the smarter move once teeth are chipped, missing, or worn flat, since honing can't restore that original geometry [16]. If your knife only needs a touch-up once a year or two, that's a sign you're caring for it well. When it is time for that once-a-year sharpening, our mail-in knife sharpening service can bring the teeth back to shape for you--and you can always contact us if you have questions about your knife's care.
Slicing sourdough without crushing it comes down to a few simple habits: a shallow entry angle, a light back-and-forth glide, the right blade length and spacing for your loaf, and a knife you keep clean and sharp. Get those right, and every slice shows off the open crumb you worked for.
- Serrated bread knives grip the crust with tooth points, requiring minimal downward pressure to protect the airy crumb inside.
- Rest the knife tip at a 13- to 17-degree angle and use long, gentle forward-and-back strokes rather than pushing straight down.
- A blade shorter than your loaf's width forces angled cuts that compress the crumb; use 9- to 10-inch knives for thick, crusty loaves.
- Tightly spaced serrations bog down in dense crusts; widely spaced teeth grip better and cut more cleanly through sourdough.
- A dull bread knife shows signs like scattered crumbs, ragged crust edges, and increased cutting resistance; test with a tomato.
- Quality serrated bread knives need sharpening only once yearly with regular use; replace when teeth chip, go missing, or wear flat.
- https://www.thesourdoughkitchen.co.nz/how-to-choose-use-a-bread-knife
- https://food52.com/story/20373-a-better-way-to-slice-bread
- https://blog.knife-depot.com/knife-edge-types-plain-vs-serrated-vs-combo/
- https://www.insight-kitchenknife.com/serrated-vs-straight-edge-kitchen-knife-which-cuts-better.html
- https://lifebymikeg.com/blogs/all/easy-guide-how-to-sharpen-a-serrated-bread-knife-at-home
- https://truesourdough.com/choosing-a-knife-for-sourdough-bread-full-guide/
- https://www.thefrugalgirl.com/by-very-very-very-popular-request-my-bread-knife/
- https://littlebreadwinner.com.au/blogs/news/how-to-slice-sourdough-bread?srsltid=AfmBOoqyVoGyDD4z7r7cubt5ZQfXI65bQ9tK05PGue1iKc7pm3iupU2J
- https://xinzuo.com.au/blogs/news/bread-knife-guide?srsltid=AfmBOoqj-dmusao0NN2gAXTNz0KaiwkJ-sjdnHkos23v7ZcuRzAU9iLl
- https://www.theperfectloaf.com/the-best-bread-knife-for-sourdough/
- https://pantrymama.com/how-to-slice-sourdough-bread-perfectly/
- https://kotaikitchen.com/blogs/more-about-knives/the-bread-knife-more-versatile-than-it-seems?srsltid=AfmBOoqsvc5XvhoDXZ6pX9D13PLavRqMHdvzrHby8HoTPDE9QnOBVN9z
- https://sakutoknives.co.uk/blogs/blog/complete-guide-to-using-a-bread-knife-for-perfect-slices-every-time
- https://www.koiknives.com/blogs/japanese-pankiri-know-how/how-to-maintain-a-bread-knife-for-best-shelf-life?srsltid=AfmBOoo9cBmD6AK8U5M9Ipsia1p9AgGeNcFiT-Z7qKTfCQYZfDLxnZ38
- https://www.foodandwine.com/how-to-sharpen-a-serrated-knife-7152177
- https://seidoknives.com/blogs/news/how-to-sharpen-serrated-bread-knives?srsltid=AfmBOooQTddDuzailb4IPqkA0NWuvFT0j5kNWk83ddyjrozskIWYAB-i
- Summary
- Why the Sawing Motion Matters for Sourdough (And Why Most Cooks Get It Wrong)
- The Three-Step Sawing Technique That Keeps Your Crumb Open
- Common Sawing Mistakes That Compress Your Crumb (And How to Avoid Them)
- Maintaining Your Bread Knife for Consistent, Clean Cuts Every Time
- Key Takeaways
- References