

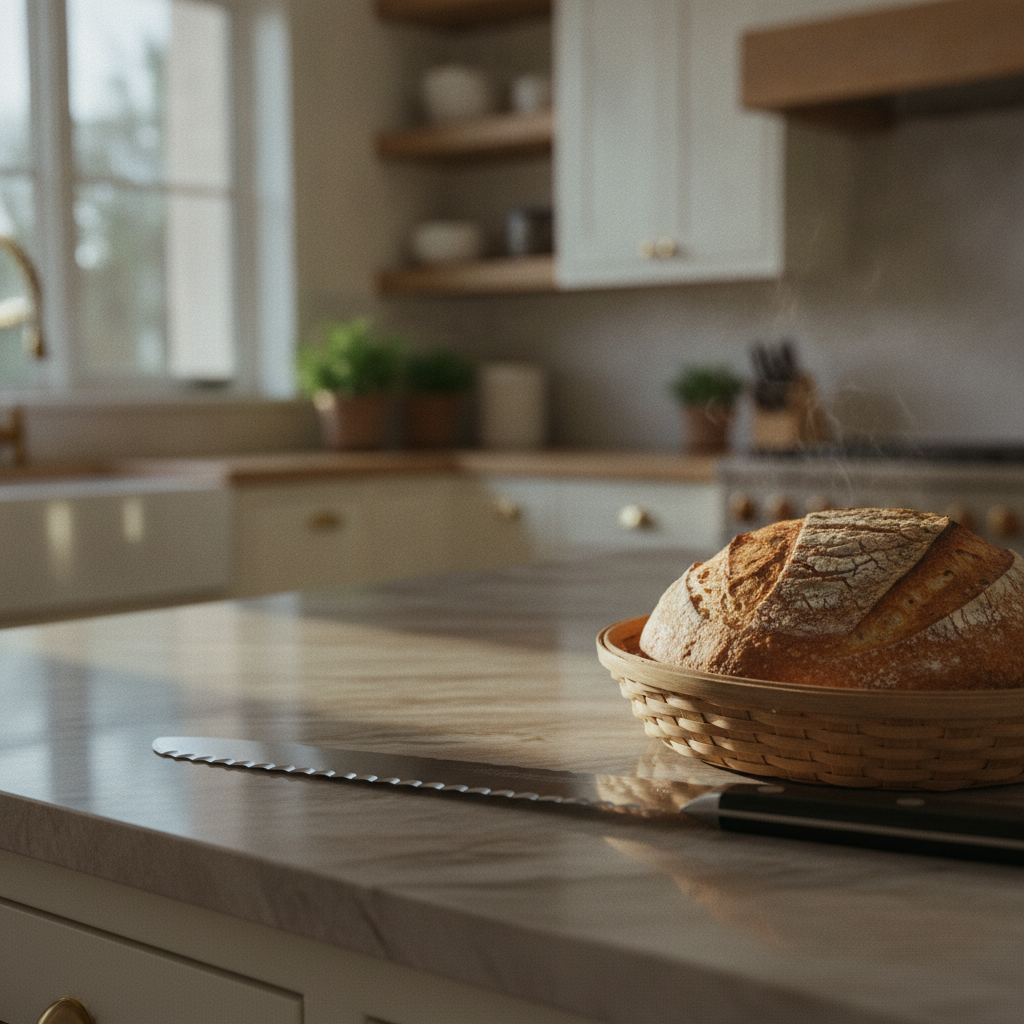
Sourdough needs a serrated bread knife because its hard crust and soft interior require a sawing motion that grips rather than compresses. A 9.5 to 10.6-inch scalloped or double-serrated blade, paired with proper hand washing and occasional sharpening, delivers clean slices every time.
Why Sourdough Demands a Different Knife Than Sandwich Bread
Serrated teeth grip and saw through a sourdough crust without squishing the soft crumb inside, using physics that smooth blades simply cannot match.
The hard crust-soft crumb problem: why a regular chef's knife fails
A chef's knife uses a smooth bevel edge designed to slice cleanly through uniform textures, but sourdough presents two opposing textures in one loaf: a hard, often blistered crust and an open, airy crumb. Pressing a smooth blade down through that crust applies force straight into the soft interior below, and the most common result for anyone using the wrong tool is a squished, deflated loaf instead of a clean slice [1].
A bread knife works on a different principle entirely: it doesn't slice, it saws. The serrated edge is a row of small teeth that grip the crust, tear through it, and pull the blade forward, which is a different physics of cutting altogether compared to a straight bevel meeting food head-on [2].
Serration science: how blade teeth grip without crushing the interior
Each serration tooth acts as a single point of contact, so the same downward force gets concentrated into a few dozen tiny areas instead of spreading across a continuous edge. Pressure equals force divided by area, so shrinking the contact area drives pressure at each tooth up sharply, letting the teeth fracture the crust rather than compress it [3].
Behind each tooth sits a scalloped valley that never touches the bread at all, giving the soft crumb a recessed space to sit in without being squeezed [3]. This is also a matter of cutting mechanics: a slicing motion at even a shallow angle already reduces the force needed to separate a material compared to a straight push-cut, and serrations add a further mechanical advantage on top of that baseline physics [4].

The 5 Features That Define a Sourdough-Ready Bread Knife
Scalloped serrations create cleaner cuts across crusty sourdough and soft breads, while pointed teeth risk tearing delicate crumbs.
Blade length (8 to 10.6 inches): matching your loaf shape for one-stroke cuts
Blade length determines whether you saw across a boule in one clean motion or reposition the knife mid-slice, which is where tearing usually starts. Blades between 9.5 and 10.6 inches handle the widest range of loaves, since shorter options struggle to span a wide, bakery-style boule in a single stroke [5].
An 8-inch blade works fine for standard sandwich loaves but falls short on a large sourdough round, forcing a second pass that tends to crush the crumb on re-entry [6]. Chef Gerry Klaskala notes that a 7-to-9-inch blade covers most everyday breads, but anyone regularly baking oversized loaves needs to size up [7].
A longer blade also gives you extra leverage on tough bottom crusts, though it does trade off some precision for detailed cuts like trimming produce [5]. If you regularly bake large rounds, a 10-inch serrated knife gives you enough blade to clear a bakery-style boule in a single pass.
Serration depth and spacing: the sweet spot between grip and crumb damage
Serration pattern splits into two types: pointed teeth with sharp V-shaped valleys, and scalloped (wavy) teeth with broader, rounded valleys [8]. Pointed serrations bite aggressively into hard crusts but tend to tear softer breads like brioche or milk bread, since the sharp valleys don't taper gently into the blade [8].
Scalloped serrations create a gentler transition from tooth to valley, which produces cleaner cuts across a wider range of textures, from crusty sourdough to soft sandwich loaves [8]. Wide, deep teeth also struggle to bite into a firm first crust, sometimes causing the blade to slip instead of catching, so a knife with widely spaced, jagged teeth is a poor match for a dense sourdough exterior [9].
How to Choose Between Offset Handle, Straight Handle, and Double-Serrated Designs
Double-serrated blades outperform single-serrated knives in testing, producing thinner slices with less crumbing, though they cost more upfront.
Offset handles for knuckle clearance: when they matter and when they don't
Double-serrated vs. single-serrated: testing the myth that two sides cut better "Double-serrated" doesn't mean serrations on two edges of the blade; it means a second, finer row of teeth cut into the larger scallops, giving the edge a shark-tooth profile [12]. In side-by-side testing, double-serrated blades outperformed standard single-serrated knives on every cut, producing slices under a quarter-inch thick and catching less on crust, even when the double-serrated blades were shorter than top-performing single-serrated competitors [12].
The core teeth grip the loaf while the finer secondary row reduces the crushing and pulling that causes crumbling edges [13]. The tradeoff is price: double-serrated knives typically run $140 to $150, well above single-serrated options that still cut cleanly for less [12].


Maintenance and Care: Why Your Bread Knife Lasts (or Doesn't)
Hand wash and dry your bread knife immediately after use to protect both the steel and wooden handle from moisture damage and rust.
Hand-washing serrated blades without stripping the serration
A dishwasher's heat and water pressure dull a serrated edge fast, and if your knife has a wooden handle, the same cycle can dry it out, crack it, or cause splintering over time [5]. Wash your bread knife by hand with mild soap and warm water immediately after use, then dry it completely before storing [14].
Skipping the drying step invites moisture damage and rust near the serration valleys, where water tends to sit longest. This small habit protects both the steel and the handle, so the knife keeps performing the way it did on day one.
When to sharpen and what happens if you skip it
A bread knife used daily can go up to a year before needing sharpening, while casual bakers may stretch that to multiple years, since serrations mostly contact soft bread rather than the harder surface of a cutting board [15]. Watch for excess crumbs, a craggy crust edge, or needing extra force to saw through a loaf, all signs the teeth are tearing instead of cutting cleanly [15].
A quick tomato test confirms it: ragged, squished slices mean the serrations have dulled and are mashing rather than slicing [15]. Skipping sharpening doesn't just mean messier bread, a dull serrated edge forces you to press harder to cut, and a knife that requires more force is also a knife more likely to slip [15].
Once the tomato test starts failing, our mail-in knife sharpening service can restore the serrations to a clean edge.


Finding the Right Bread Knife for Your Sourdough
A scalloped or double-serrated edge, proper blade length, and hand care keep your bread knife slicing cleanly through every loaf.
The right bread knife makes sourdough slicing simple: a scalloped or double-serrated edge that grips the crust, enough blade length to span your loaf in one stroke, and a handle that keeps your knuckles off the board. Wash it by hand, dry it completely, and sharpen it when the tomato test starts to slip.
Take care of the tool and it takes care of every loaf. Browse our kitchen knives to find a serrated blade that fits the bread you bake, and contact us if you want help choosing.
- Serrated edges saw through sourdough crust without compressing the soft interior crumb.
- Blade length of 9.5-10.6 inches lets you slice a boule in one motion, preventing tearing on re-entry.
- Scalloped serrations cut cleaner across varied textures than pointed serrations, which tear soft breads.
- Double-serrated blades outperform single-serrated options, producing thinner slices with less crumbling.
- Hand wash and fully dry your bread knife after each use to prevent rust in serration valleys.
- A dull serrated edge forces harder pressing, increasing slip risk--use the tomato test to check sharpness.
- https://sourdougharchive.com/bread-bow-knife-review/
- https://hidari.com/pages/left-handed-knives
- https://xinzuo.com.au/blogs/news/bread-knife-guide?srsltid=AfmBOoo9WKu4b6Cx0vrFG5OownupdziZD22Jfxgt-Ge--VtIk2lw-rzS
- https://scienceofsharp.com/2021/04/27/the-slice-cut/
- https://www.seriouseats.com/best-bread-serrated-knives-equipment-review
- https://www.bonappetit.com/story/best-bread-knives?srsltid=AfmBOoqRrJ3gLfpVFyYX8Q8AITnORwIbsv71_VTsmbdL35SuNs1EqhKy
- https://www.foodandwine.com/lifestyle/kitchen/best-bread-knife
- https://xinzuo.com.au/blogs/news/bread-knife-guide?srsltid=AfmBOop5rDGJ1i9q8ZIj7nR8e4povNVt1ZVY3ebG6SX9zwYyK5kw98Do
- https://www.davidlebovitz.com/the-bread-knife/
- https://www.bonappetit.com/story/best-bread-knives?srsltid=AfmBOorKEdW3TFOqMOThy7de7fx1MjtY1n0GpQ9ghnw7hb-bCw1ePcYB
- https://www.nytimes.com/wirecutter/reviews/best-serrated-knife/
- https://www.epicurious.com/shopping/double-serrated-bread-knives-are-the-best-thing-since-sliced-bread
- https://www.kitchenknives.co.uk/know-how/blog/bread-knives-one-serration-is-good-two-are-better/
- https://seidoknives.com/blogs/news/how-to-sharpen-serrated-bread-knives?srsltid=AfmBOorvYid7rF9zrfGpJ2lXV1VYTh6ZHAO2t4rVy0Z7Wx_dVKOsq2xu
- https://www.foodandwine.com/how-to-sharpen-a-serrated-knife-7152177
- Summary
- Why Sourdough Demands a Different Knife Than Sandwich Bread
- The 5 Features That Define a Sourdough-Ready Bread Knife
- How to Choose Between Offset Handle, Straight Handle, and Double-Serrated Designs
- Maintenance and Care: Why Your Bread Knife Lasts (or Doesn't)
- Finding the Right Bread Knife for Your Sourdough
- Key Takeaways
- References