

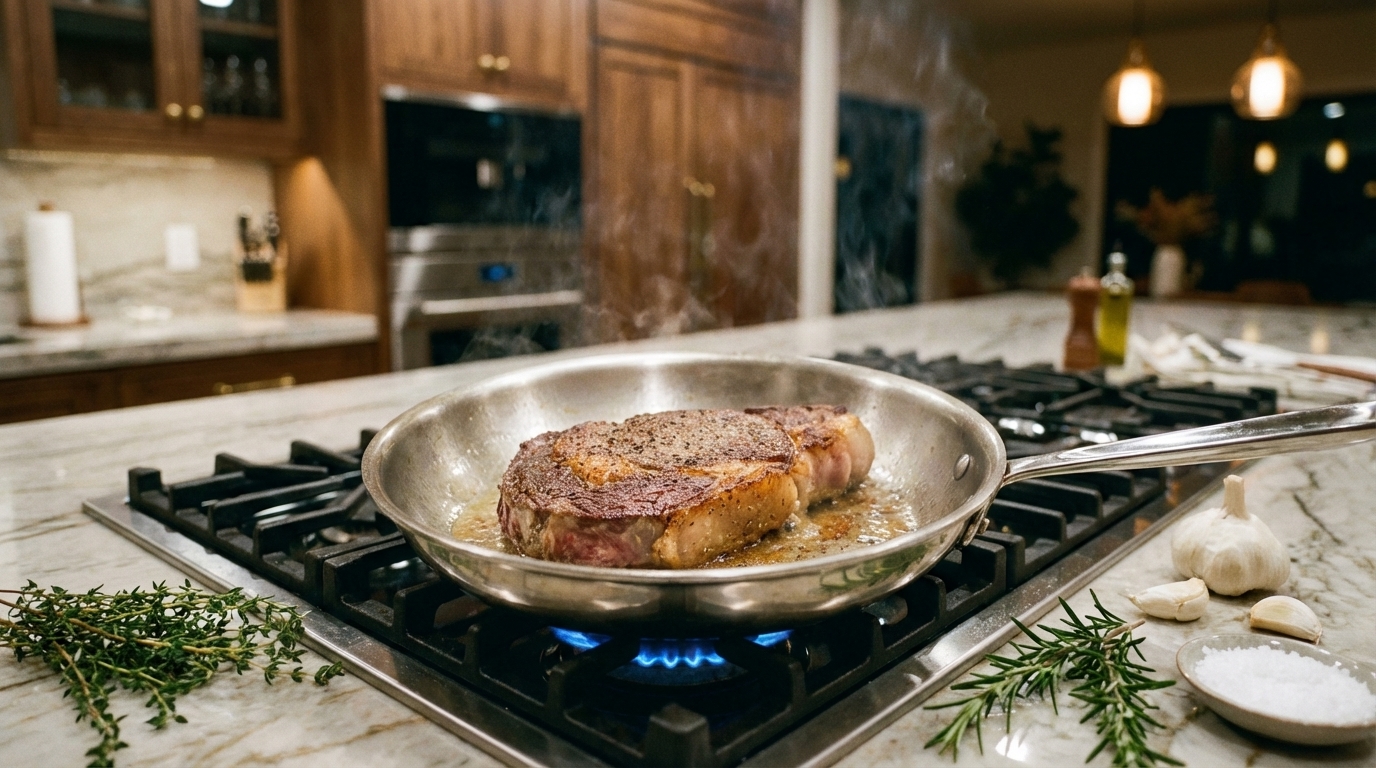
Master the cold-pan method to sear steak evenly from edge to edge without oil or guesswork. You'll lock in a deep, flavorful crust while the center cooks to perfect doneness every time.
Prep the Steak and Choose the Right Misen Pan
Pat your steak bone-dry, salt it early, and drop it into a cold Misen carbon or stainless pan so the fat renders as the heat rises, giving you an edge-to-edge crust without the charred-outside-raw-inside letdown.
Pat dry and season for a perfect crust
Moisture on the steak's surface is the primary barrier to a good crust -- excess water causes the meat to steam rather than sear, preventing proper browning. [1] When amino acids and sugars react under high heat (the Maillard reaction), you get those complex flavors and deep caramelization that make steak irresistible. [1] Start by patting your steak completely dry with paper towels -- every drop counts.
Salt the steak at least 30 minutes before cooking (or right before if you're short on time). [1] Salt draws out surface moisture that evaporates during cooking, setting you up for a restaurant-quality crust instead of disappointing gray edges. [1]
Heat the Misen pan from cold to hot for optimal sear
The cold-pan method flips traditional searing on its head: place your steak directly into a cold, dry pan (no oil needed), then crank the heat to high. [2] This gradual temperature rise lets the steak's own fat render out slowly, naturally lubricating the pan while building an even crust from edge to edge -- no more charred outsides with raw centers. [3] As the pan heats up, flip frequently (detailed timing covered in the next section), then reduce to medium heat to finish cooking. [2] Misen's carbon steel and stainless steel pans excel at this technique -- they heat evenly from cold to scorching hot without warping, giving you consistent results every time.
Mastering the Countdown: How Long to Sear Steak
Grab your instant-read thermometer and count on 8-10 minutes for a 1-inch steak to hit perfect medium-rare, adding 2 minutes per side for medium or finishing thicker cuts in a 400 degreesF oven so you never burn the surface.
Heat levels and timing charts by thickness and doneness
Steak thickness and target doneness determine your total cook time and heat adjustments. For a 1-inch steak using the cold pan method described above, you'll need 8 to 10 minutes total to reach medium-rare (130-135 degreesF internal).
A thicker 1.5-inch steak requires 12 to 14 minutes -- or you can finish it in a 400 degreesF oven for the last few minutes to prevent surface burning. For medium doneness (140-145 degreesF), add about two minutes per thickness level.
Always use an instant-read thermometer to check internal temperature rather than relying on time alone -- different pans heat at different rates, and actual thickness can vary even within the same cut.
Minute‑by‑minute guide using the cold‑pan method
Minute 0 is where the magic starts: your steak goes into a completely cold, dry pan, fat cap down if it has one, before you even think about turning on the burner. Crank the heat to high the moment the steak makes contact, then set a timer--this is a countdown, not a guessing game. From minutes 0-3, you'll hear almost nothing and see almost no color; that's the pan and steak warming together, rendering fat slowly instead of shocking the surface into a premature, uneven crust.
By minute 4, the pan should be audibly sizzling, and this is when you start flipping every 30-60 seconds. Frequent flips during this cold-to-hot transition prevent any single side from overcooking while the crust builds evenly across both faces--think of it as basting with heat instead of fat. Minutes 5-7 are the working middle of the countdown: the surface deepens to mahogany-brown, the pan reaches its hottest point, and you should start checking internal temperature around the 6-minute mark so you're not caught off guard. For a 1-inch steak, minute 8 is your first real checkpoint for medium-rare (130-135 degreesF); pull it at minute 8, and if it's not quite there, give it another 60-90 seconds and check again rather than leaving it unattended.
For thicker cuts, the countdown simply stretches: a 1.5-inch steak follows the same 0-4 minute warm-up and flipping pattern, but you'll push through minutes 9-12 before checking temperature, often finishing in a 400 degreesF oven for the final 2-3 minutes if the exterior is browning faster than the interior is warming. Medium doneness (140-145 degreesF) adds roughly two minutes to whatever your medium-rare target was, regardless of thickness--so a 1-inch steak aiming for medium lands around the 10-minute mark, and a 1.5-inch steak around 14 minutes. The single rule that overrides every number in this countdown: your instant-read thermometer always wins. Timing charts get you in the right neighborhood, but pulling the steak at the correct internal temperature is what actually guarantees the doneness you want, sear after sear.
Build Flavor While You Sear
Wait to add butter until you've lowered the heat, then tilt the pan and steadily baste the steak with foaming, herb-speckled butter for the final few minutes to layer on rich, nutty flavor without a hint of bitterness.
Add butter, garlic, and herbs at the right moment
Butter burns at high heat, so adding it too early creates bitter, acrid flavors instead of rich, nutty ones. Add unsalted butter -- along with smashed garlic cloves and hardy herbs like thyme or rosemary -- only after you've reduced the heat to medium, typically in the last two to three minutes of cooking.
Once the butter melts and begins to foam, tilt the pan toward you and use a spoon to continuously ladle it over the steak. This basting builds flavor with each pass, and the foam signals that the butter is hot enough to brown without burning.
Basting techniques for an even crust without burning
Effective basting requires keeping the butter moving -- stationary butter in a hot pan browns unevenly and turns bitter quickly. Tilt the pan at a 30 to 45-degree angle so butter pools at the lower edge, giving your spoon enough depth to draw from.
Baste the sides of the steak too, not just the top, since the edges hold fat that benefits from direct contact with the herb-infused butter. Our stainless steel and carbon steel pans retain heat evenly, so if the foam subsides and the butter darkens past golden brown, simply pull the pan off heat -- the residual temperature will finish the job without burning.
Finish, Rest, and Serve with Confidence
Rest your steak for five minutes after cooking, slice it confidently against the grain, and serve immediately for the juiciest, most impressive results.
Slice and plate while preserving the crust
Once your steak has rested and the juices have redistributed, resist the urge to cut it with a dull knife or slice straight down through the crust. How you cut and plate now determines whether that hard-earned exterior stays crisp on the plate or turns soggy under its own moisture. Start with a sharp knife -- a serrated edge tends to shred the seared surface rather than slice cleanly through it -- and always cut against the grain. Look closely at the muscle fibers running through the meat, and angle your blade perpendicular to them; this shortens the fibers with each slice, making every bite noticeably more tender and easier to chew, regardless of cut or doneness.
Slice with confident, single strokes rather than a sawing motion. Sawing crushes the crust and pushes juices out onto the cutting board instead of keeping them locked inside the meat. For steaks like ribeye or strip that have a firmer cap of fat and connective tissue along one edge, separate that section first, then slice the remaining eye of meat on its own so each piece maintains an even thickness and a consistent crust-to-interior ratio.
Plating matters just as much as the cut. Avoid pooling any resting juices directly under the slices -- that puddle of liquid is exactly what will soften your crust within minutes of hitting the plate. Instead, drizzle any reserved pan juices or browned butter over the top just before serving, or serve them on the side so guests can add as much or as little as they like. If you're fanning out slices for presentation, work quickly: the longer sliced steak sits exposed to air, the more moisture escapes, and the faster that crust begins to lose its bite.
Serve immediately. A perfectly seared, well-rested steak is a race against time once it's cut -- every minute it sits sliced on a plate is a minute closer to a soft, steamed exterior instead of the deep, savory crust you spent the entire cook building. Bring the plates to the table the moment you finish slicing, and let the first bite deliver everything that patience and careful cooking promised.
Rest the steak to lock in juices
Pulling your steak off the heat the moment it hits temperature is tempting, but resist the urge to slice immediately--that rest period is where all your careful searing work actually pays off. During cooking, intense heat forces the muscle fibers to contract, pushing moisture toward the center of the steak and away from the surface. If you cut into it straight from the pan, that concentrated juice floods onto your cutting board instead of staying in the meat, leaving you with a drier, less flavorful bite despite a picture-perfect crust.
Set the steak on a warm plate or a wire rack and let it rest for five to ten minutes, depending on thickness--a thin cut needs closer to five, while a thick 1.5-inch steak benefits from the full ten. As the steak sits, residual heat continues to raise the internal temperature by a few degrees (carryover cooking), so pull it from the pan slightly before your target doneness to avoid overshooting. This is also when those contracted muscle fibers relax and reabsorb the juices pushed toward the center, redistributing moisture evenly throughout the cut.
Tent the steak loosely with foil if you're worried about it cooling too much, but avoid wrapping it tightly--trapped steam will soften the crust you worked so hard to build. If you basted with herb butter, the resting period also gives those aromatics a final few minutes to soak into the surface, deepening the flavor before you slice. Skipping this step, even under pressure to serve a hot plate, is one of the most common ways a beautifully seared steak turns into a puddle of wasted juices.
- Pat steak bone-dry and salt 30 min early to maximize crust-forming Maillard browning.
- Start steak in a cold, dry pan, then flip frequently for even edge-to-edge crust without burning.
- 1-inch steak needs 8-10 min total; 1.5-inch needs 12-14 min; finish thick cuts in 400 degreesF oven if needed.
- Add butter, garlic, herbs only after reducing to medium heat; baste constantly to avoid bitter burnt butter.
- Tilt pan 30-45 degrees and baste sides so herb-infused butter seasons fat along steak edges.
- Pull pan off heat if butter darkens past golden; residual heat finishes basting without burning.
- Rest steak after cooking to let juices redistribute, ensuring moist, flavorful slices.