

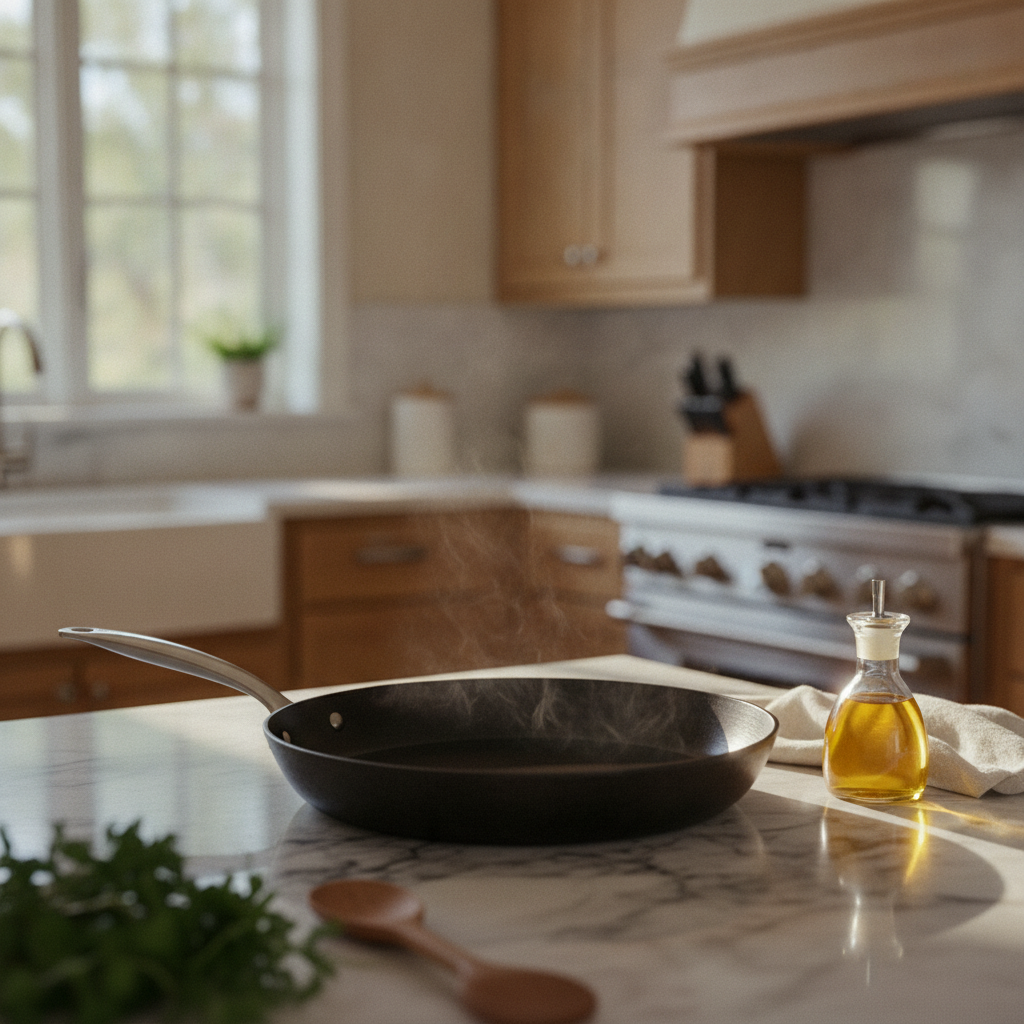
Learn how polymerization builds a functional, nonstick patina on carbon steel through heat and oil, and discover simple daily habits that maintain and deepen the seasoning over time. With consistent cooking and basic care, your pan develops a protective black surface that improves with age rather than requiring aggressive maintenance.
What Is Patina on Carbon Steel Pans and Why It Matters
Patina is a polymerized oil layer that builds through heat, filling microscopic pores to create a natural nonstick surface that improves with use.
The Science: How Seasoning Creates a Protective Patina Layer
That dark, slick surface on a well-used carbon steel pan is patina, and it forms through polymerization, a chemical reaction where heat breaks oil molecules apart and rebonds them into a hard film fused to the steel [2]. Every time you heat oil in the pan, some of it cures into this film instead of burning off, and that film blocks moisture and food from reaching the bare metal [2]. The color shift you notice over time (from light gold to deep brown to black) tracks how many polymerized layers have built up: thin, early layers look bronze, while thick, mature layers read almost black [2]. That darkening isn't cosmetic.
Each added layer fills in microscopic pores and rough spots on the steel, which is why an older, well-used pan releases food more easily than a brand new one [2]. Oil choice affects how well this bonding happens. Oils with a smoke point above 375 degreesF polymerize fully into a dense, glass-like coating, while low smoke point oils like olive oil break down too early and leave a flaky, incomplete layer [3]. Iron itself also plays a role in triggering the reaction, since contact with bare metal and high heat both encourage oil molecules to restructure into this tougher form [1].
Once the pan comes out of the oven or off the stove, that transformation is finished, meaning the surface you're left with is stable, not still reacting or releasing anything into your food [3]. This is the same chemistry behind why patina resists rust: the polymerized layer physically seals the steel from air and water [2].
Visual Guide: What Does a Healthy Patina Actually Look Like
A healthy patina looks blotchy and uneven in its early stages, with darker patches forming wherever oil made the best contact with the steel [4]. That patchiness is normal, not a defect, and it fills in as more layers polymerize with repeated use [4]. Early seasoning coats also tend to look matte rather than glossy, because a single application isn't enough to build real sheen [1]. After several rounds of heating oil into the metal, the surface shifts from dull and flat to a soft, semi-gloss finish [1]. Because carbon steel pans are stamped from sheet steel rather than cast in a mold, their smoother starting surface lets seasoning bond more evenly across the pan than it would on a rougher surface [5]. A properly cured patina also shouldn't feel tacky to the touch, since stickiness usually signals oil that hasn't fully polymerized yet rather than a finished layer [4].
Signs of a healthy patina:
- Blotchy, uneven color early on that evens out with use [4]
- Matte texture at first, developing sheen after repeated seasoning [1]
- Smooth, even bonding across the cooking surface [5]
- No tacky or sticky feel once fully cured [4]

Building Patina Faster: The Step-by-Step Seasoning Process
Each round of seasoning builds a durable nonstick layer, and regular cooking with fatty foods reinforces the surface faster than repeated cycles alone.
Initial Seasoning Method for New Carbon Steel Pans
New carbon steel pans typically ship with a protective coating of mineral oil or beeswax that needs to come off before first use. (Our pre-seasoned carbon steel pan gives you a running start here, since it arrives with a base layer of seasoning already baked on.) Wash with hot water and dish soap, then dry thoroughly with a towel [6][8]. Set the pan on the stovetop over medium-high heat briefly to drive off any leftover moisture [7].
Remove from heat and rub a thin layer of neutral oil, grapeseed, canola, or flaxseed all work, across the entire cooking surface, inside and out, wiping away excess until no shiny residue remains [6][7]. Return the pan to heat and let the oil carry on until it reaches its smoke point, roughly 5 to 10 minutes, watching the surface shift from silver toward gold or brown [7][8]. Visible smoke during this step is normal and signals the oil is polymerizing into a bonded layer rather than sitting on top, so run a range hood or crack a window while it smokes [6].
Let the pan cool completely, then repeat the oil-and-heat cycle two to five times before cooking, since each pass builds a more durable base [7][8]. The oven method follows the same logic: coat the pan, place it upside down over a drip tray, and bake at 375 to 450 degreesF for about an hour, repeating two to three times; use oven mitts when handling the hot pan [7][8]. Stick with the stovetop method if the pan has a wooden handle, since oven heat can damage it [6].
Accelerating Patina Development Through Daily Cooking Techniques
Regular cooking does more to build patina than repeated seasoning cycles alone, since every fatty meal adds another polymerized layer to the surface [10]. Searing meat, rendering fat, and frying eggs work especially well because they coat the steel with oil at exactly the heat range polymerization requires, reinforcing the nonstick layer with each session [10]. Testing on multiple carbon steel pans showed a noticeably slicker cooking surface after just a few rounds of frying eggs and searing skin-on chicken thighs, even on pans that started with minimal factory seasoning [11]. Consistent use also matters more than perfect technique: cooking with the pan often, rather than letting it sit unused, prevents the bare spots that lead to rust and uneven color [9]. Holding off on acidic or watery dishes until the coating has matured protects that early progress, since tomato sauces and wine reductions can strip a patina that hasn't fully bonded [9][10]. In the meantime, a stainless steel skillet handles those tomato sauces and wine reductions with no risk to your seasoning.
Techniques that speed up development:
- Sear meat or render fat to add layers with normal cooking [10]
- Fry eggs repeatedly to build and test slickness [11]
- Cook often rather than letting the pan sit idle [9]
- Delay acidic sauces and wine deglazing until seasoning matures [9][10]
Maintaining Your Patina: Cleaning Without Stripping the Seasoning
A few minutes of warm-water cleaning, complete drying, and a thin oil coat after each use prevent rust and sticky patches before they start.
Daily Care Practices That Preserve and Strengthen Patina
The daily routine that preserves carbon steel pan patina takes only minutes and matters more than any single seasoning session. Clean the pan while it's still warm from cooking, since warm steel releases food more easily, dries faster, and absorbs oil more evenly than a cold pan [12]. Rinse with hot water and scrub with a chainmail scrubber or coarse salt rather than reaching for soap and steel wool by default, since those tools strip away the layers you've built [12]. Occasional soap is safe, but frequent use gradually wears down the patina, so hot water and a scrubber should handle most cleanup [12].
Dry the pan completely before putting it away. Even a few drops of water left on bare steel overnight can spark rust by morning [12]. Finish by wiping on a thin coat of a high-smoke-point oil, then skip the dishwasher entirely and avoid letting the pan soak, since both strip seasoning and expose bare metal to prolonged moisture [12]. Before your next cook, preheat gradually on medium-low for two to three minutes rather than jumping straight to high heat.
This avoids thermal shock and keeps food from sticking to a surface that hasn't warmed evenly [12]. None of these steps take long, but skipping them is the actual root cause behind most rust spots and sticky patches that show up later.
Common Patina Problems and How to Fix Them Without Starting Over
Most patina problems don't require stripping the pan down and starting over. Rust spots, sticky patches, and patchy discoloration can usually be fixed with targeted spot treatment rather than a full restoration. For rust, scrub the affected area with a nonabrasive pad or stiff brush and hot water, since steel wool and other abrasive scrubbers strip away good seasoning along with the rust [13]. Sticky residue usually means oil that never finished polymerizing rather than a failed patina, and it responds well to a paste of coarse salt and a little oil rubbed directly over the tacky spot, followed by a rinse and full dry [14]. Patchy or uneven color in specific areas can be corrected by re-oiling just that section and returning it to heat rather than reseasoning the entire cooking surface [14]. A pan doesn't need a complete strip-and-restart unless the seasoning has failed across most of the surface or rust has spread widely.
Quick fixes by problem:
- Rust spot: scrub with a nonabrasive pad and hot water, then re-oil [13]
- Sticky patch: salt-and-oil paste, rinse, dry fully [14]
- Uneven color in one area: re-oil that spot and reheat [14]
- Full strip-down: reserve for widespread failure only [14]


Patina Troubleshooting: Discoloration, Rust, and Sticky Spots Explained
Match what you see on your pan--rust, stickiness, or discoloration--to the right fix and avoid unnecessary strip-downs.
Comparison Table: Identifying Patina Issues and the Right Fix for Each
A quick-reference table helps match what you're seeing on the pan to the right fix, since rust, stickiness, and discoloration each call for different treatment [15]. Sticky residue almost always means oil that never finished polymerizing, while rust points to bare steel exposed to moisture, and patchy color usually just means the seasoning hasn't built up evenly yet [15]. Rather than guessing, matching the symptom to its cause avoids over-treating a pan that only needs a small spot fix [16].
| Issue | Likely cause | Fix |
|---|---|---|
| Rust spots | Bare steel exposed to water or storage moisture [15] | Scrub with a nonabrasive pad and hot water, then re-oil [15] |
| Sticky patches | Oil that didn't fully polymerize [15] | Rub with a coarse salt and oil paste, rinse, dry fully [15] |
| Patchy or pale color | Uneven seasoning buildup in early stages [16] | Re-oil the specific area and return to heat [15] |
| Widespread flaking or failure | Seasoning breakdown across most of the surface [15] | Strip with vinegar if needed, then reseason fully [16] |
Stubborn stains, sticky films, and lingering residue tend to recur when pans are stored touching each other or cleaned with harsh scrubbers instead of a soft pad or toothbrush [16]. Hand washing, drying immediately, and storing pans separately (rather than stacked) prevents the small scratches that make future seasoning harder to maintain [16]. Most fixes in the table take a few minutes and target the specific spot, so a full strip-down should stay the exception rather than the default response [15].
When to Restore vs. When to Let Your Pan Develop Naturally
Most patina irregularities don't call for a restore. Letting a pan develop naturally means tolerating the blotchy, uneven color that shows up in the first weeks of cooking, since that patchiness is a normal stage of building layers rather than a problem to fix. Full reseasoning becomes worth doing only when one of three specific issues shows up: rust from a pan that sat wet or unused, a layer of caked-on food residue that won't lift with normal cleaning, or seasoning that got off to a rocky start and now sheds food constantly instead of releasing it. In each case, the fix is the same, strip the pan back to bare metal so no compromised seasoning is trapped underneath a fresh coat, since leftover old seasoning under a new layer just reproduces the same sticking or flaking problem later. A pale, matte, or slightly uneven surface on a newer pan isn't one of these triggers and should be left alone to keep developing with regular cooking [18].
Signs that call for a full restore rather than a spot fix:
- Rust across a wide area from disuse or moisture
- Thick, stuck food residue that won't lift with normal cleaning
- Seasoning that never bonded well and sheds constantly
- Surface reads as polished metal instead of a dark protective layer [19]
Cooking something fatty, like bacon, right after a restore can help rebuild that slick, well-used surface alongside regular seasoning cycles.
Building and keeping a good patina really comes down to a handful of simple habits: cook with the pan often, clean it while it's still warm, dry it completely, and wipe on a thin coat of oil before it goes away. Do that consistently, and your carbon steel pan should keep improving with regular use. Want more care & maintenance tips for your carbon steel, stainless steel, or nonstick cookware? Explore our carbon steel pan and the rest of our collection, and contact us any time you need a hand.
Frequently Asked Questions
-
How many times do I need to season a new carbon steel pan before cooking with it?
For the stovetop method, repeat the oil-and-heat cycle two to five times before your first cook, since each pass builds a sturdier base. If you use the oven method instead, coat the pan, place it upside down over a drip tray, and bake at 375–450°F for about an hour, repeating two to three times.
-
What oil should I use to season carbon steel, and does olive oil work?
Use a neutral oil with a smoke point above 375°F — grapeseed, canola, or flaxseed all work well because they polymerize into a dense, glass-like coating. Olive oil has a lower smoke point and breaks down too early, leaving a flaky, incomplete layer, so it's not a good choice for seasoning.
-
Is it safe to use soap on a carbon steel pan without ruining the patina?
Occasional soap won't hurt a cured patina, but using it frequently gradually wears the seasoning down. For daily cleanup, hot water plus a chainmail scrubber or coarse salt is the better default, saving soap for occasional use.
-
Does the Misen pre-seasoned carbon steel pan still need seasoning before use?
The Misen pre-seasoned carbon steel pan arrives with a base layer of seasoning already baked on, giving you a head start compared to a bare new pan. You can still build on that base with regular cooking and occasional oil-and-heat cycles as described in the article's seasoning process.
-
My pan has rust spots, sticky patches, or uneven color — do I need to strip and restart?
Not usually. Rust responds to scrubbing with a nonabrasive pad and hot water followed by re-oiling; sticky patches lift with a coarse salt-and-oil paste, rinse, and full dry; and patchy color just needs re-oiling and reheating that specific spot. A full strip-down is reserved for cases where seasoning has failed across most of the surface or rust has spread widely.
- Patina forms when oil polymerizes directly onto carbon steel at high heat, creating a hard protective barrier.
- Color progression from bronze to black shows seasoning layers building--unevenness early on is normal, not a defect.
- Daily cooking with fat builds patina faster than seasoning alone; frying and searing deepen the layer with each use.
- Wash warm, dry fully, and apply thin oil after every use to prevent rust and maintain the seasoning.
- Most patina issues (sticky spots, rust, flaking) fix themselves with targeted care--full stripping is rarely needed.
- Acidic dishes and long simmers strip young seasoning, so cook fatty foods while the patina is still developing.
- Consistent daily maintenance matters more than occasional deep cleaning; seasoning improves with each cooking session.
- https://sherylcanter.com/wordpress/2010/01/a-science-based-technique-for-seasoning-cast-iron/
- https://www.independentironware.com/blogs/articles/the-chemistry-of-seasoning-what-happens-when-carbon-steel-darkens-over-time
- https://brass-steel.com/blogs/tips-and-guides/what-is-cookware-seasoning-oil-4-oils-for-500f-heat
- https://fieldcompany.com/pages/a-visual-guide-to-caring-for-cast-iron
- https://stahlkitchens.com/blogs/news/carbon-steel-vs-cast-iron
- https://barebonesliving.com/blogs/products-notes/how-to-care-for-carbon-steel-pans
- https://www.vollrathfoodservice.com/culinary-experience-inspiration/vollrath-food-service-blog/how-to-season-and-maintain-carbon-steel-cookware
- https://www.debuyer-usa.com/pages/carbon-steel-seasoning-instruction
- https://blanccreatives.com/pages/carbon-steel-guide
- https://brass-steel.com/blogs/tips-and-guides/carbon-steel-pan-develop-patina
- https://www.bonappetit.com/story/best-carbon-steel-pans
- https://brass-steel.com/blogs/tips-and-guides/daily-care-carbon-steel-pans-keep-cookware-flawless
- https://www.debuyer-usa.com/blogs/how-to/the-art-of-maintenance-how-to-clean-carbon-steel-pans
- https://brass-steel.com/blogs/tips-and-guides/repair-seasoning-carbon-steel-pan-guide
- https://brass-steel.com/blogs/tips-and-guides/repair-seasoning-carbon-steel-pan-guide
- https://www.debuyer-usa.com/blogs/how-to/the-art-of-maintenance-how-to-clean-carbon-steel-pans
- https://blanccreatives.com/pages/carbon-steel-guide
- https://brass-steel.com/blogs/tips-and-guides/repair-seasoning-carbon-steel-pan-guide